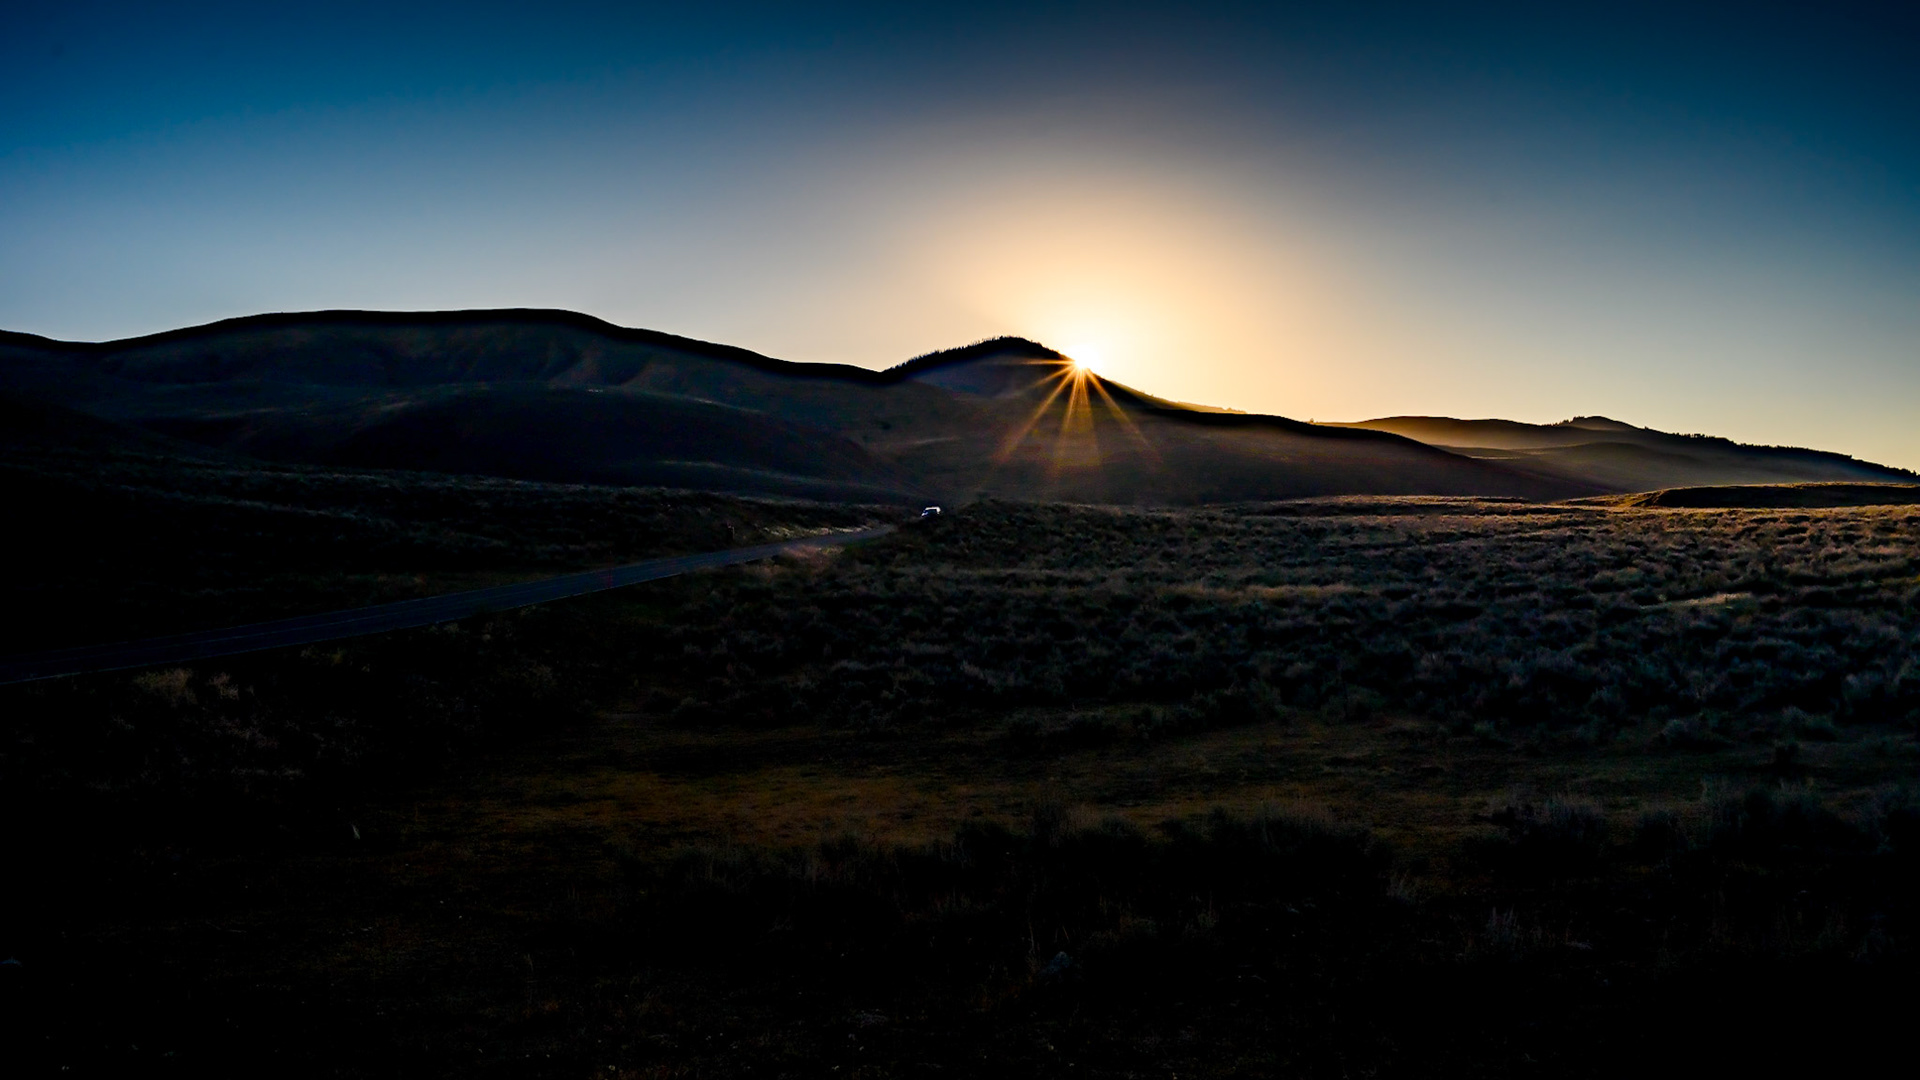
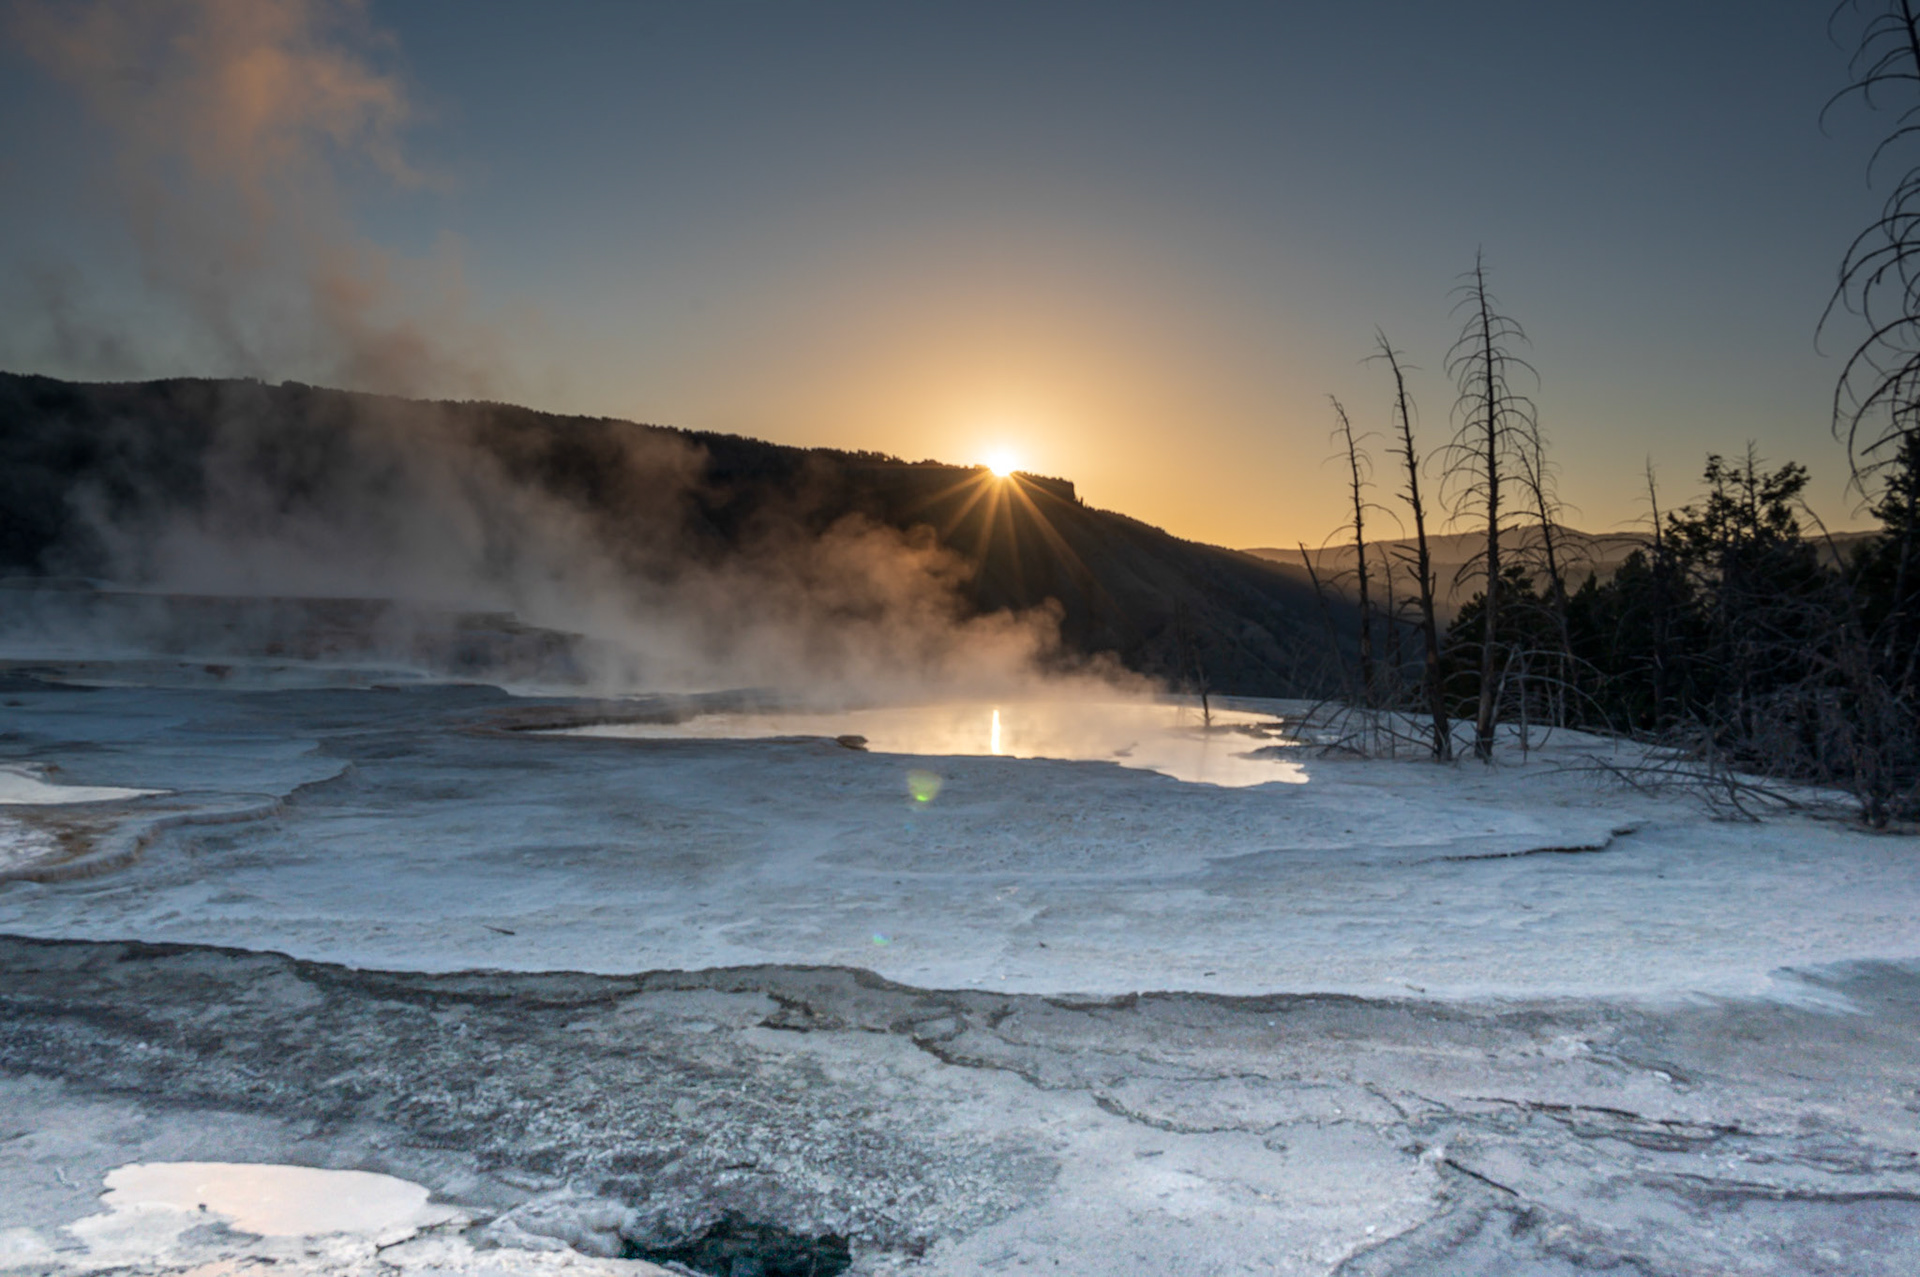
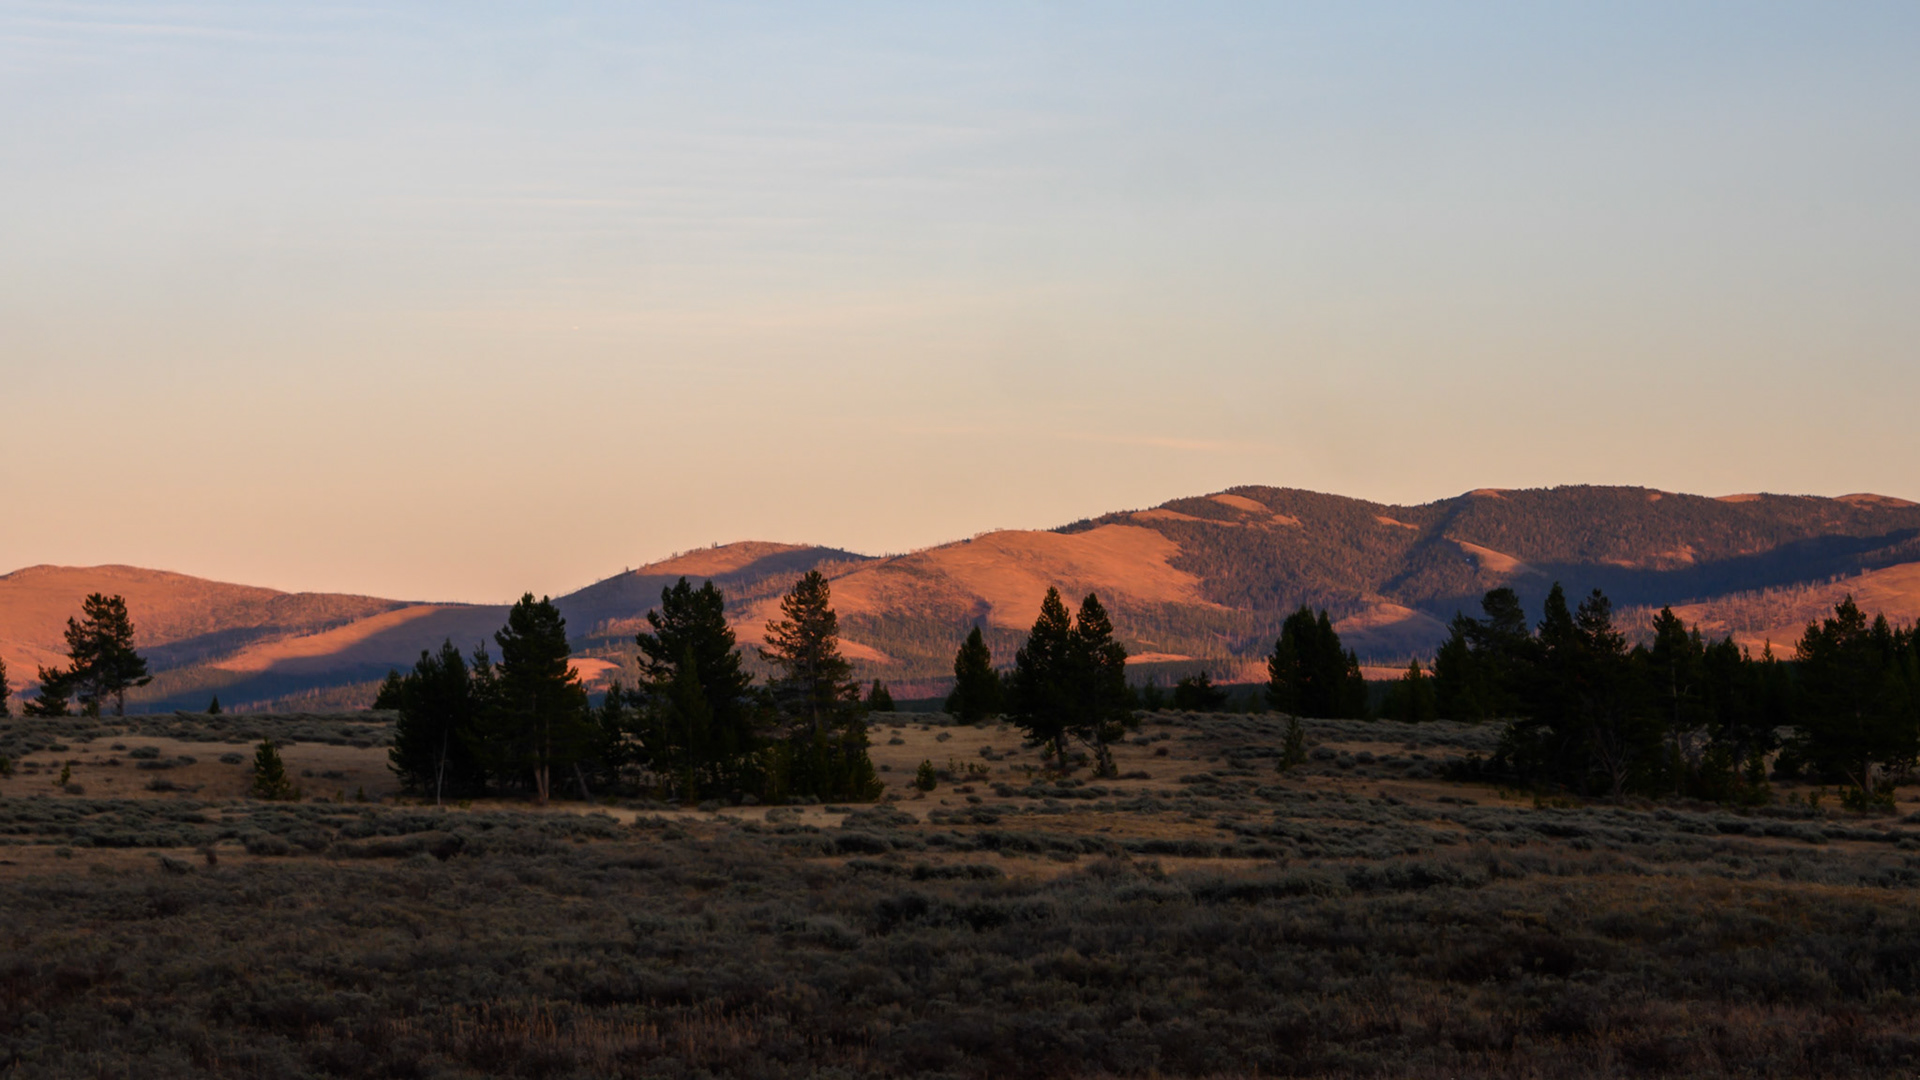
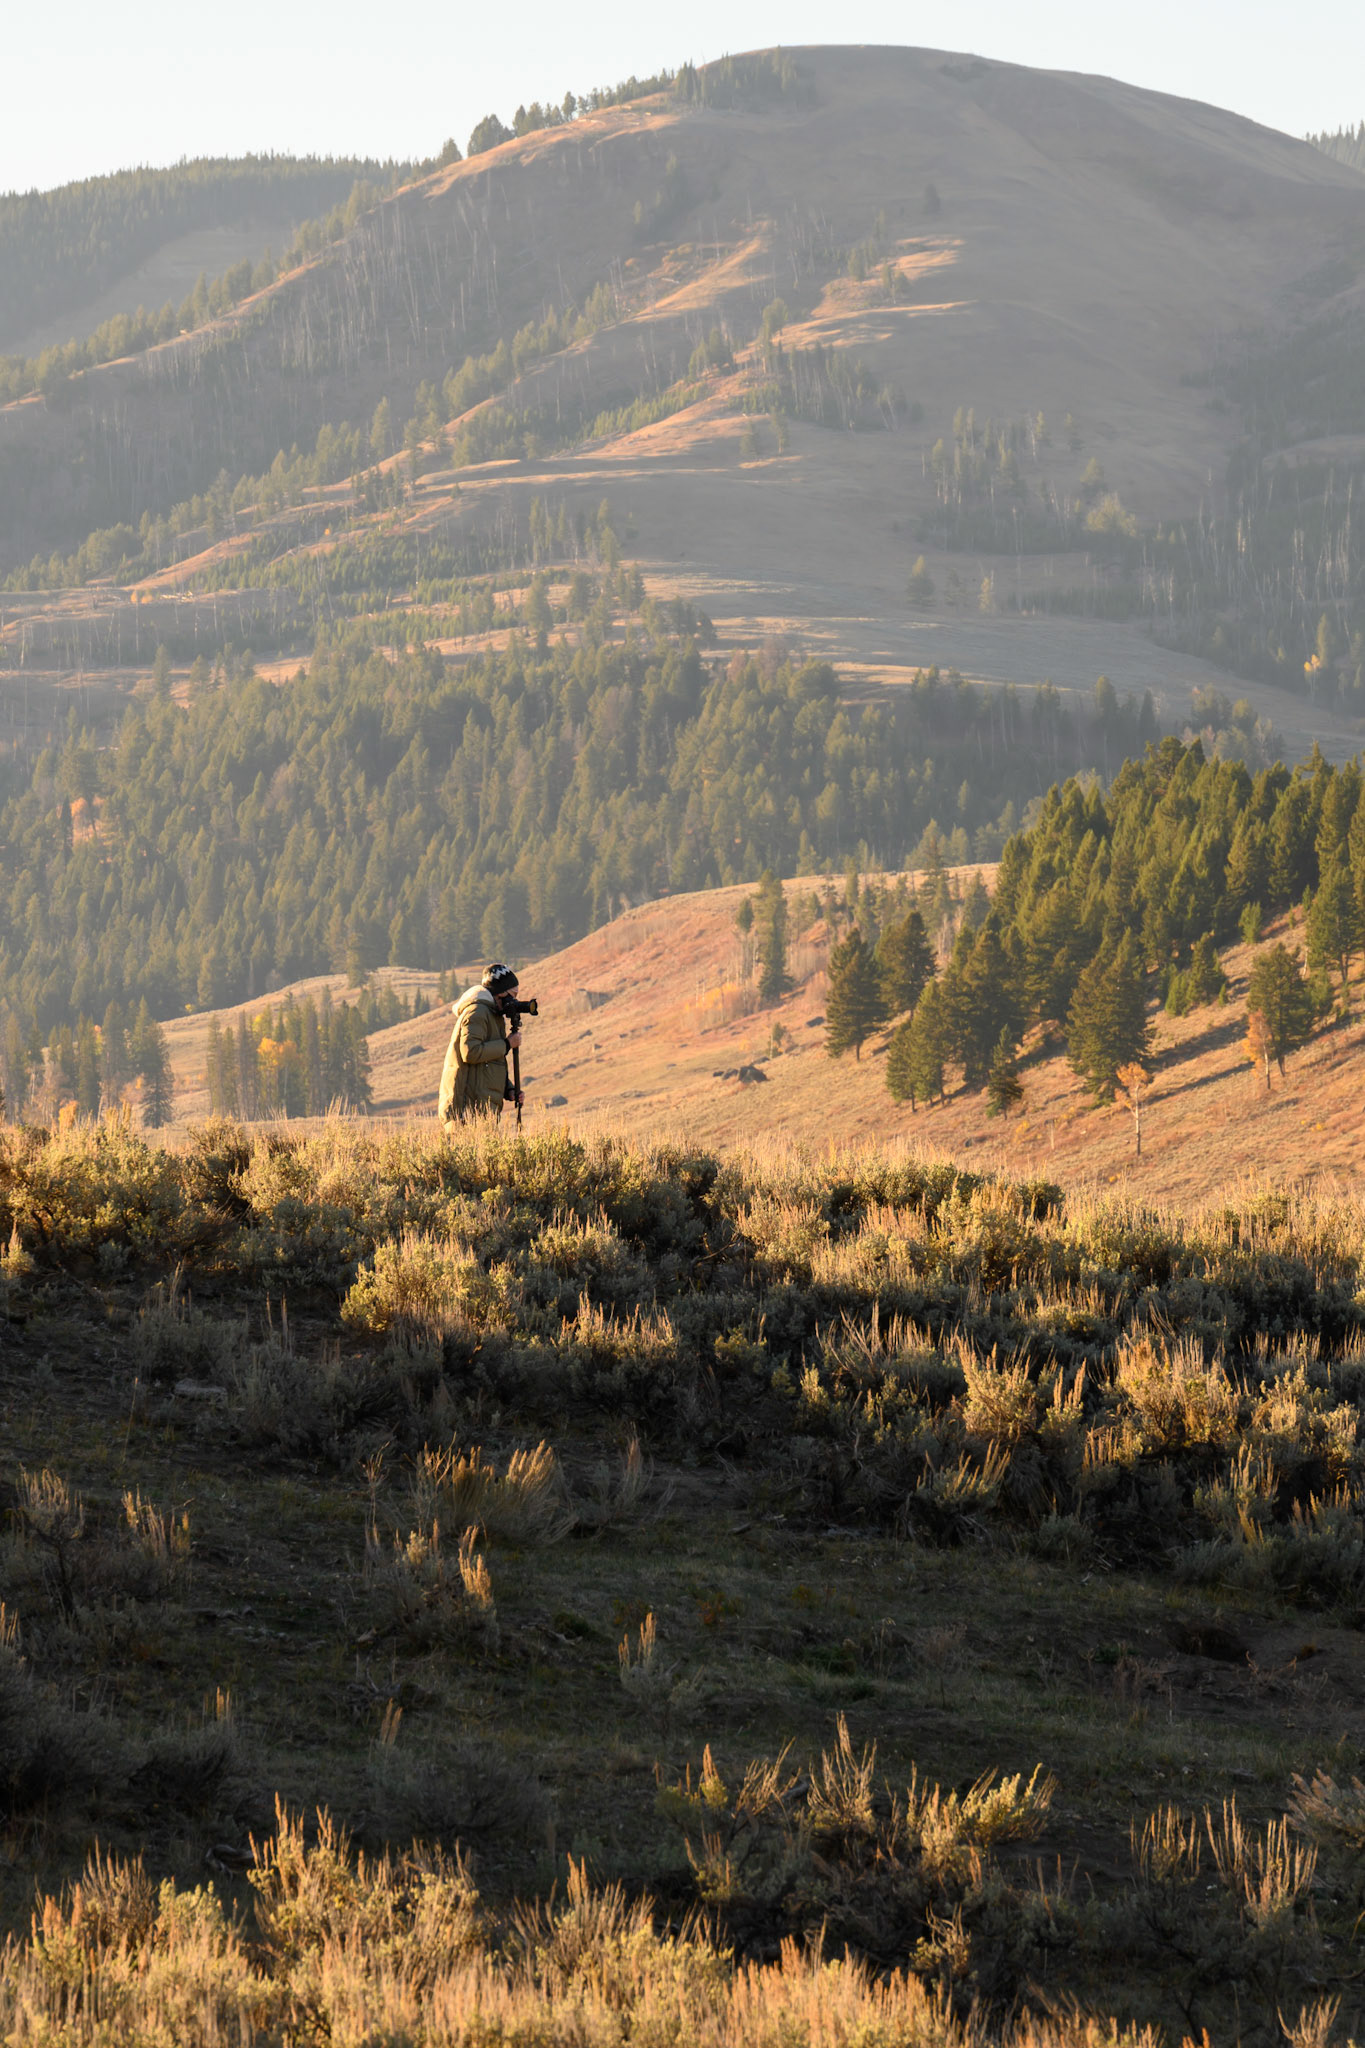
While in Yellowstone on a photography workshop done by Hudson Henry Photography, we would start early in the morning to take advantage of the warm morning lite (at least something was warm at 5:30 am in October at Yellowstone). When the wildlife was in hiding we would enjoy photographing the scenery that is Yellowstone. Unfortunately, there were very few opportunities for sunrise images because almost unbelievably there were never any clouds in the sky to create all that great color. I did get these sunrise images as the sun just started to peek over the mountains.

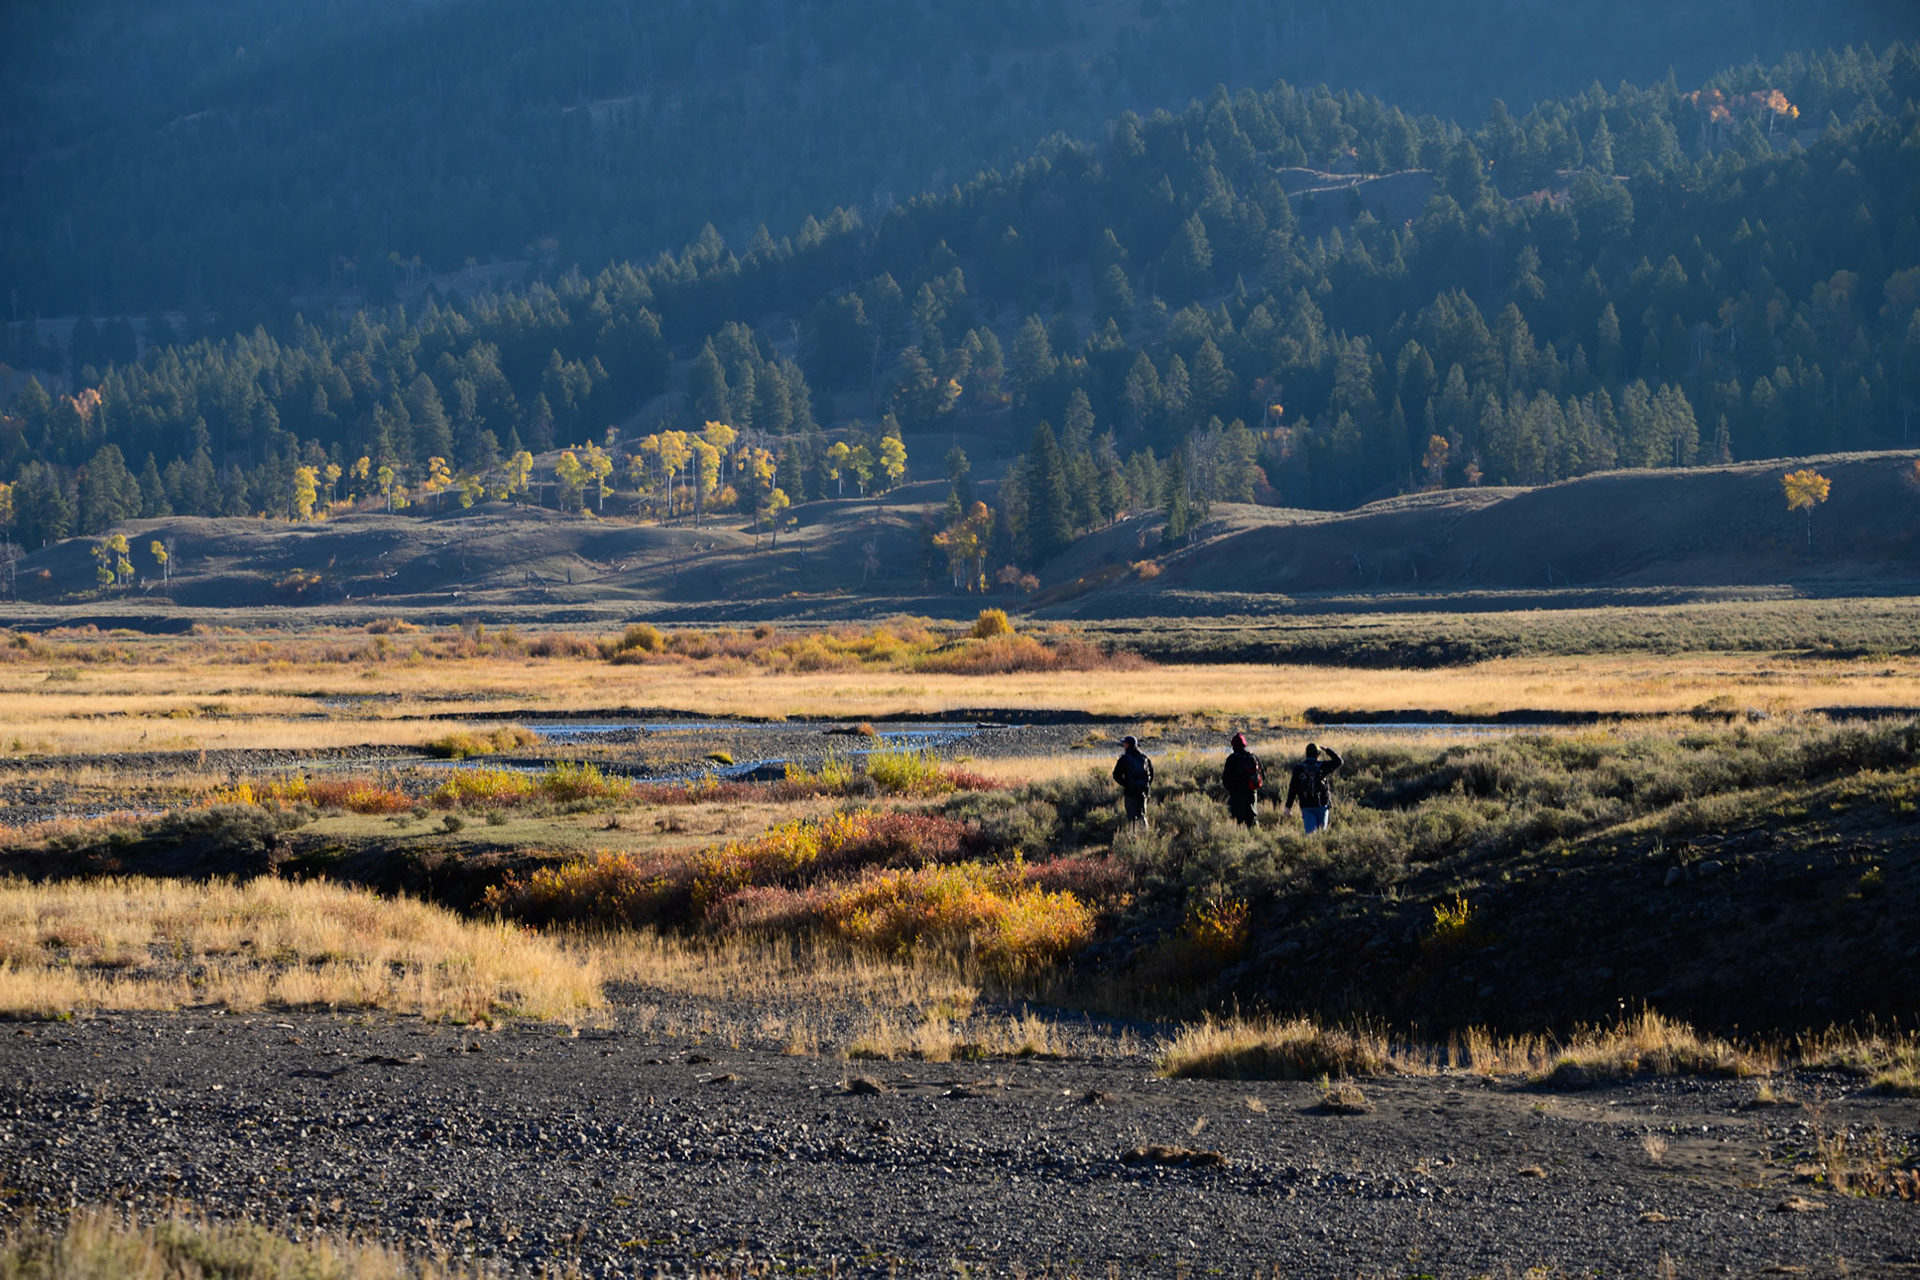
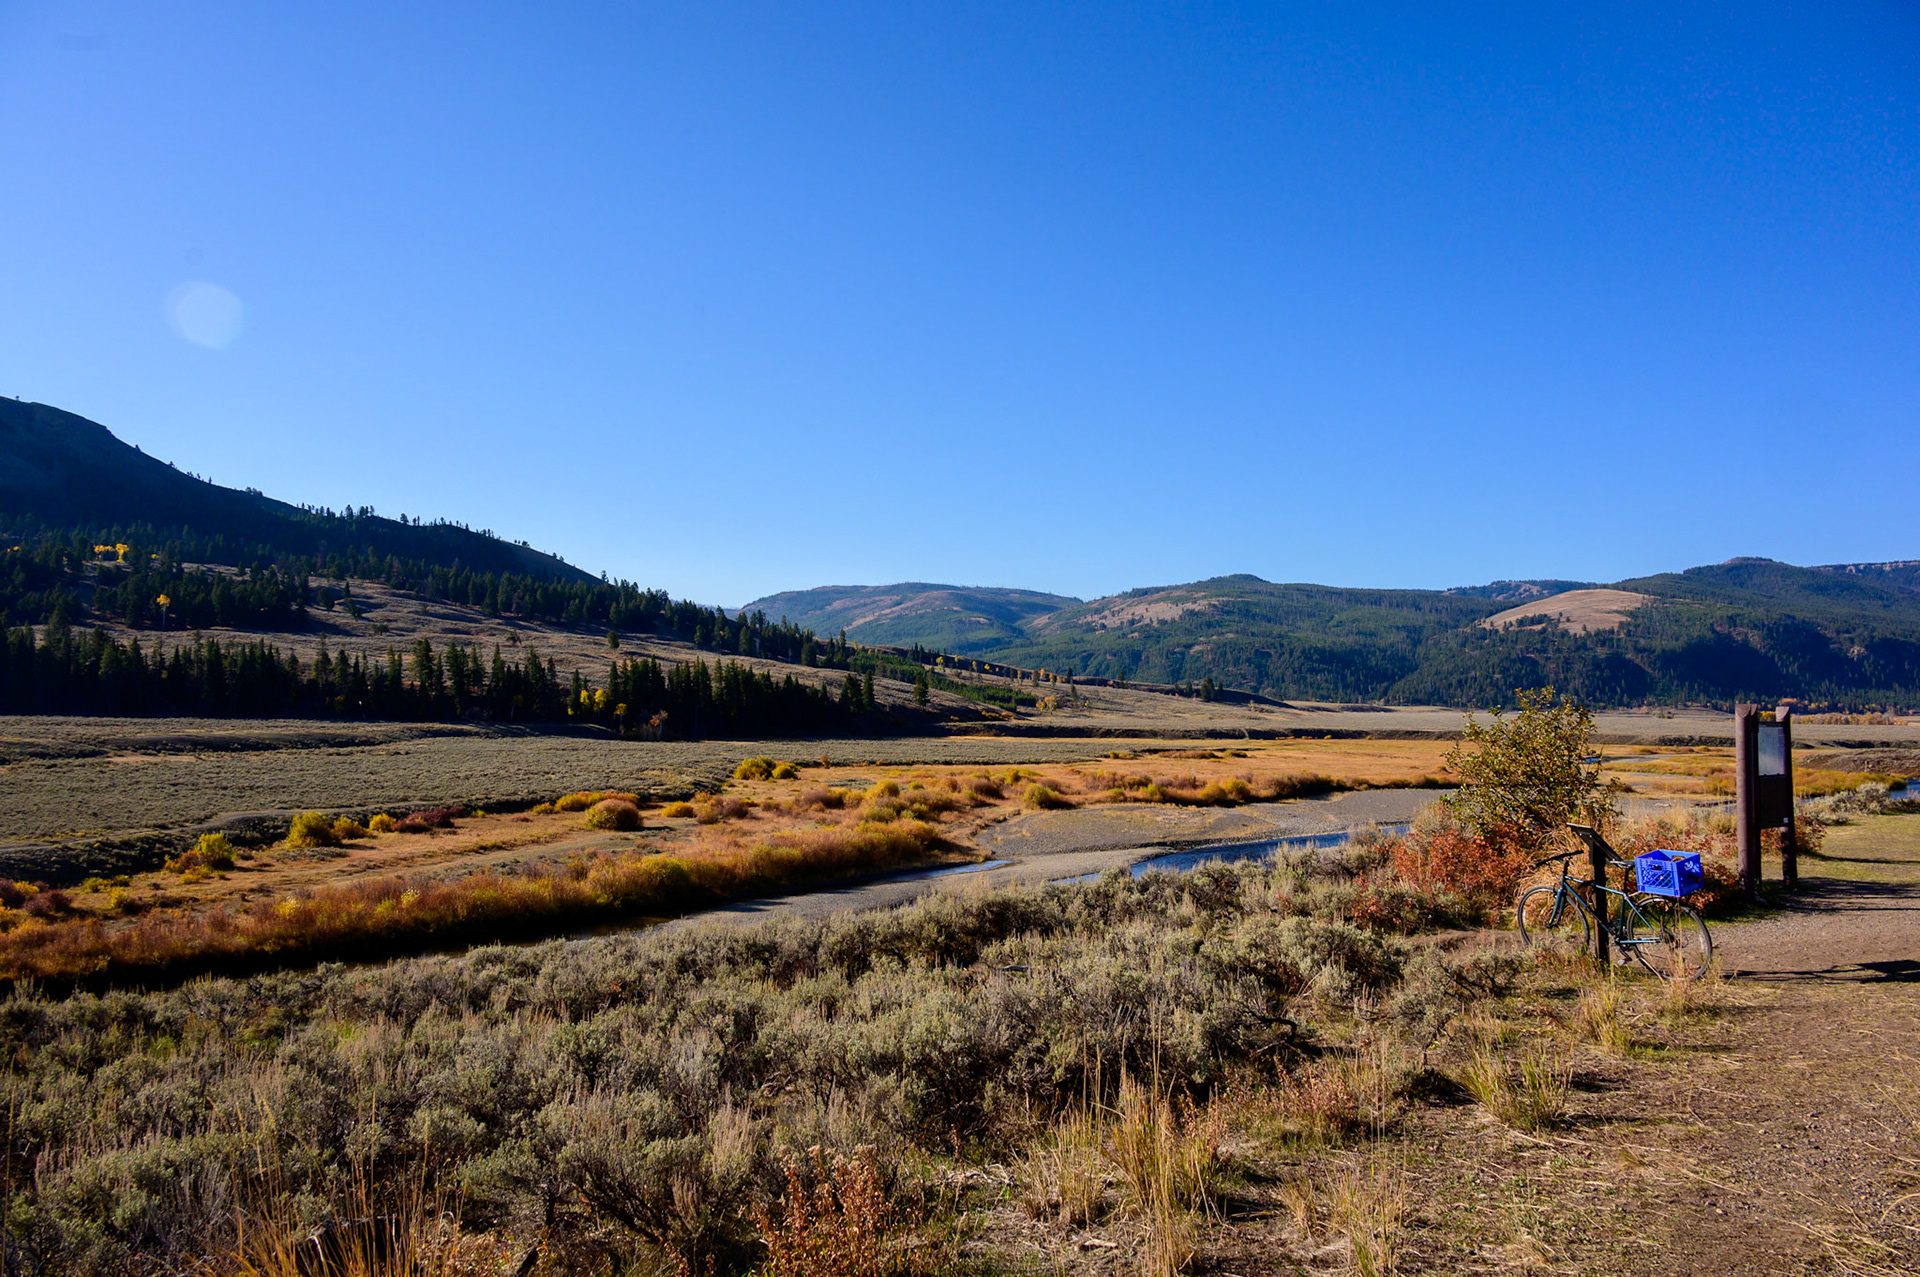
In the evenings we would head out to be ready for golden hour in search of a sunset or more great landscape. On the first day the plan was to meet up in the park and go scouting for wildlife. We decided to meet at Swan Lake. Yes, there actually is one in Yellowstone and on this day there were swans there. Unfortunately I didn't nail the focus and they were pretty far away so the picture was almost unusable. I did get some other nice landscapes image while we there waiting for the rest of the crew .


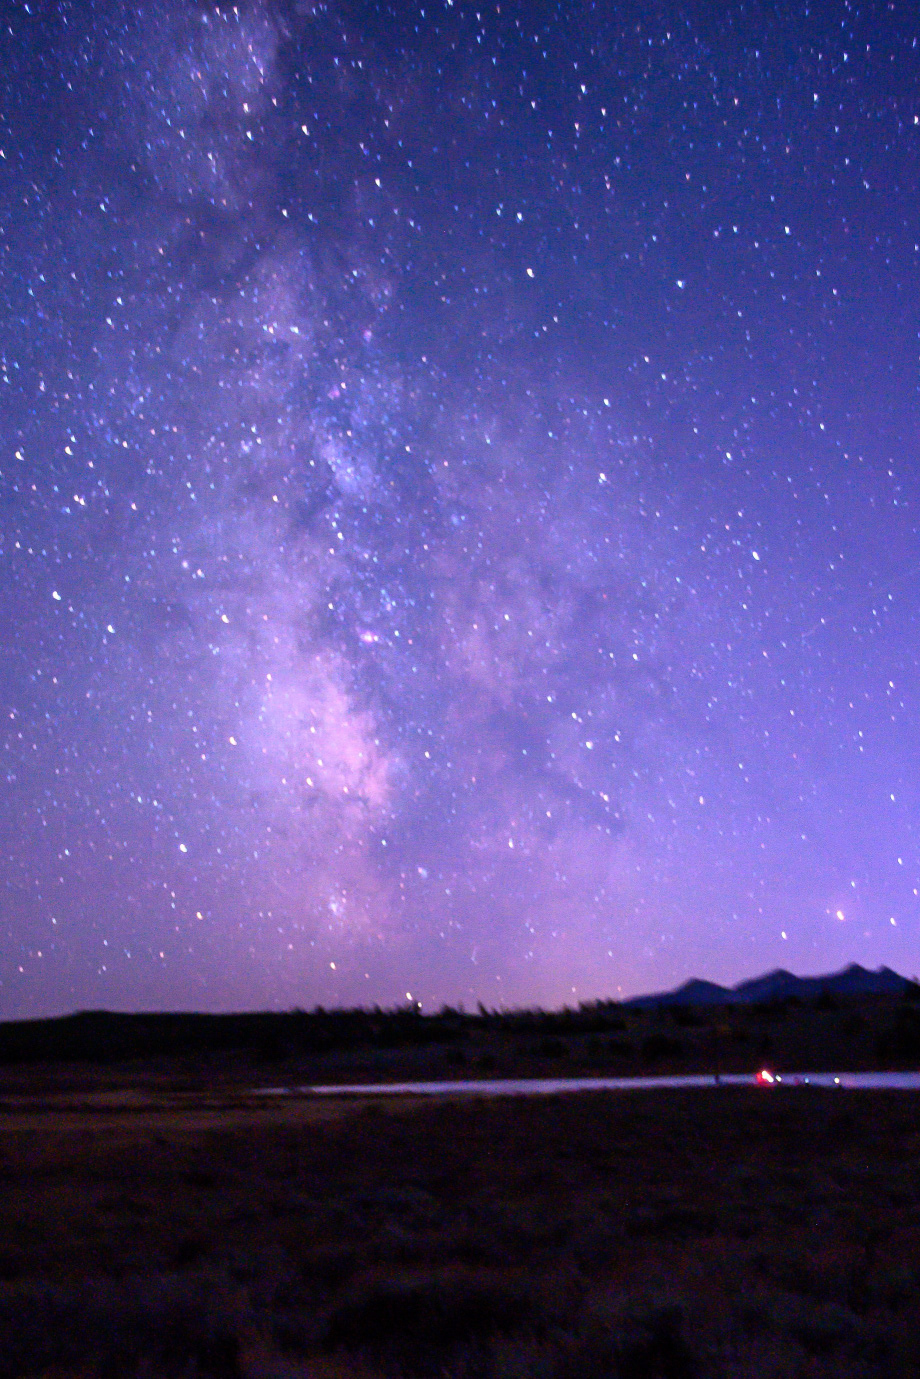
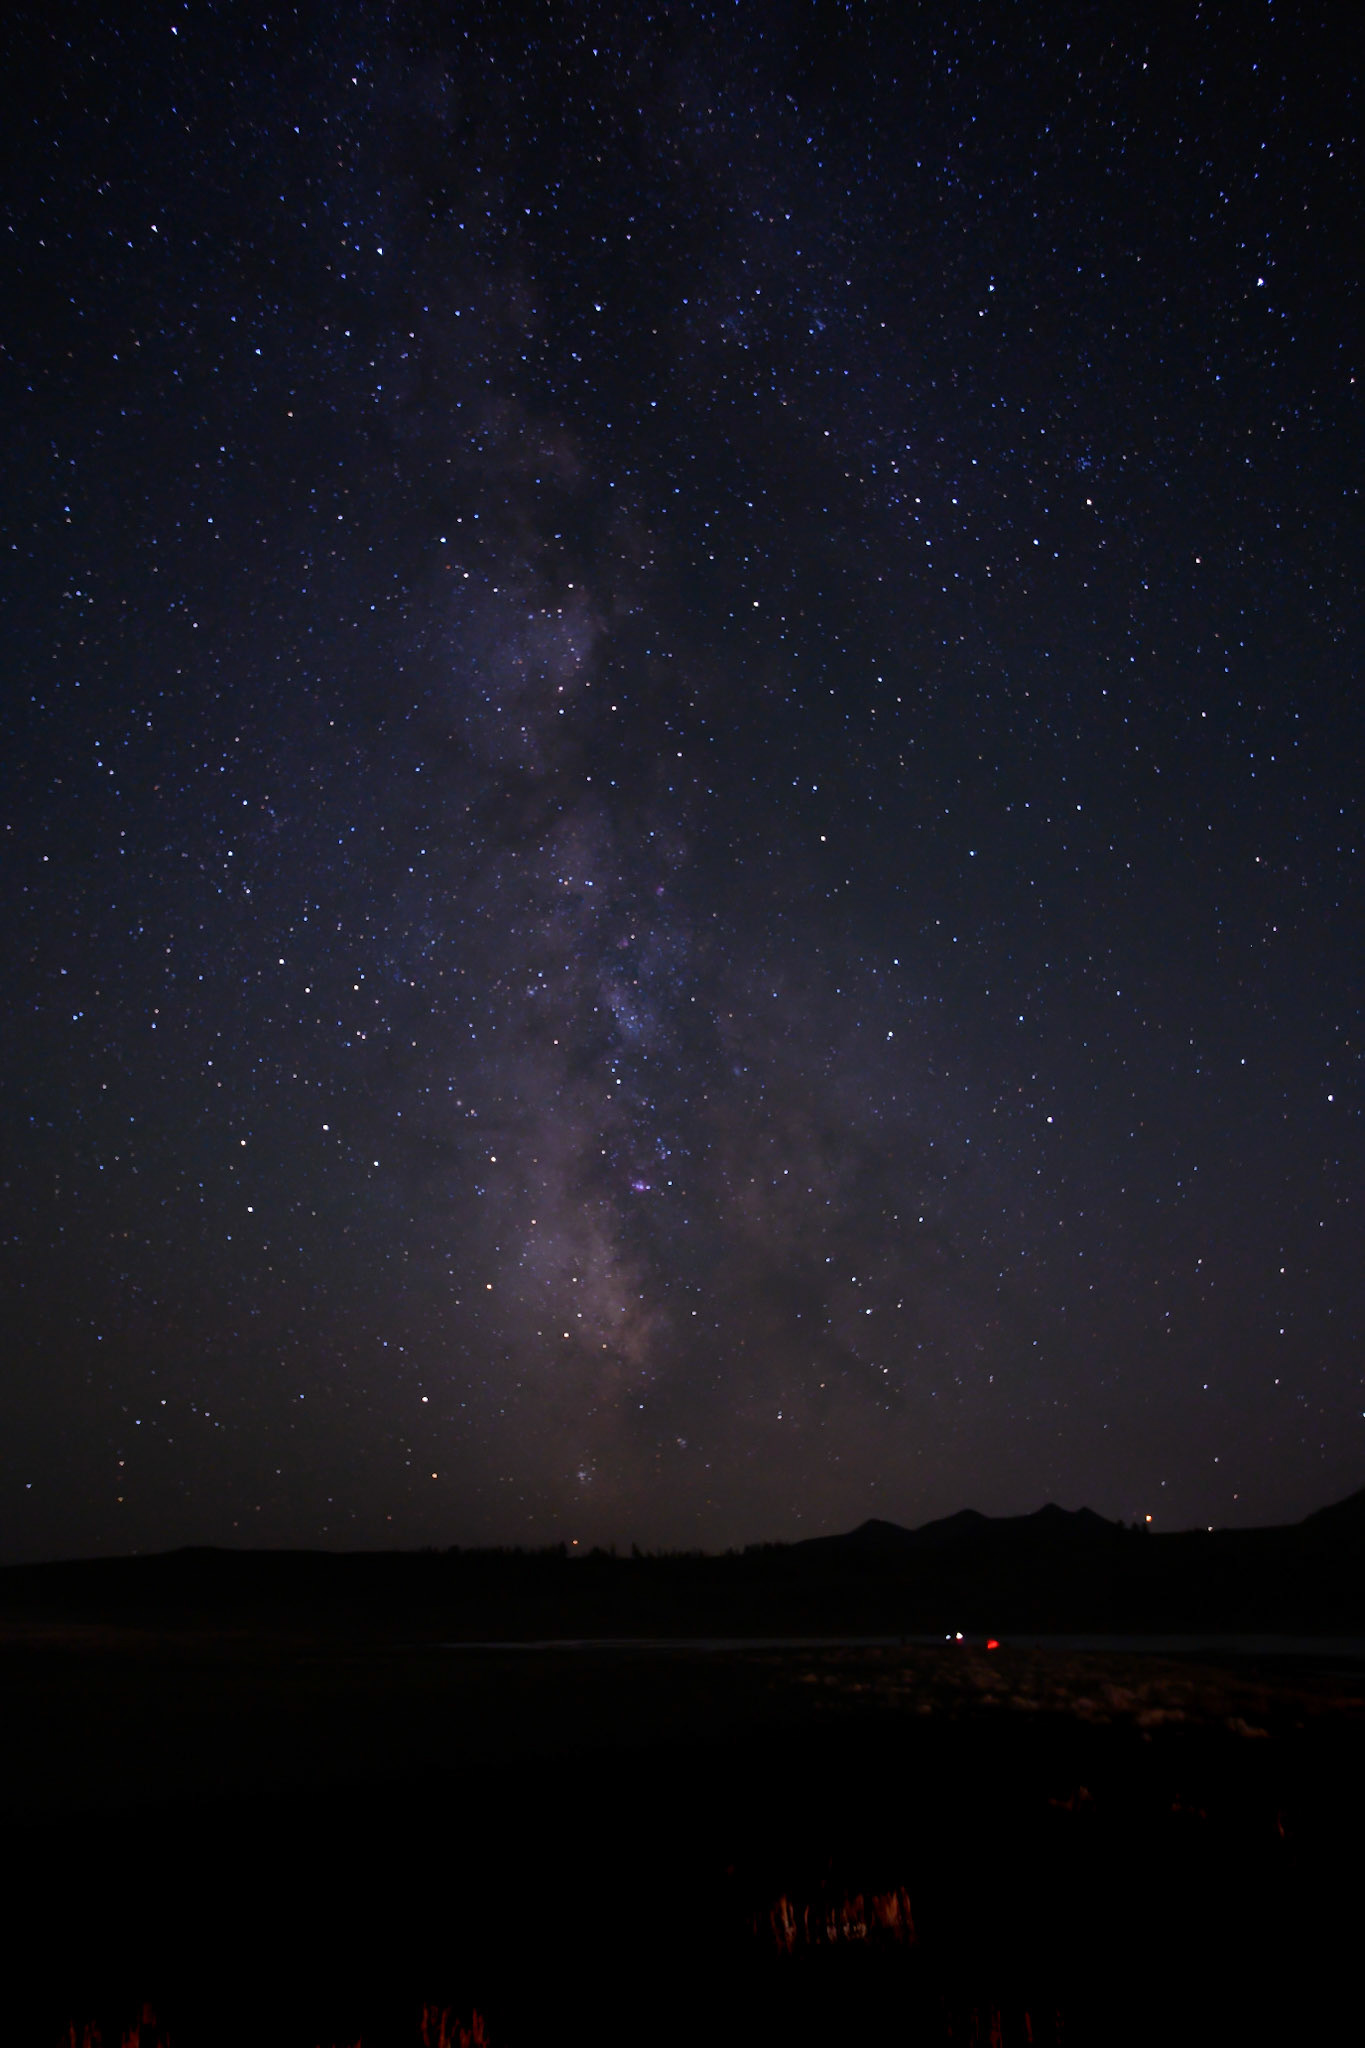
Late in the evening of the first day, the plan was to try our hand at some astronomy/milky way photographs. There probably aren't many darker places in the mainland US where the nights would be darker so with clear skies the images have the potential to be awesome. We went down a side road and found an area to park and began to setup. Cameras with a wide low light lens, tripods, one or two camera mounts, and a start tracker are the recommended setup when starting out. One mount is used to hold the star tracker, the mounts on the star tracker and is used to hold the camera.
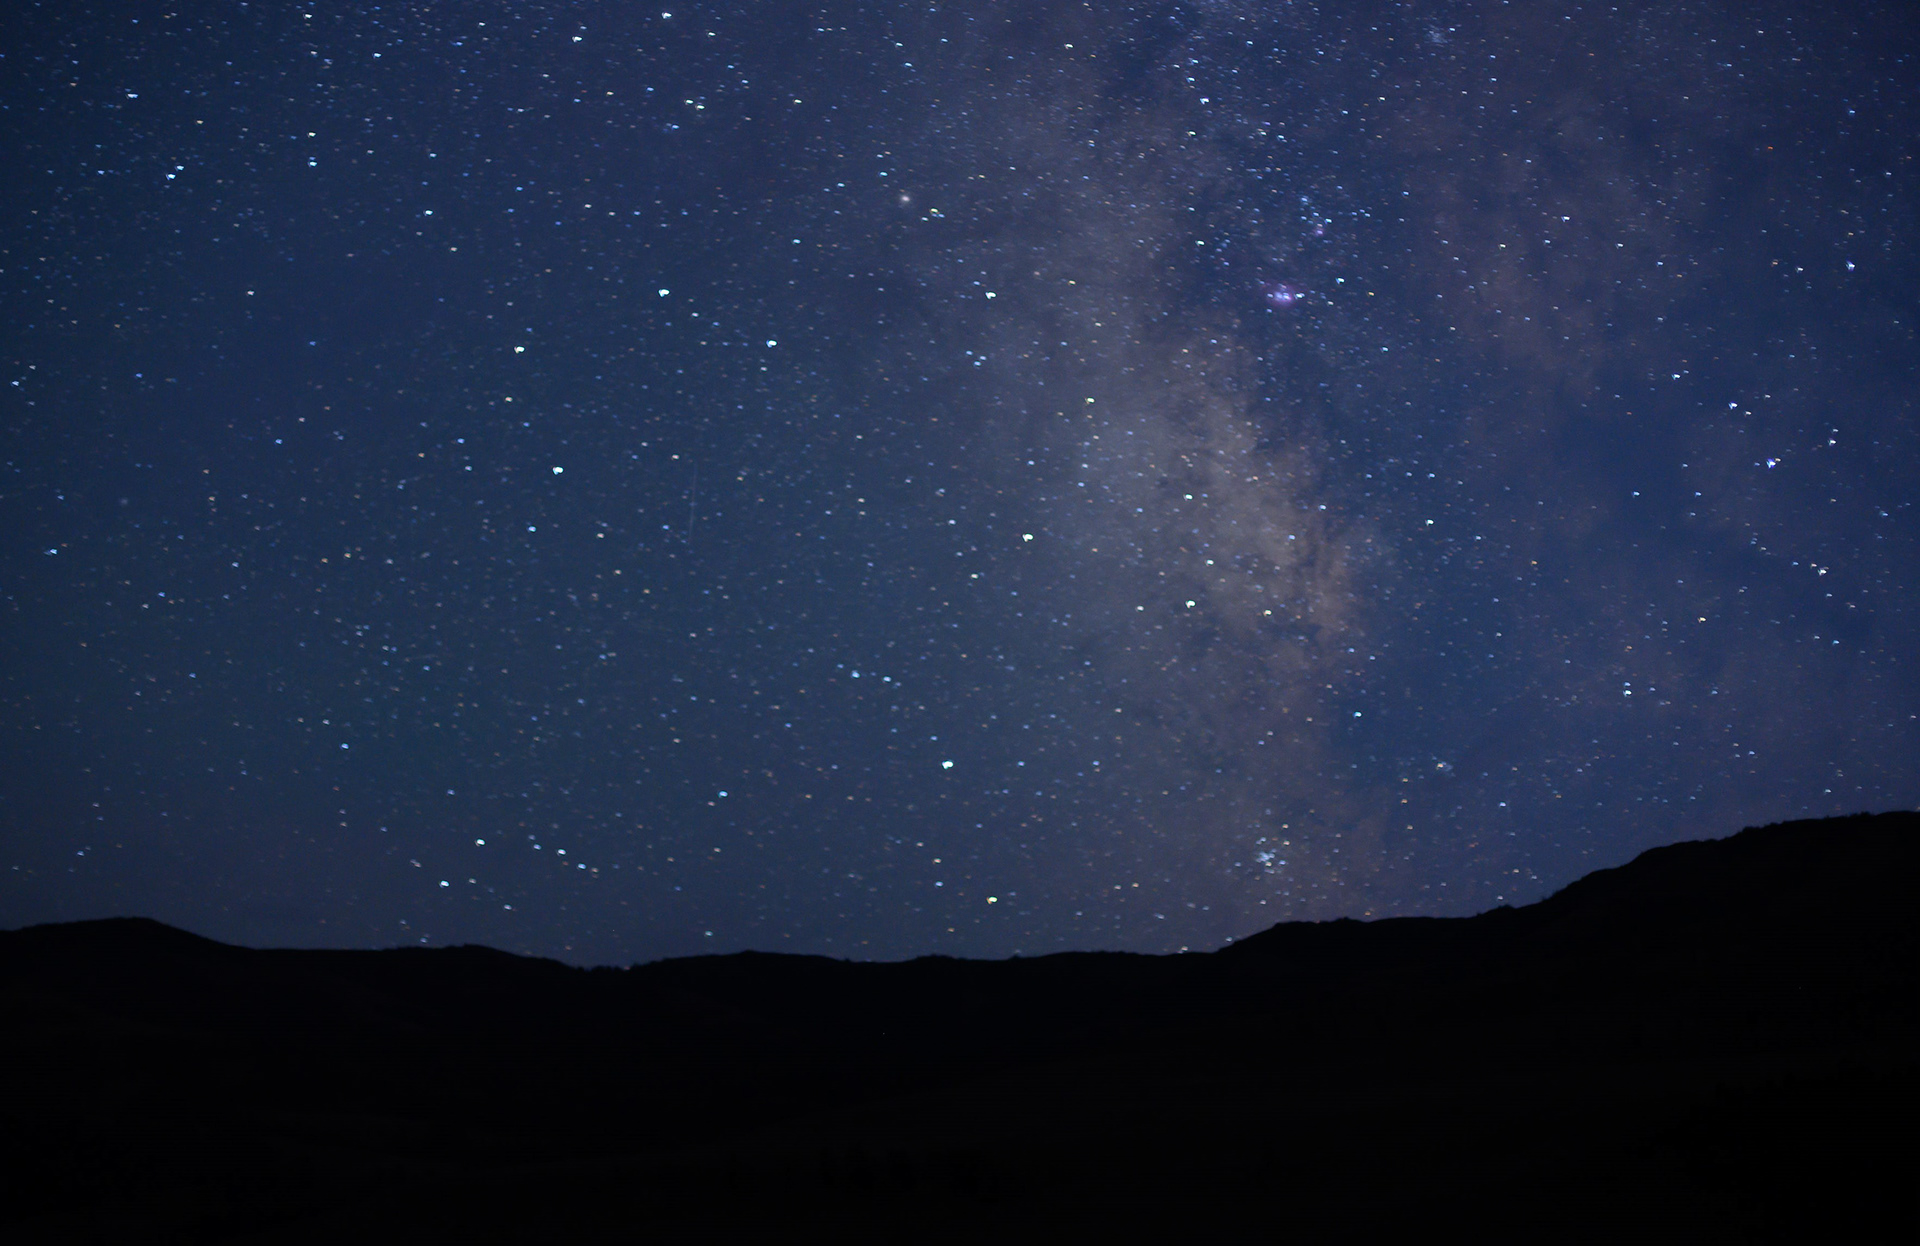
Just like the moon, the stars rise and fall as they traverse the sky. The star tracker is built so that when mounted properly on the tripod it will rotate in synch with the sky and allow you to take long exposures and have stars that are pin points in the sky. If you don't use a star tracker you get stars that look like this;

unless you use a shorter exposure time. If that is what you are going for there is nothing wrong with star trail images, but if you want to shoot and see the milky way you need to be in synch with the stars.
Getting a decent photo of the milky way was one my goals for this trip. I had tried only once before rather unsuccessfully so I was hoping with the aid of Hudson and Rick LePage I might learn enough to get one or two. I mentioned all the equipment because not having it all with me was an important part of this nights story. I had the tripod, the camera, the MoveShootMove (MSM) star tracker but only one camera mount. Somehow, I had left the ball head for the camera back in the hotel. All was not lost because I had some other clamps that I was able to jury rig together in a way that could work.
The process goes like this, you set the star tracker up on the tripod, get it level and oriented properly with the north star. The MSM has a really cool way of doing this. If you are interested Hudson demonstrates it here:
In the dark you need this equipment to snap together as easily as possible and with the right equipment it works. Not having the right equipment felt like I was about to charge the hill without any ammo and the night would be a loss. I got the star tracker set up. Next you get your camera focused on infinity. There is a trick to that Hudson teaches where you focus on the brightest star, perhaps a planet, in the sky. So I did that. Then I attempted to mount the camera. Without the mount I had to screw the z-clamp into the star tracker and then into the bottom of the camera using two 1/4" screws. In the dark. After struggling for what seemed like an eternity Rick LePage, one of the workshop leaders from Complete Digital Photography, noticed my exasperation and came over to offer a hand. With his help we got the camera attached and I was able to move to the next step of trying to compose the photo. Eventually the test shot below was taken and I was feeling better about the prospects …
However, about that time Hudson came by after helping others and asked how I was doing and looked at the image above on the back of my camera and simply said you need to refocus and started toward the next person. Then turned, looked back at me and said you will need to take it off the tripod to refocus to get it right.
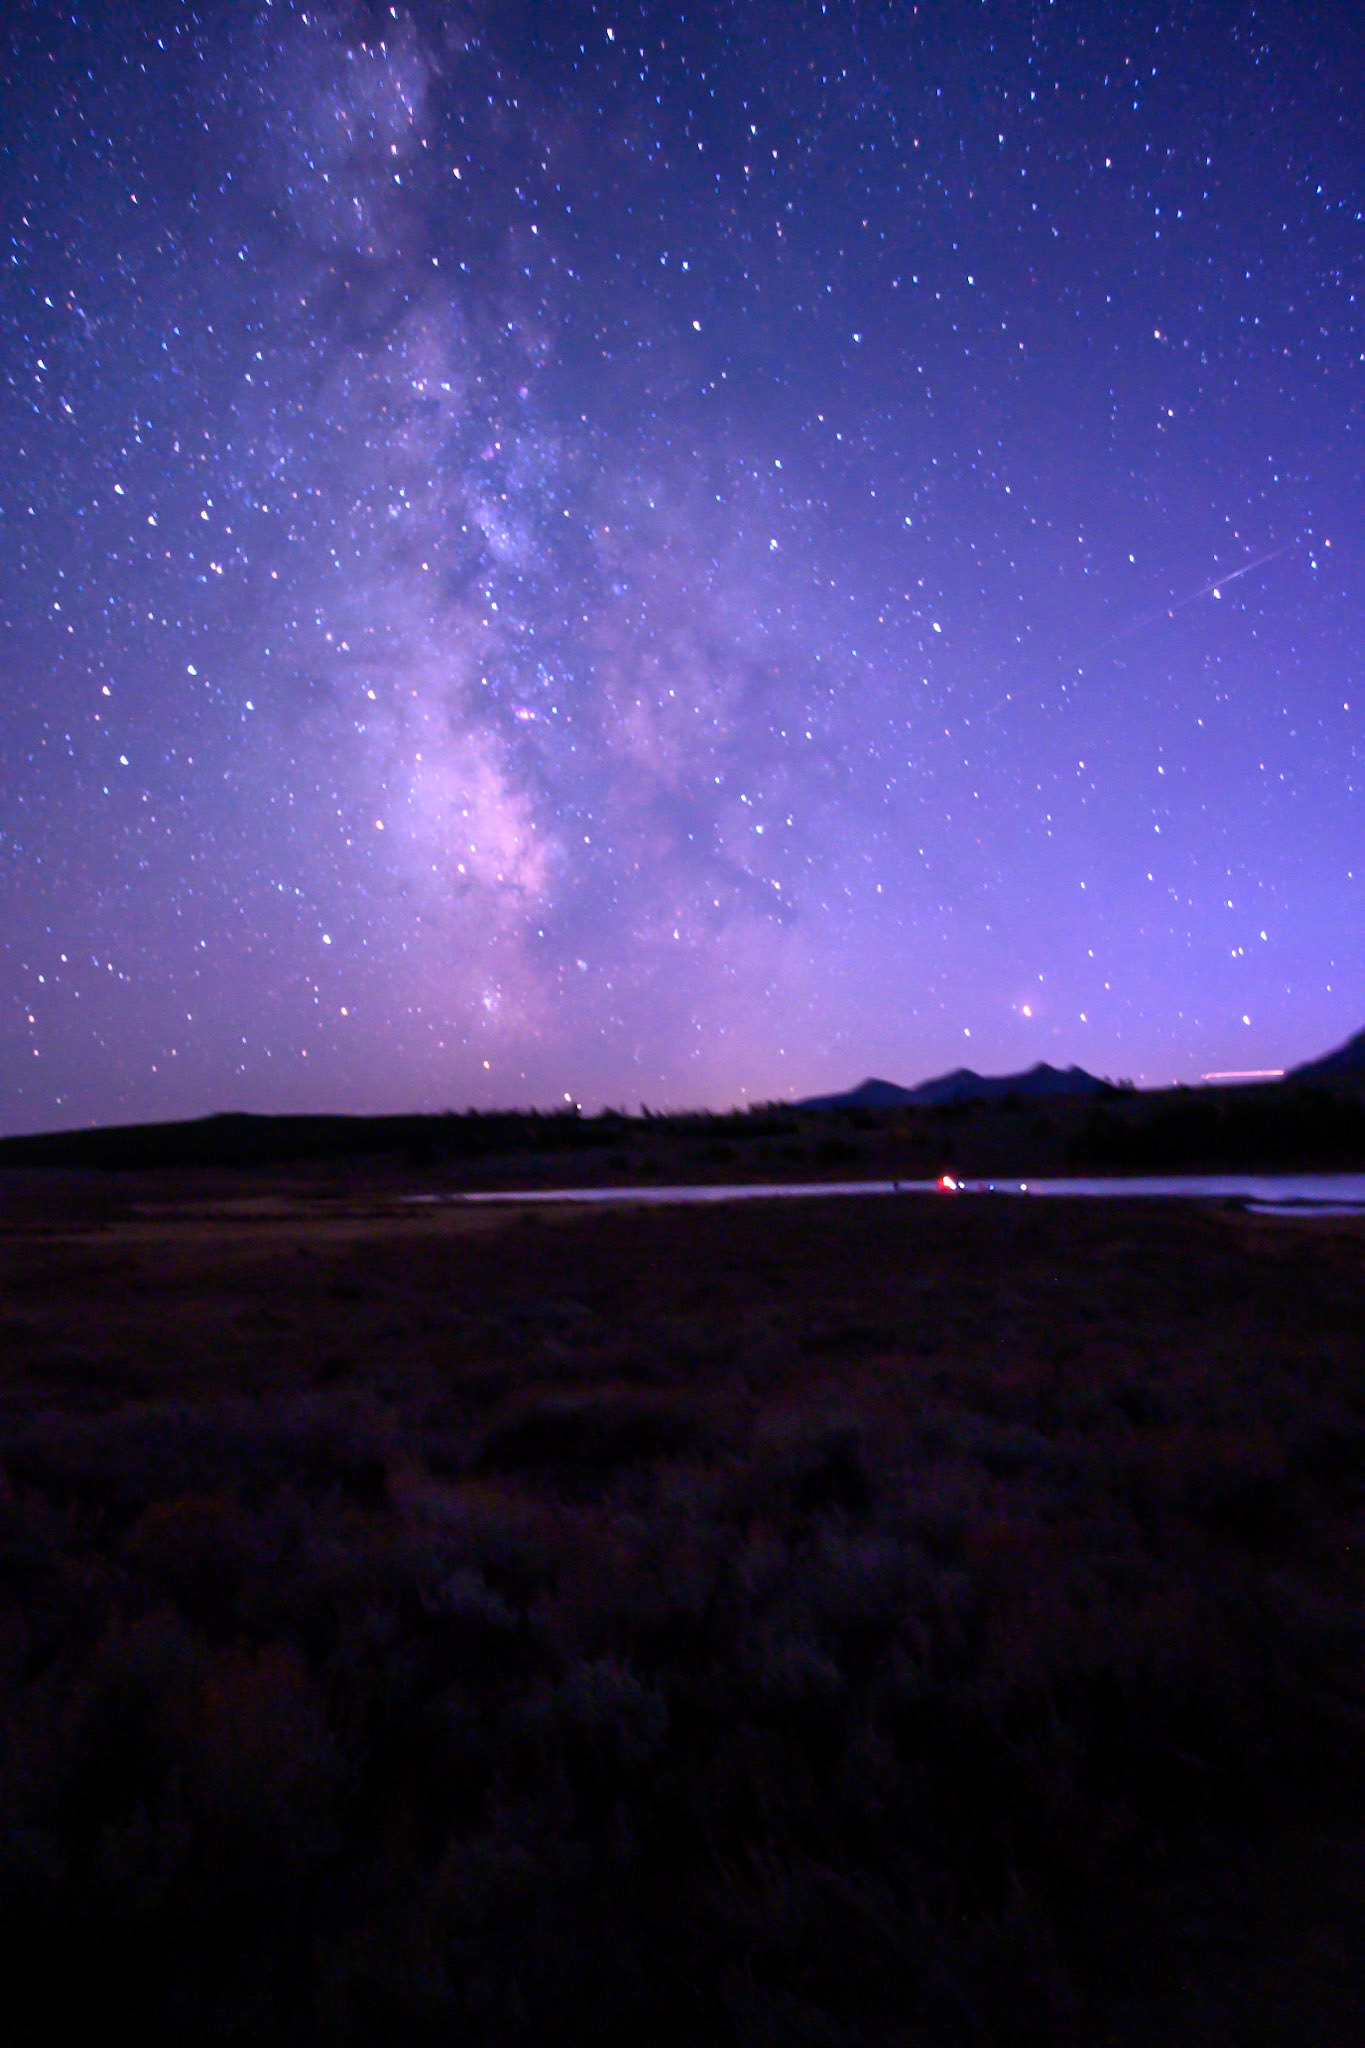
I had probably knocked the camera out of focus trying to get it on the tripod in the first place so essentially I was starting over, only now it is even darker. Hudson was right, the camera was out of focus and I could tell when I got it back in focus. If I had access to some duck tape I probably would have taped the focus ring so it couldn’t move at that point. But now it had to go back on the tripod. Once again Rick saw me struggling and came over to see what I was up to, asking "why did you take it off". I explained the story and he said then we need to get it back on the tripod and somehow he managed to get the camera attached for me. We checked the star tracker was properly aligned and I was able to get some better images which you can see on the web site here. Rick showed more patience that night than most kindergarten teachers have with 5 year-olds. If you see this Rick, thanks again. I was using a 50mm lens that was made for low light. What I didn't know it that it was also known for having issues with chromatic aberrations the closer you go to the images. If you look at the center image you will stars that look like they have bat wings. This was caused by the lens. My solution was to crop the images a create the two portrait shots you see below. The lens I used would make a better portrait lens than an astro lens for this reason but Iwas able to rescue a few images from this night thanks get getting serious help from Rick. Once setup I tried some different camera settings. I also have learned a little about what needs to be done in post depending on what you want out of the image to make them better as illustrated below.


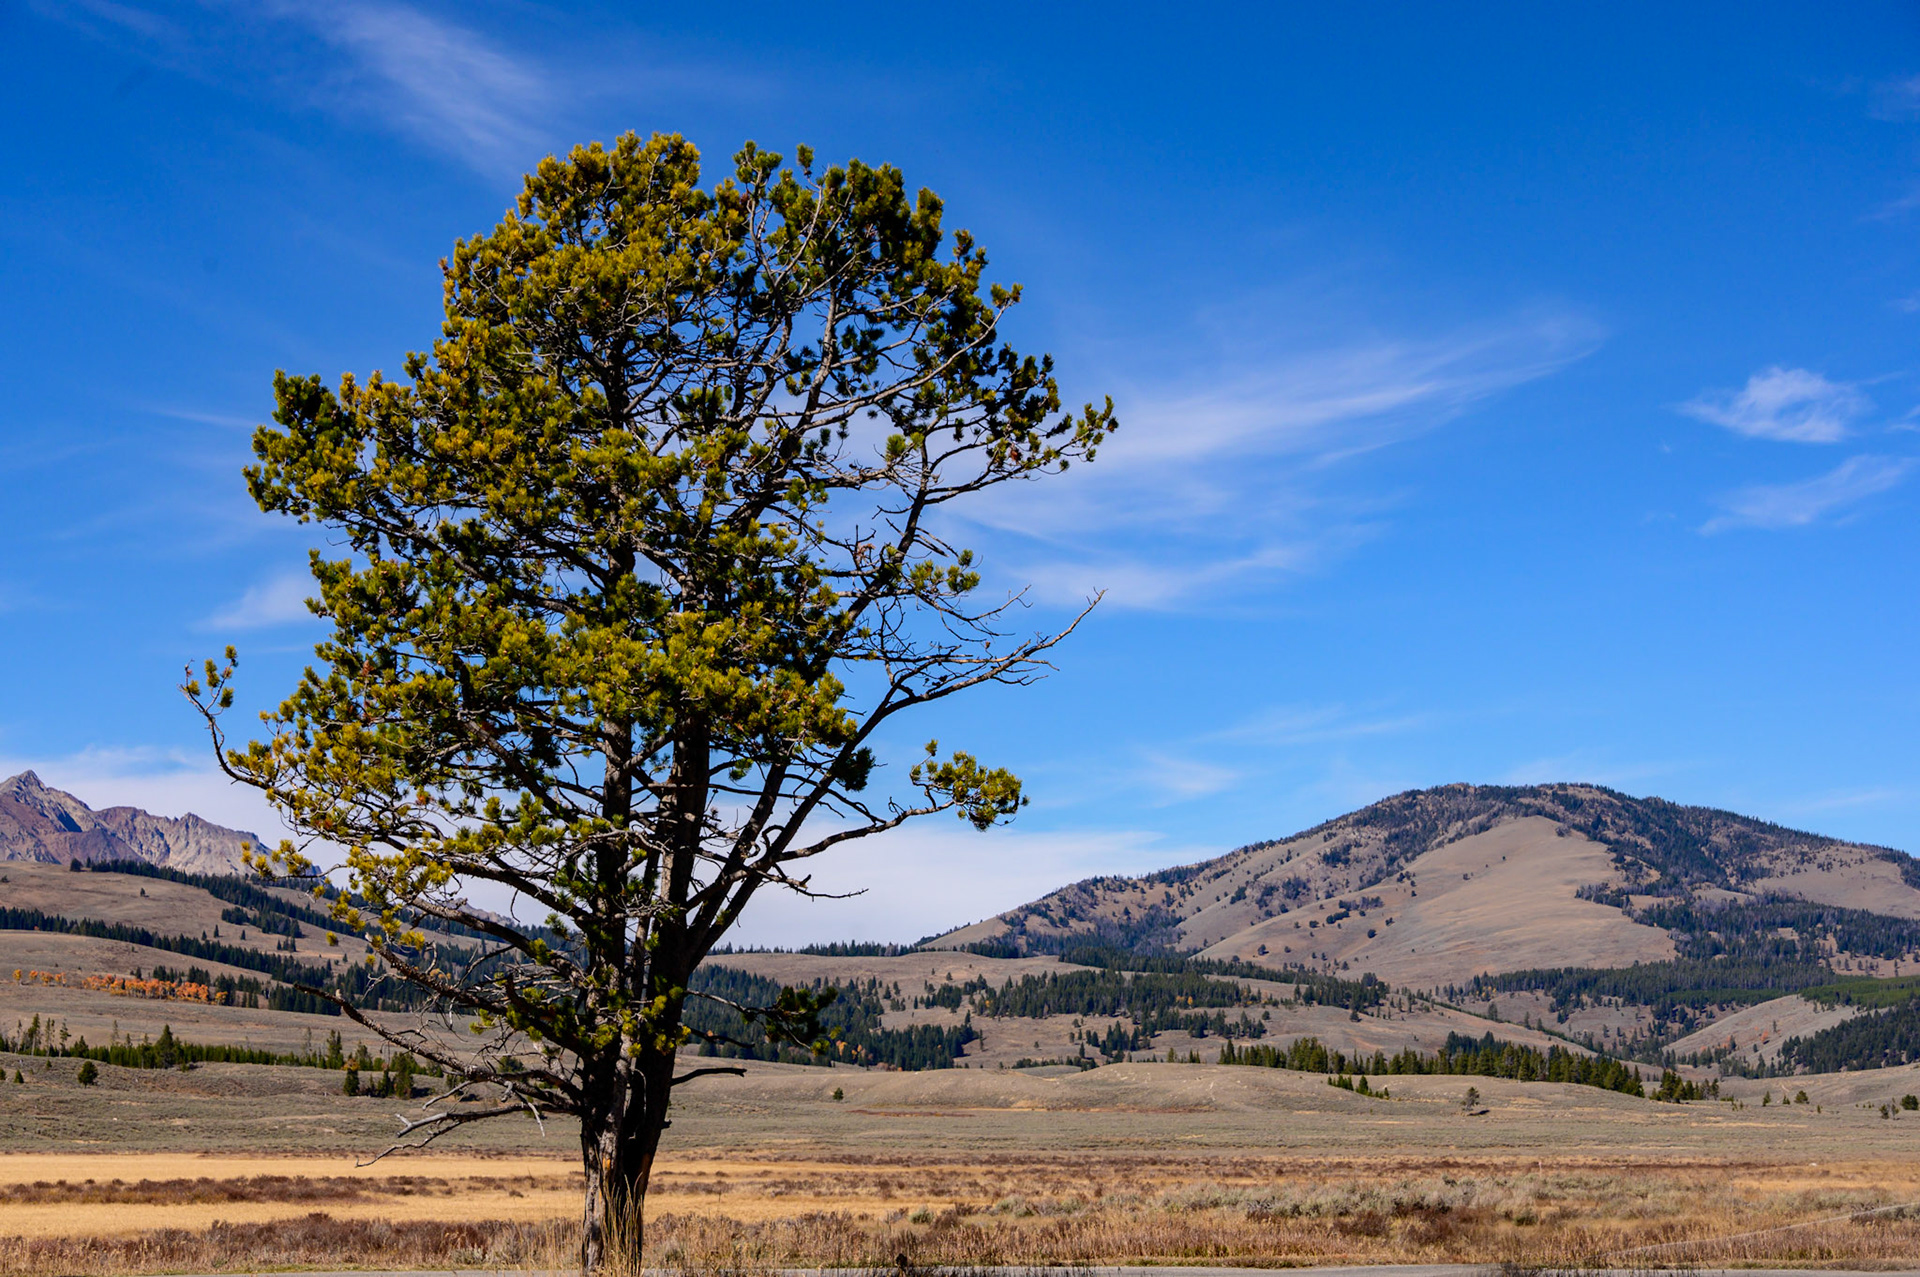
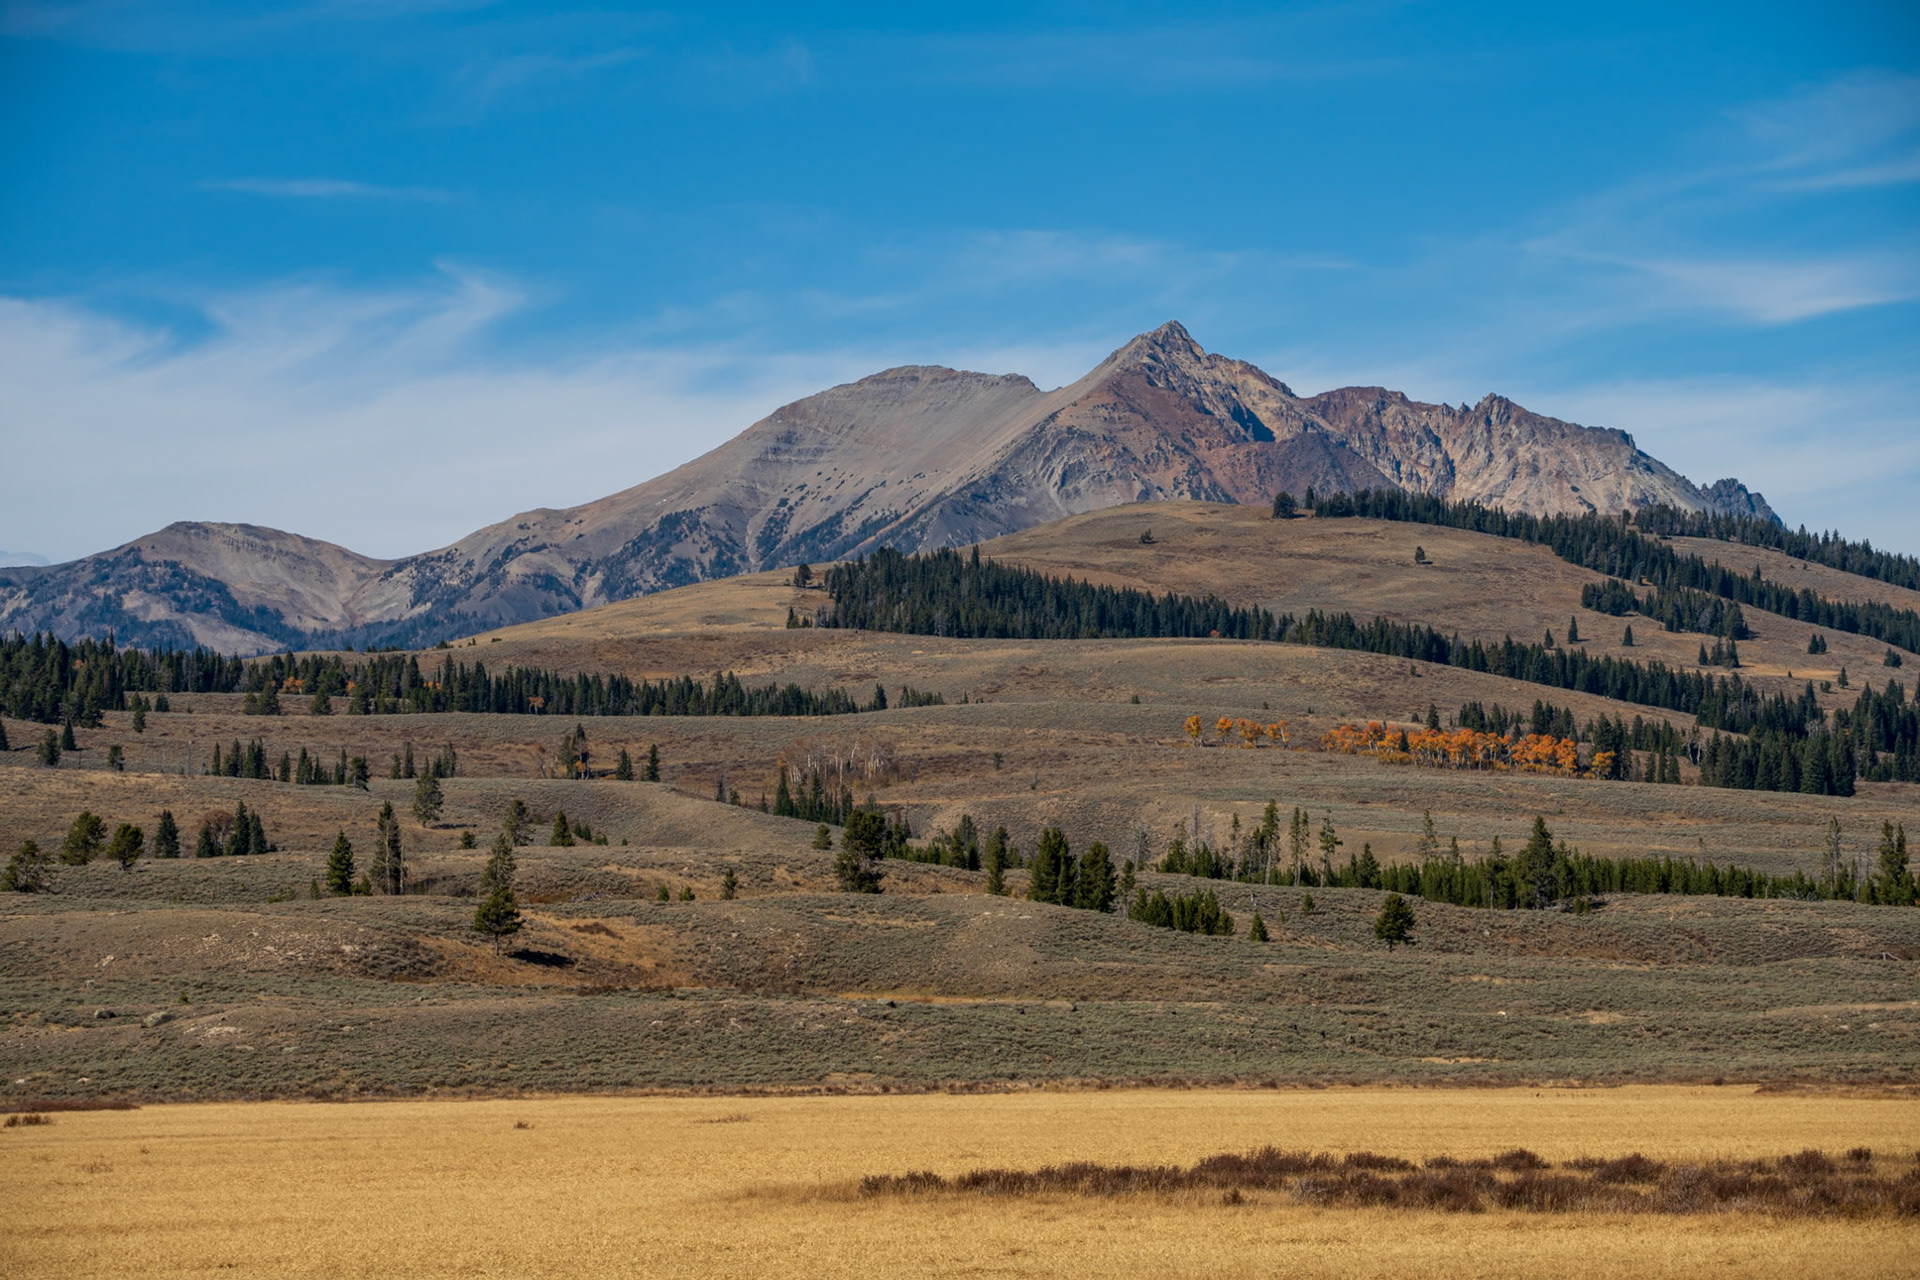
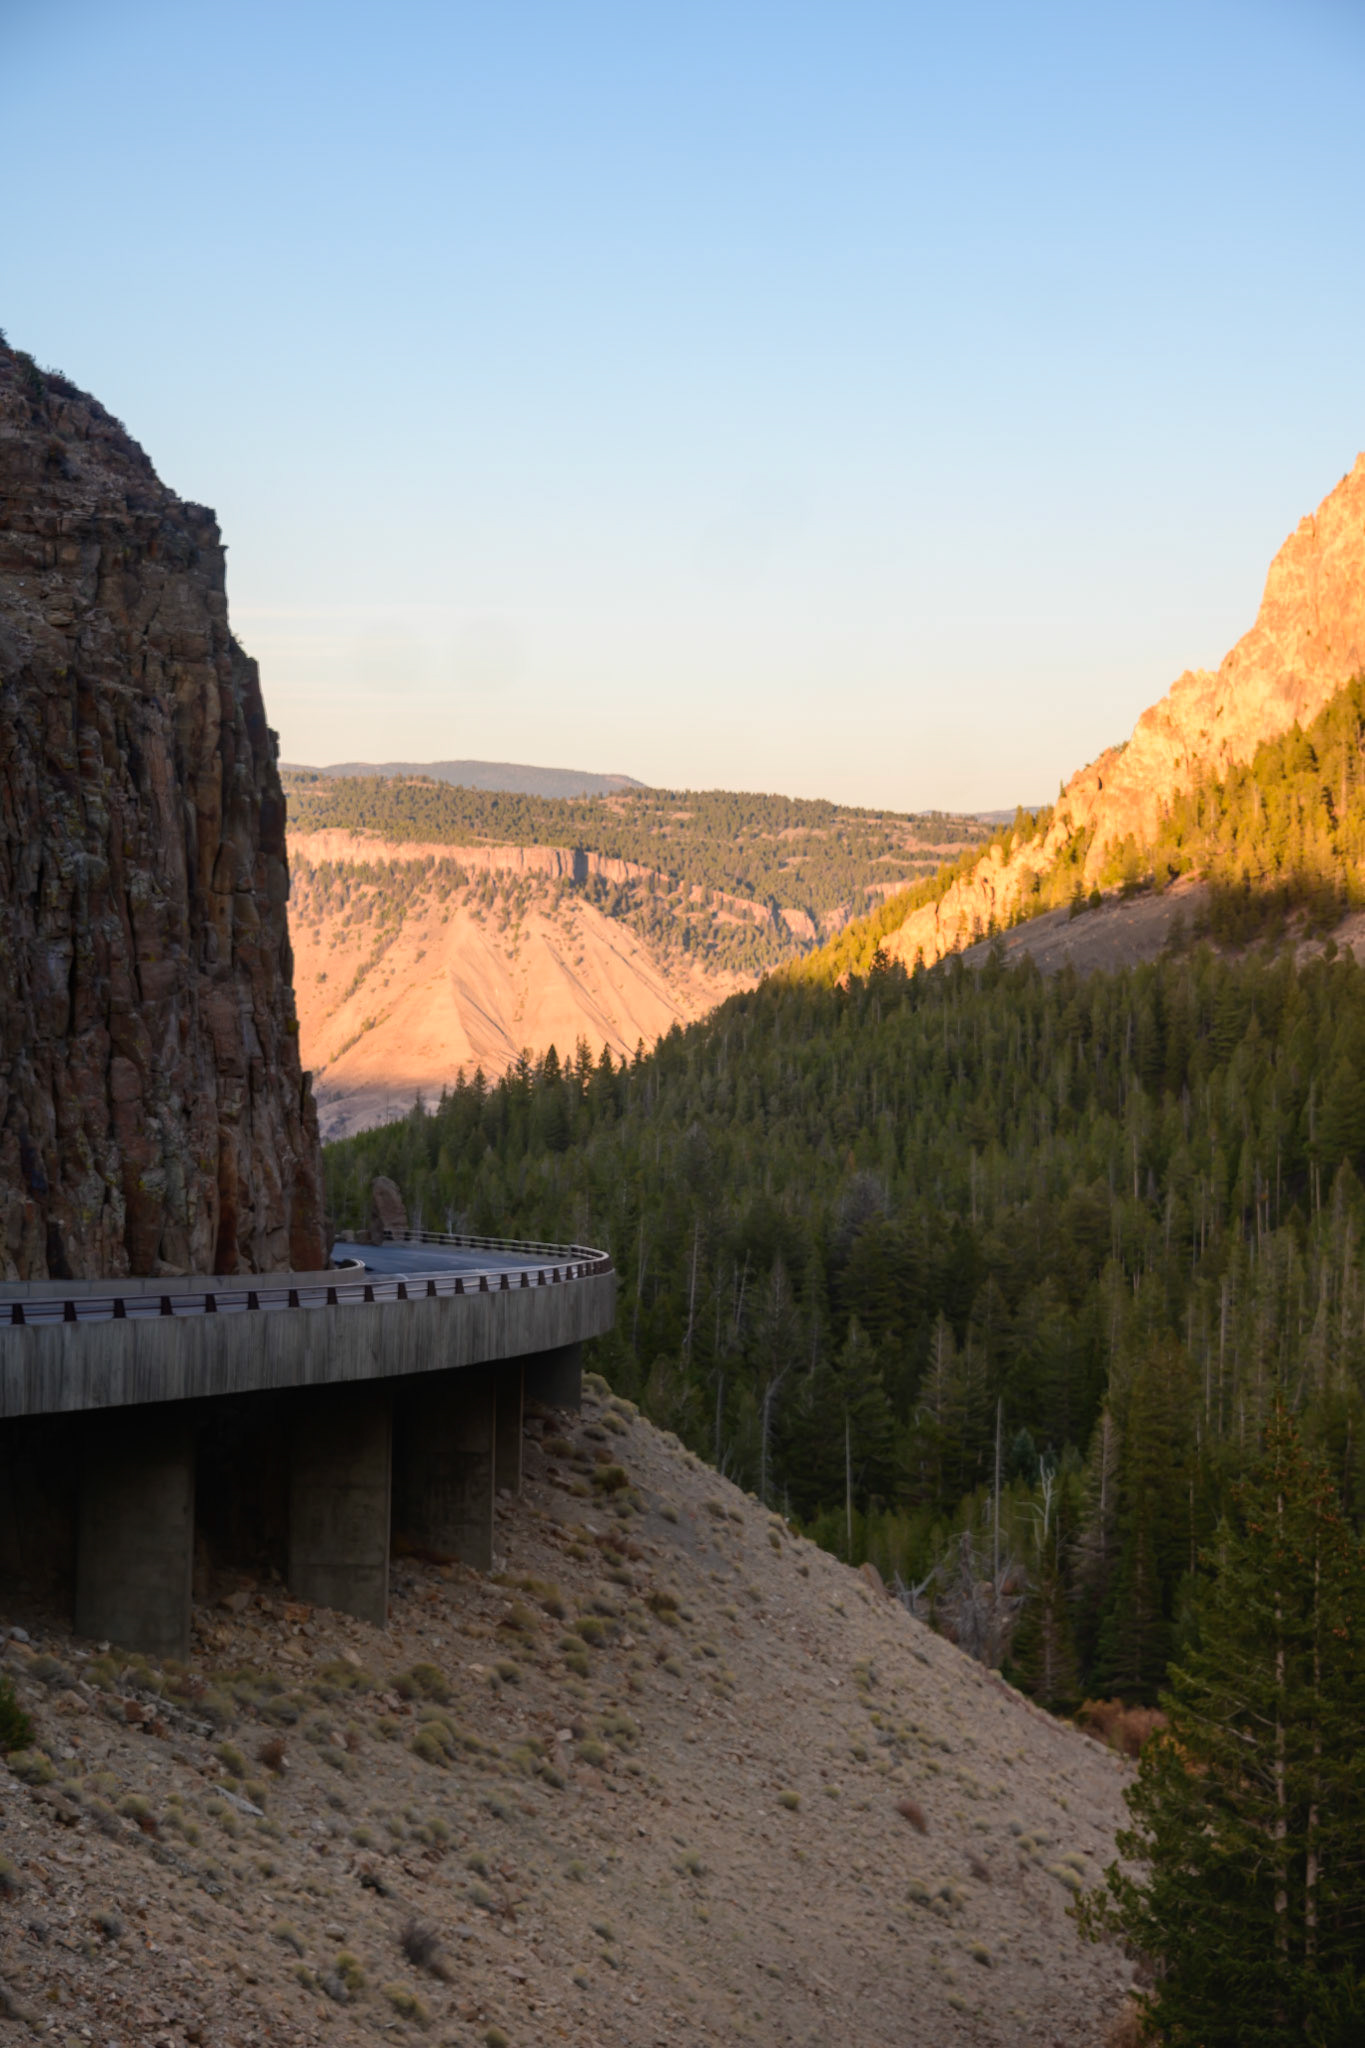
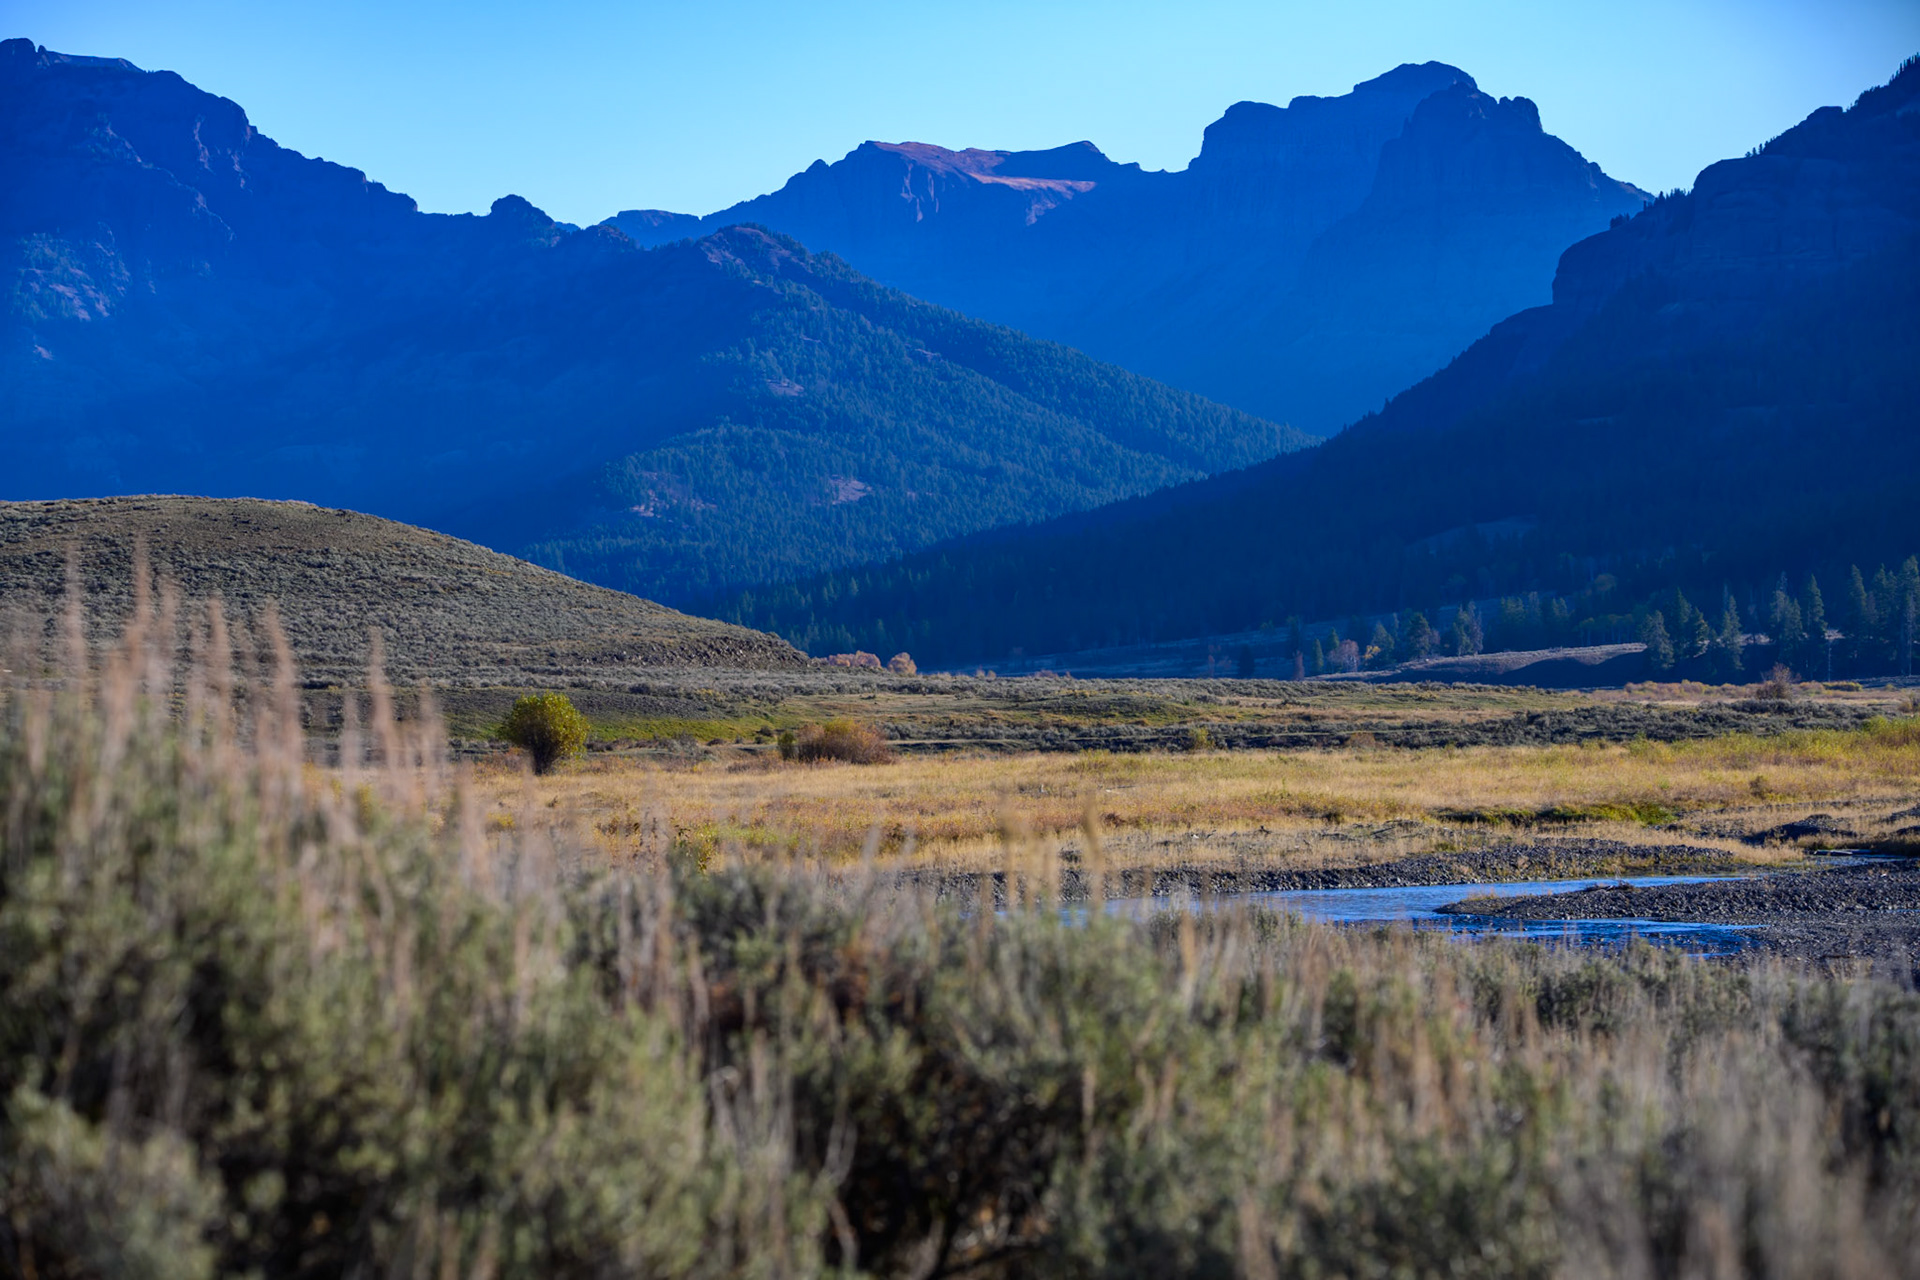
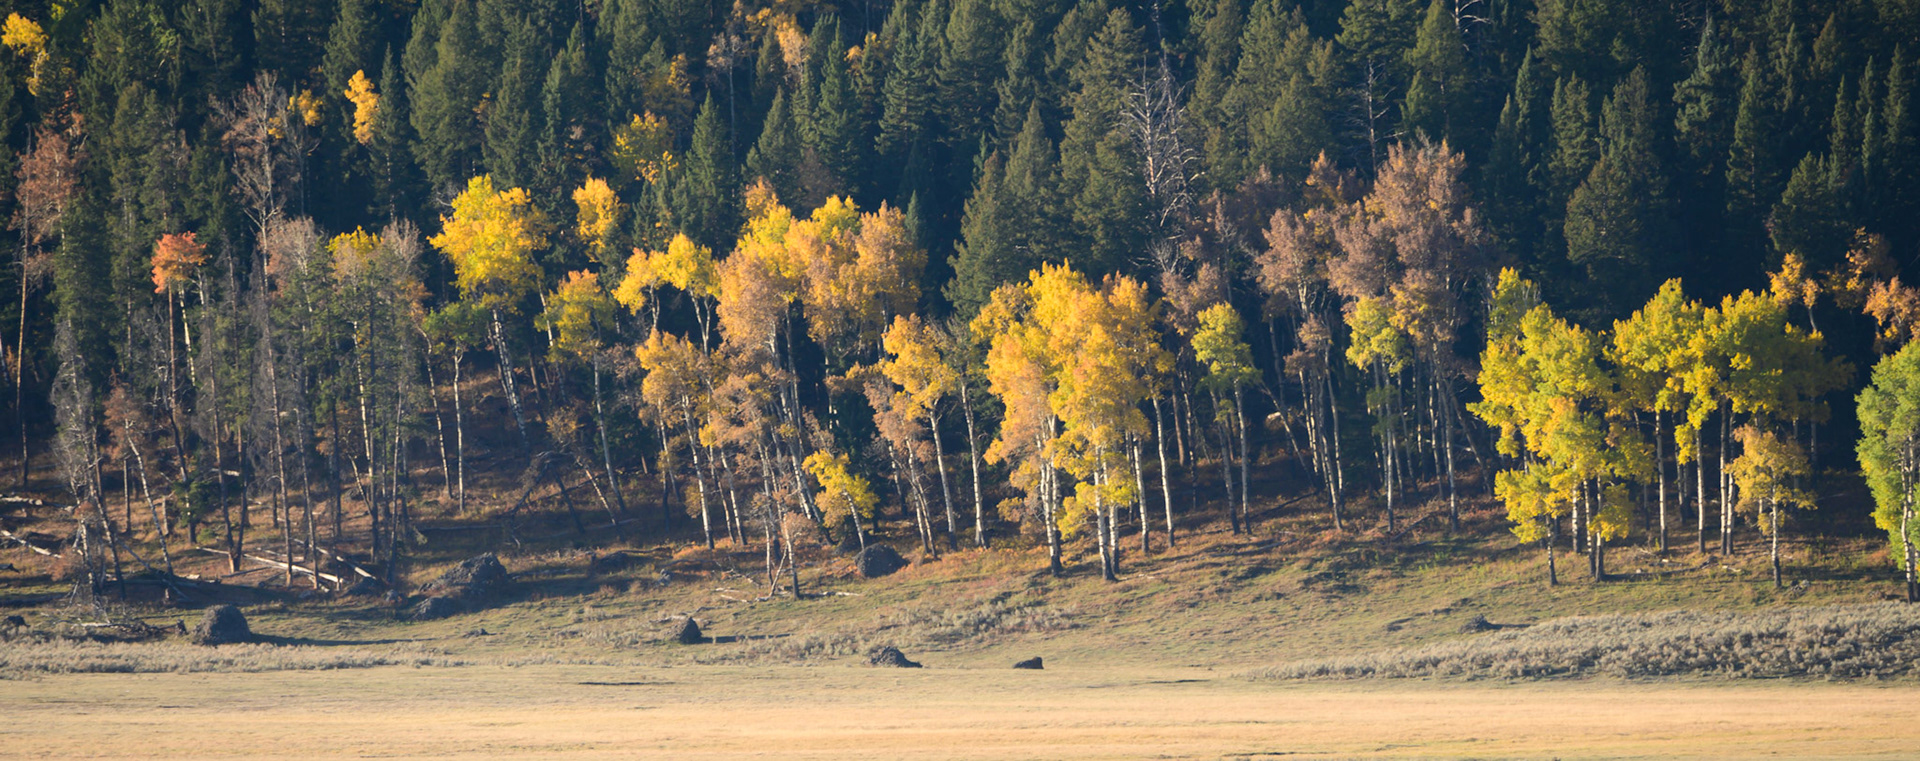
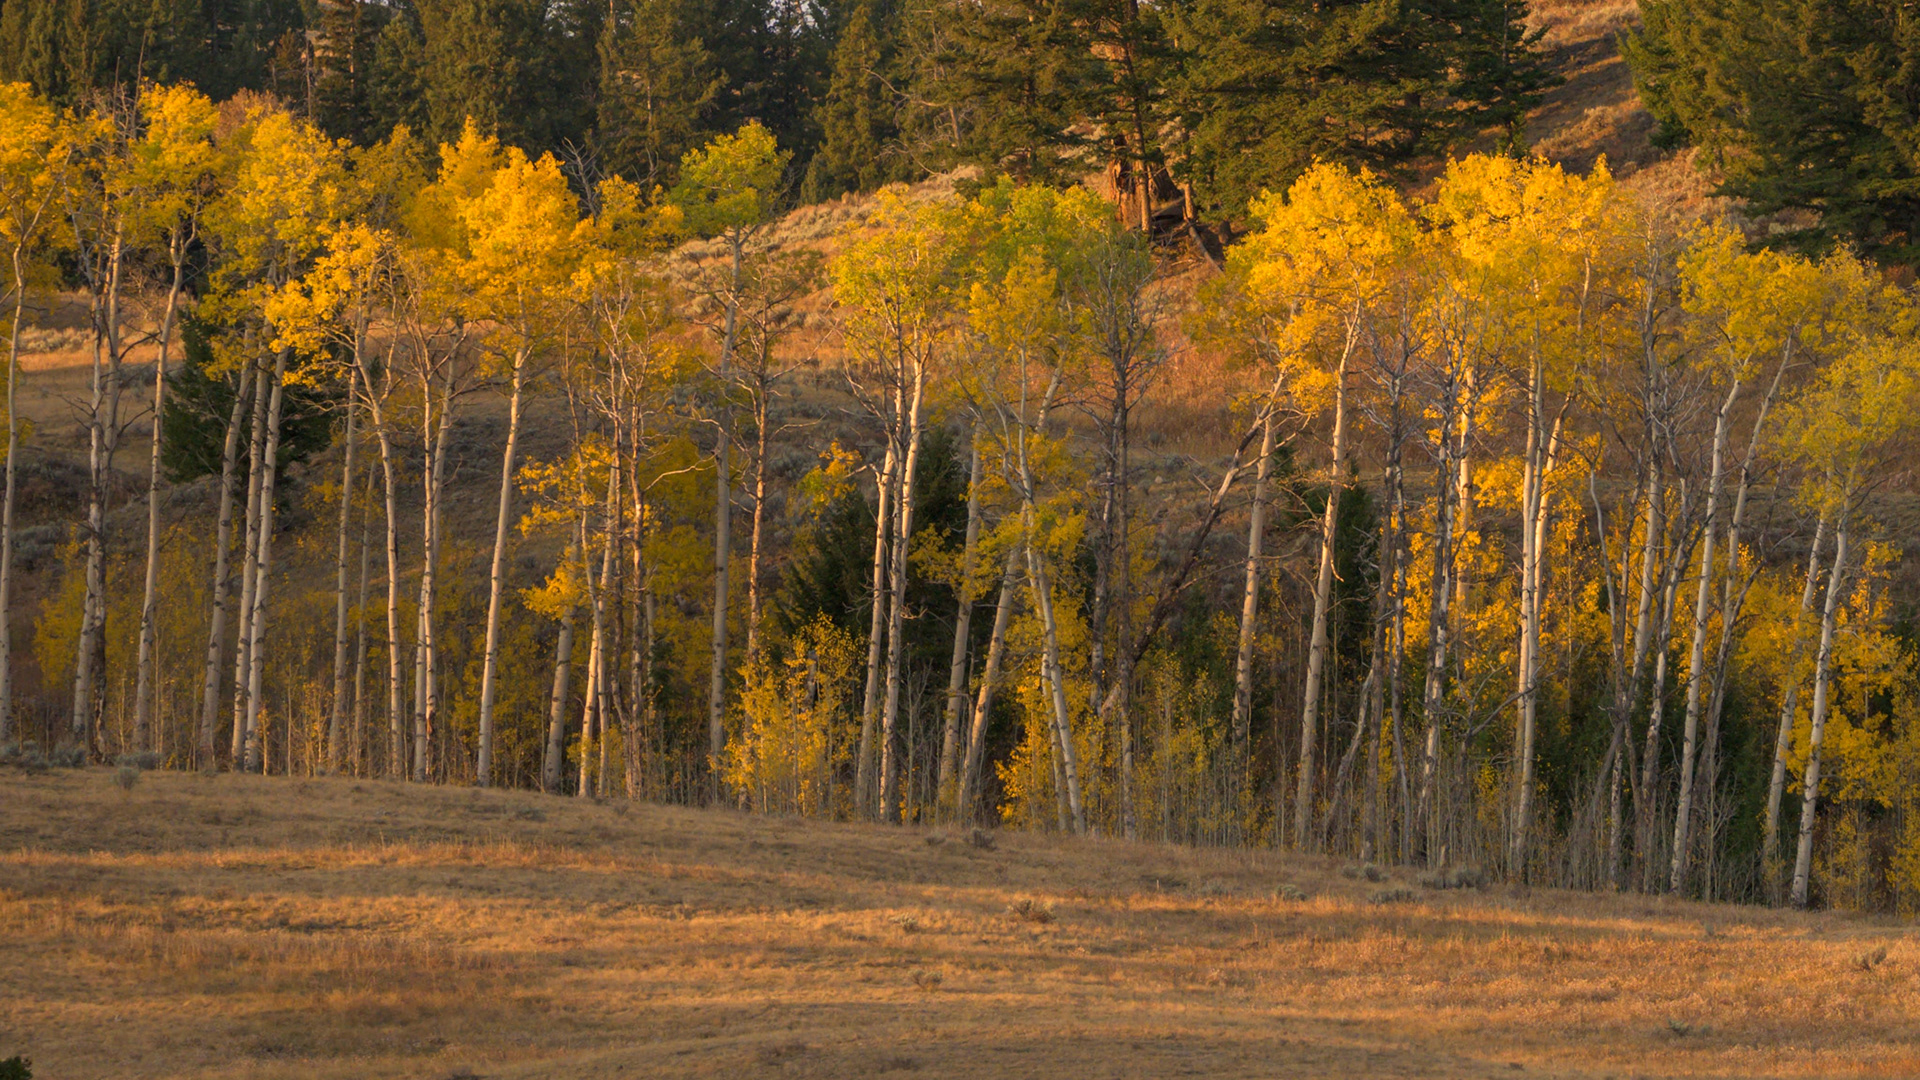
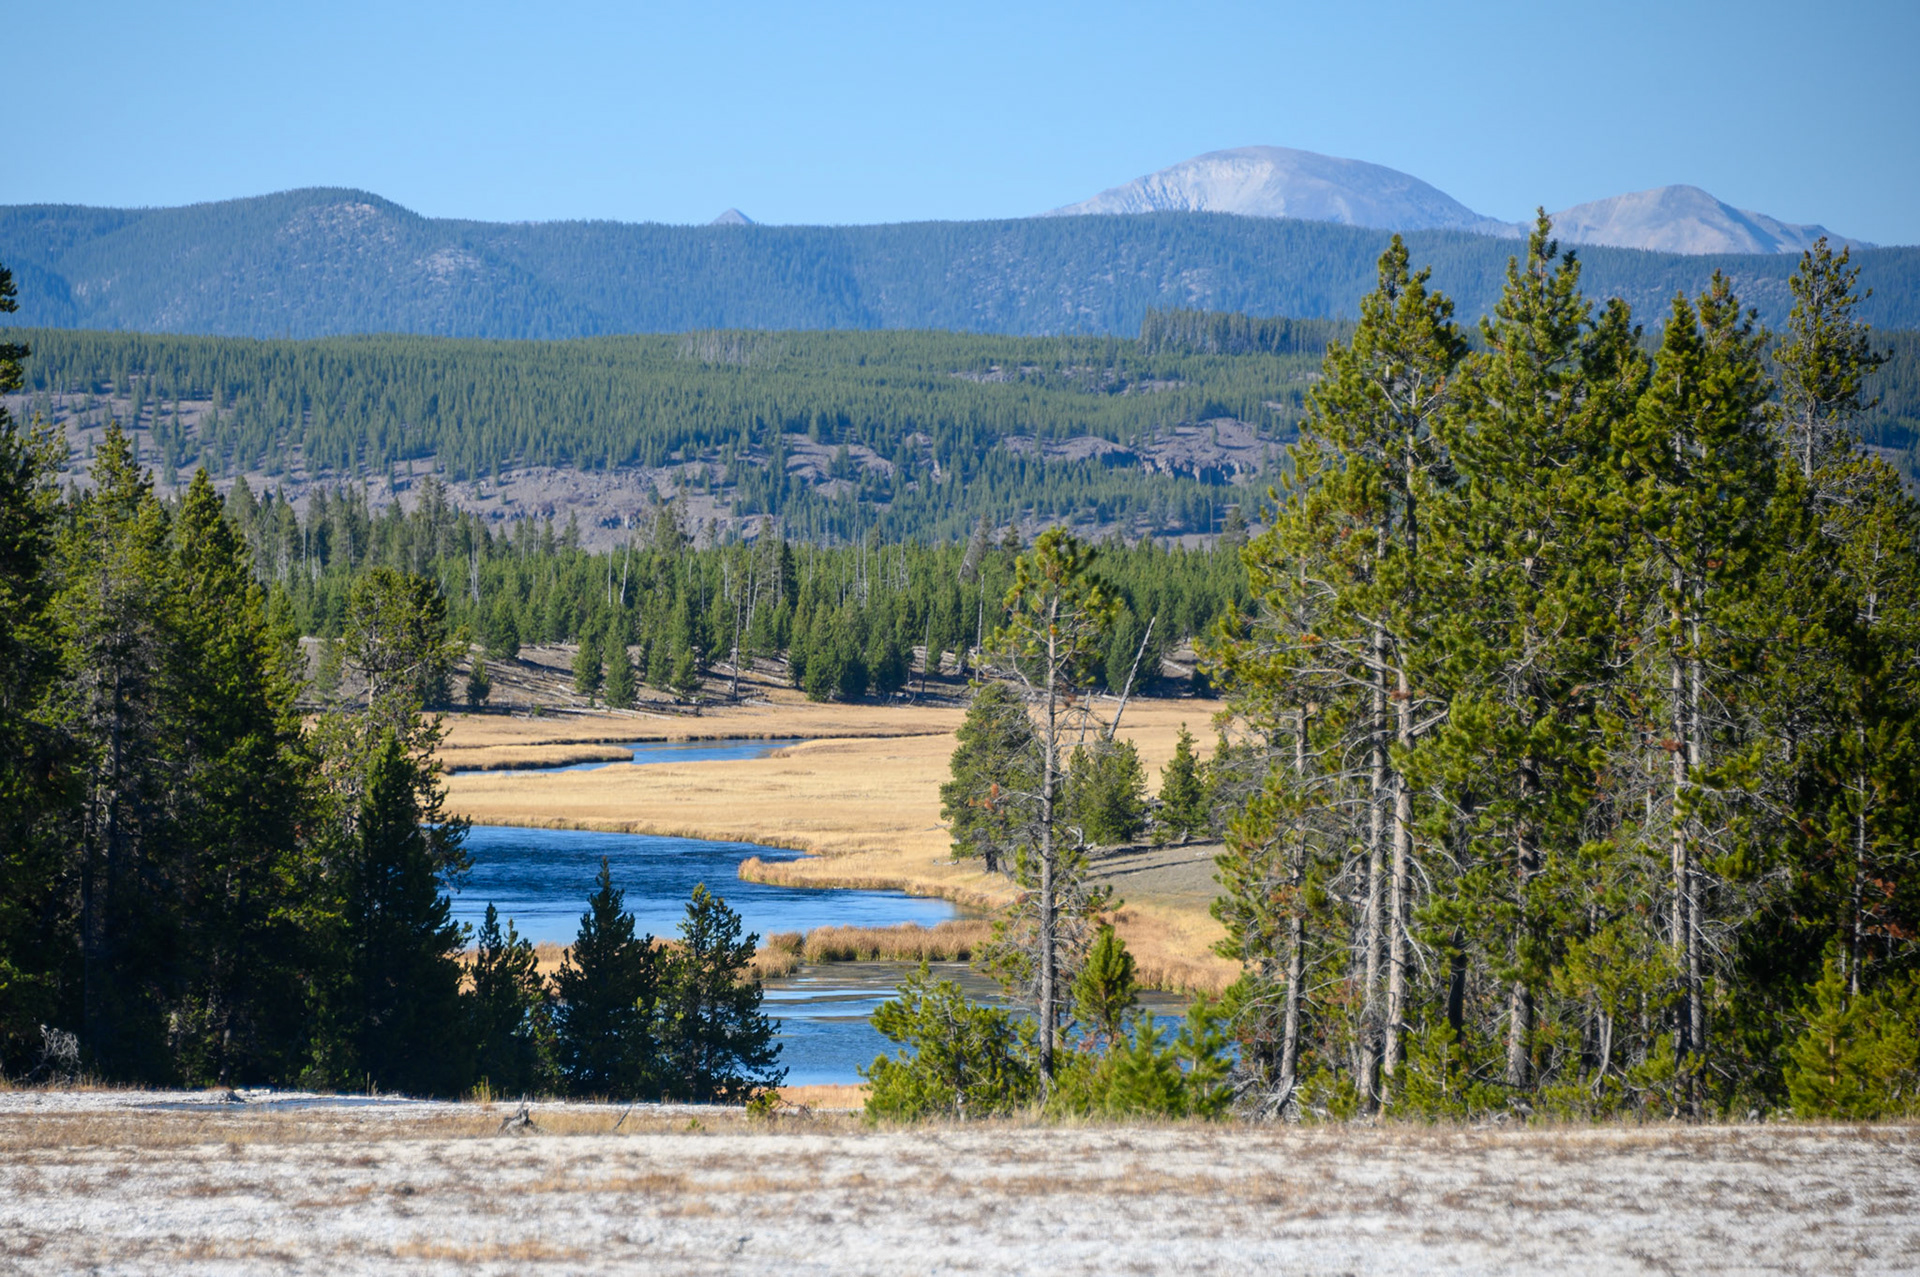
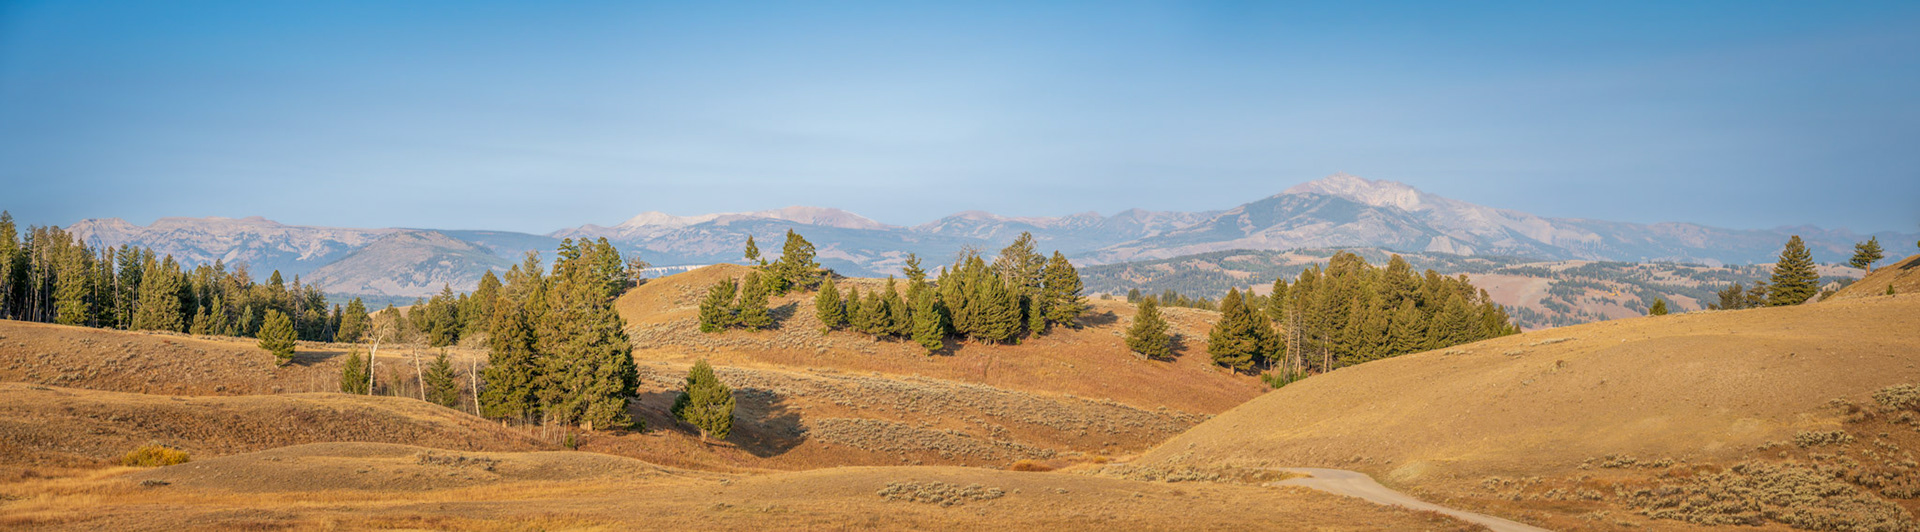
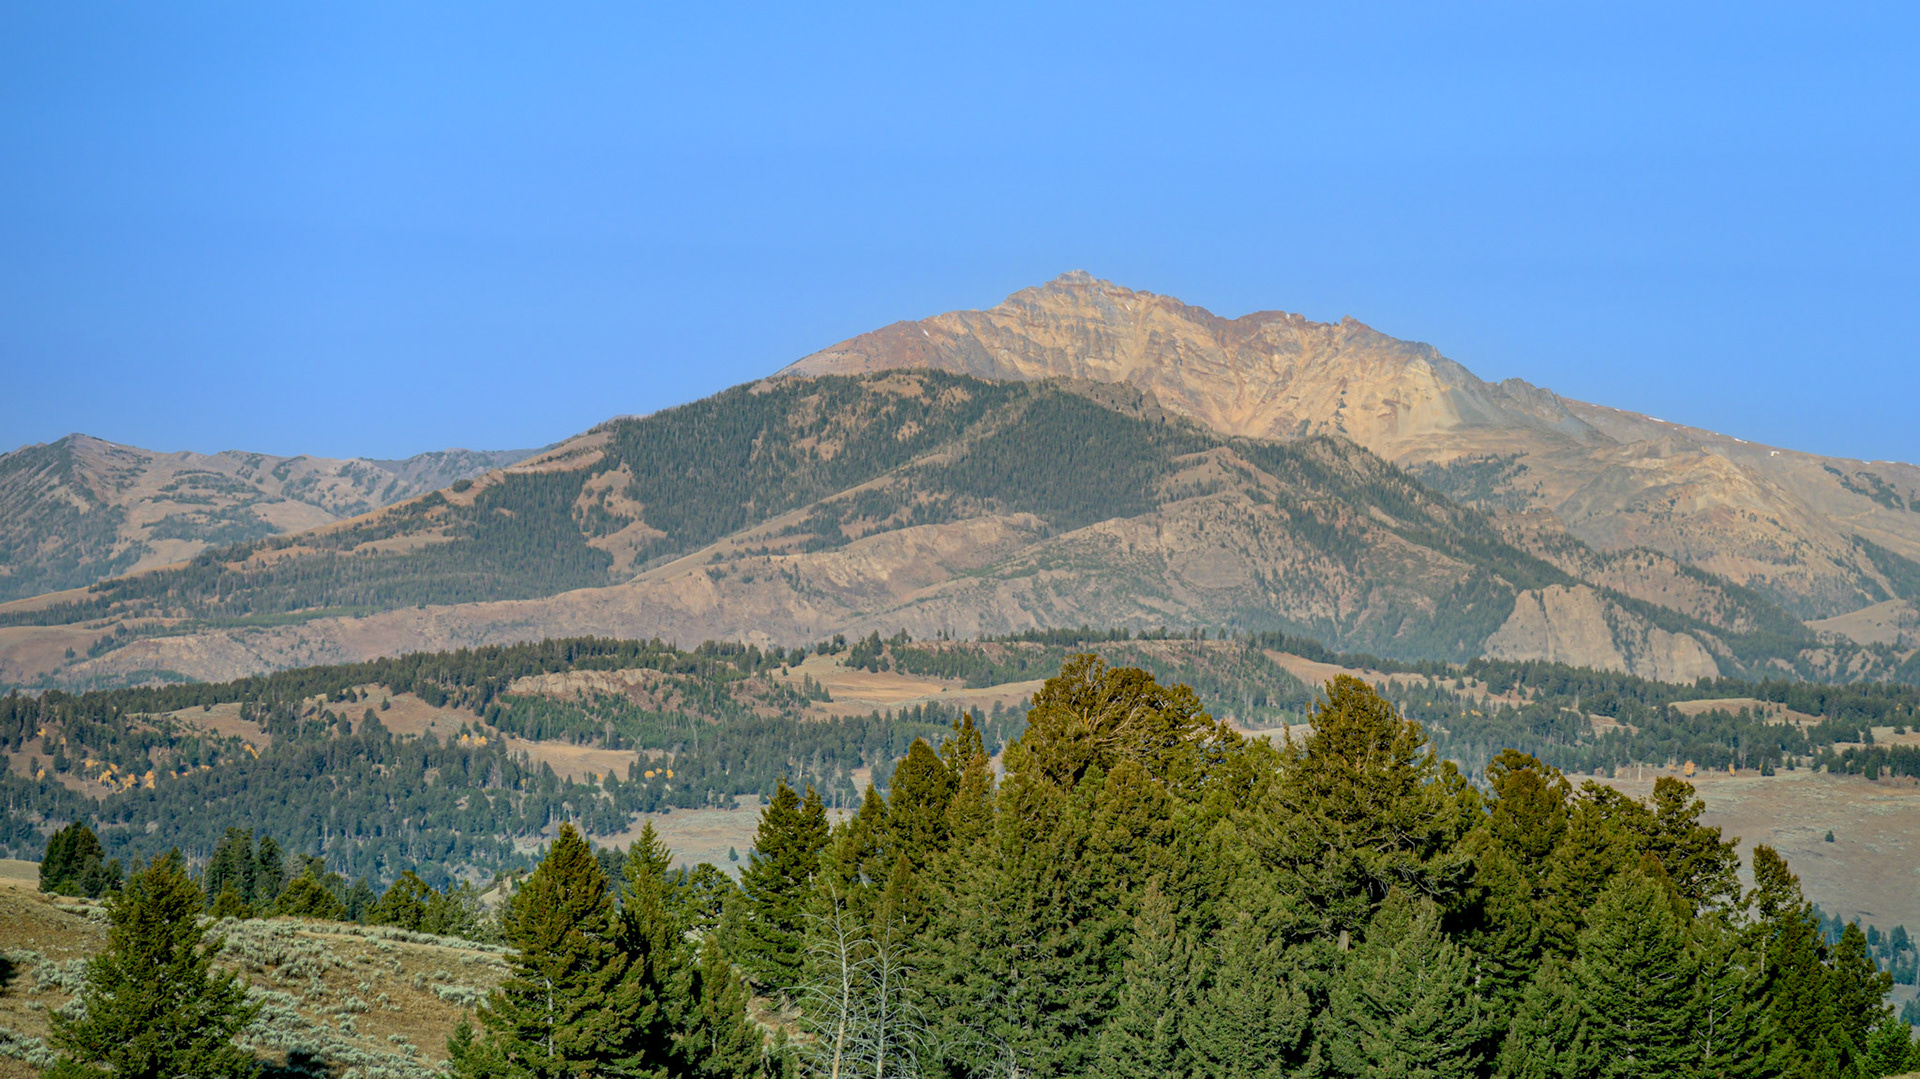
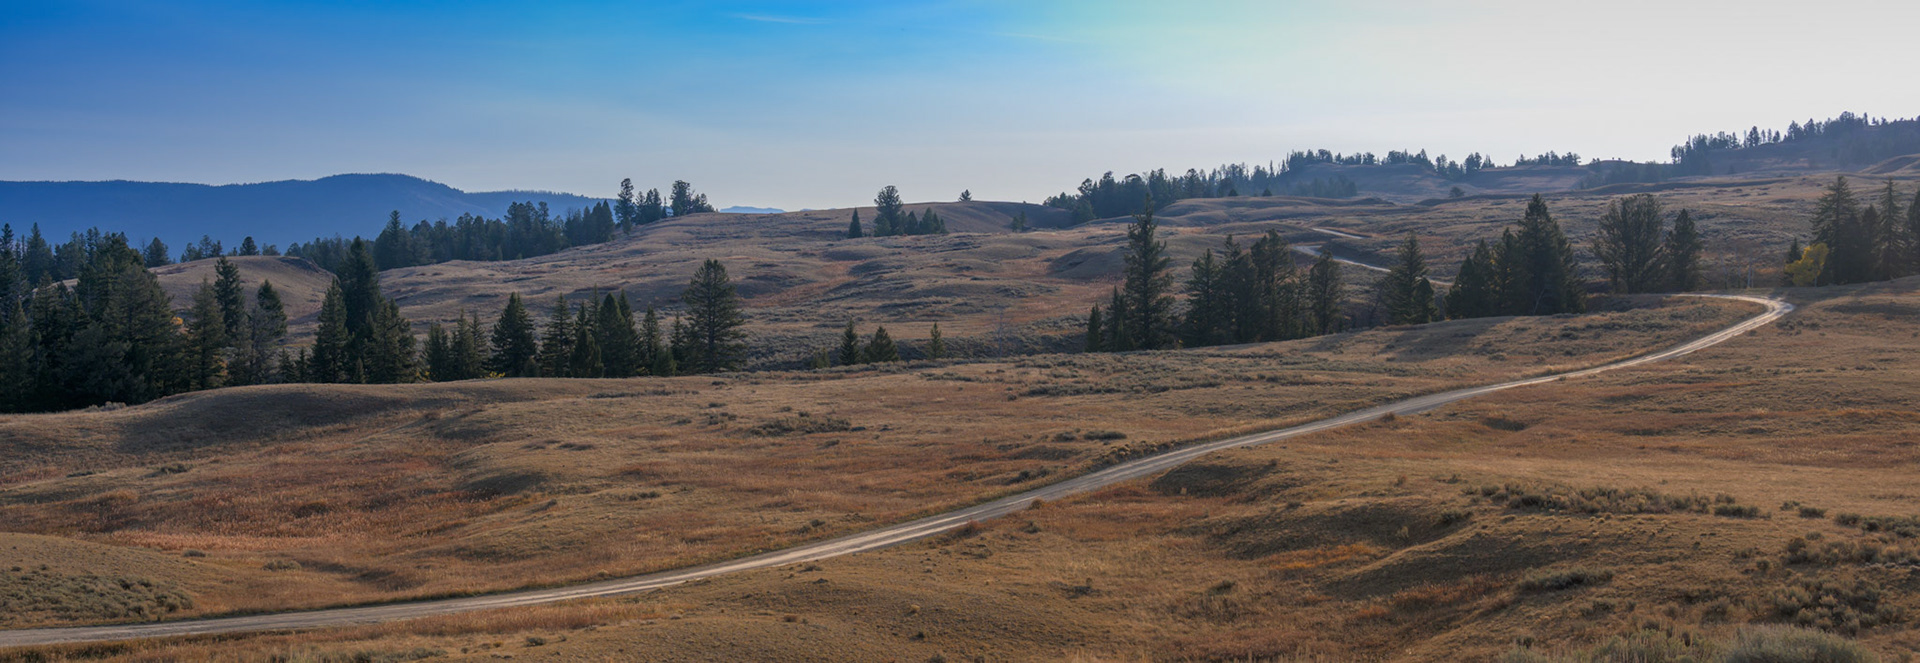
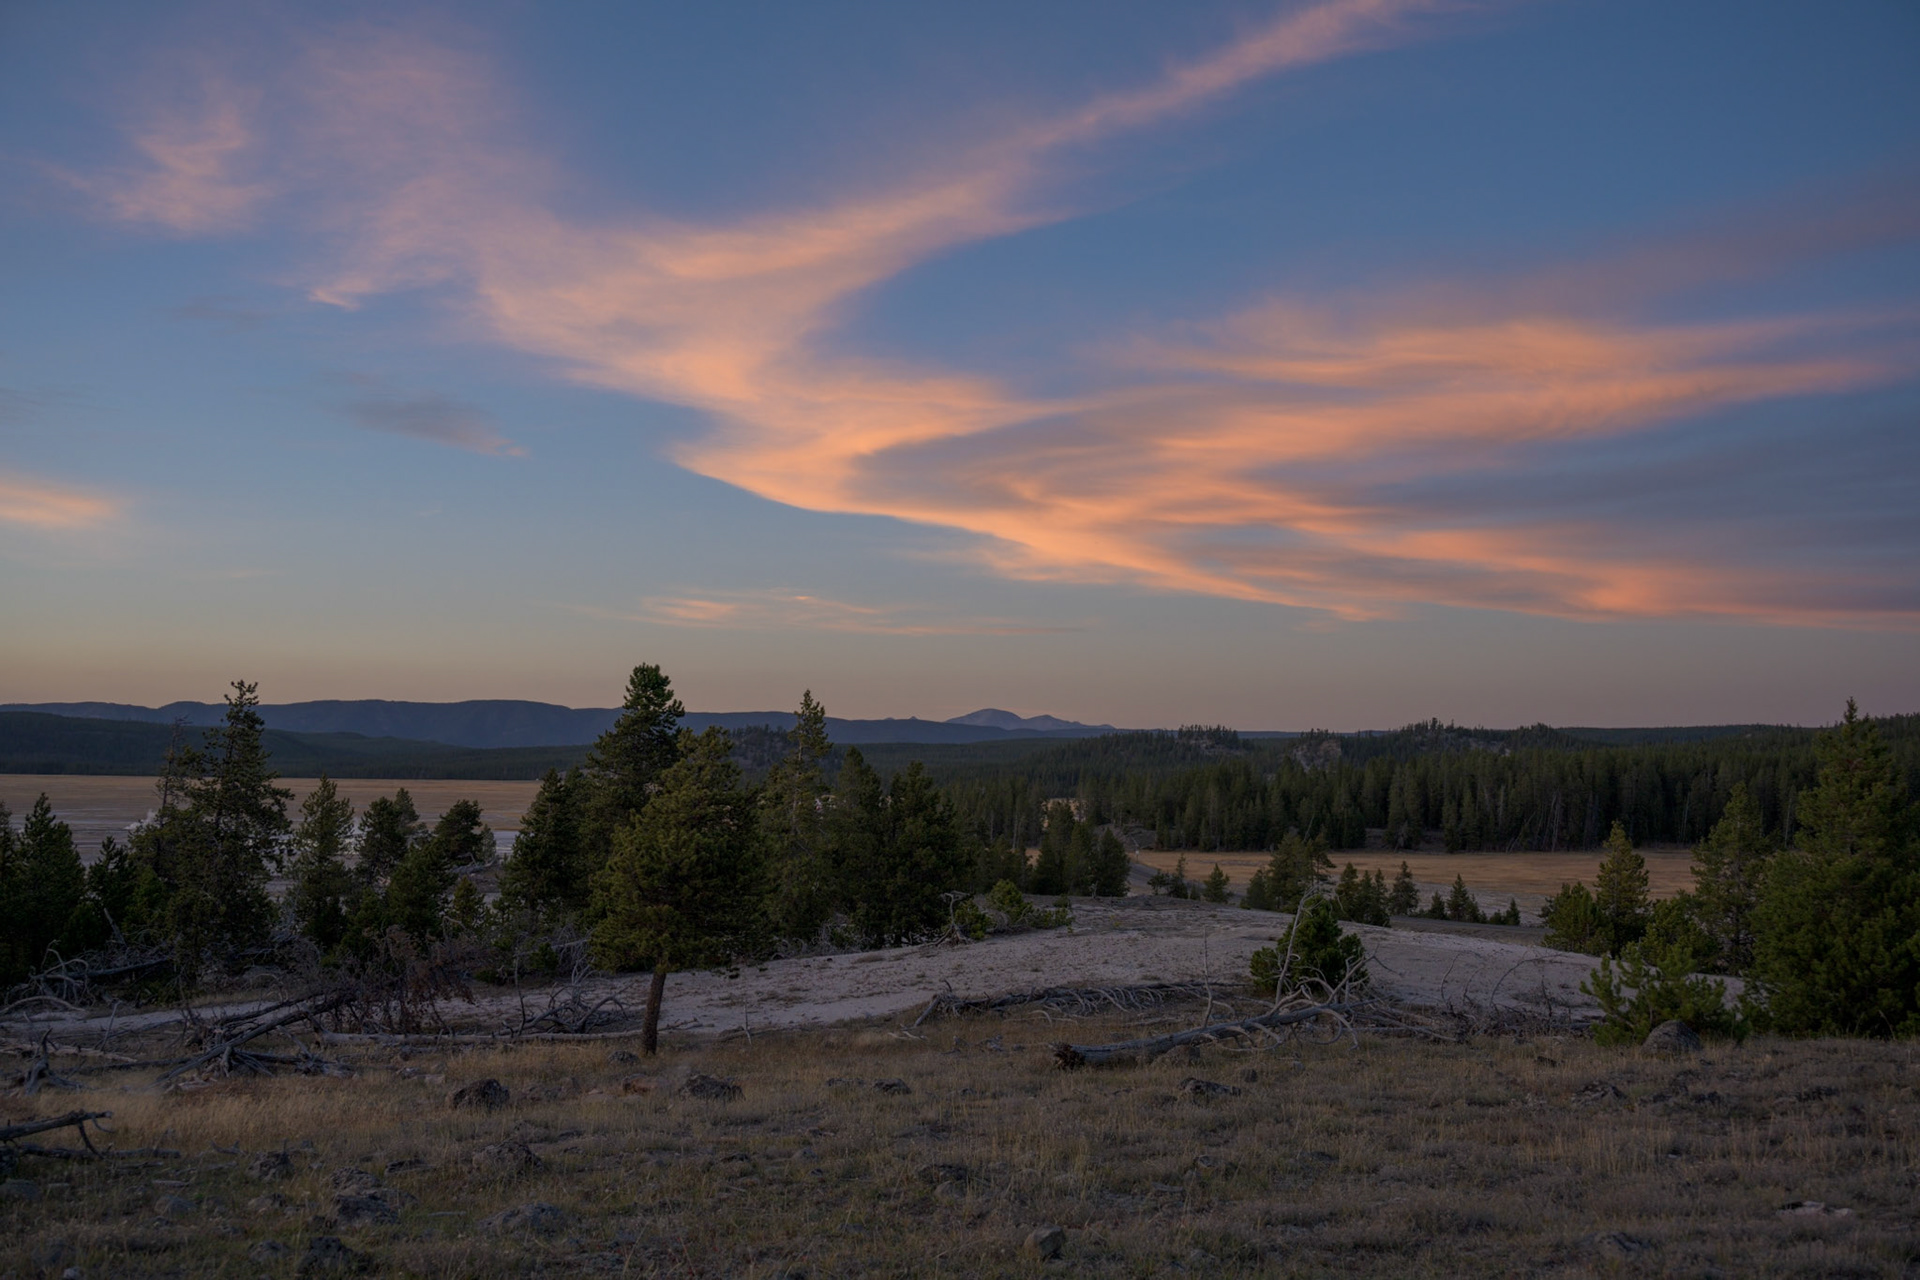
On the other side of night skies and sunrises the Yellowstone landscape is begging to be photographed and I was more than willing to oblige.

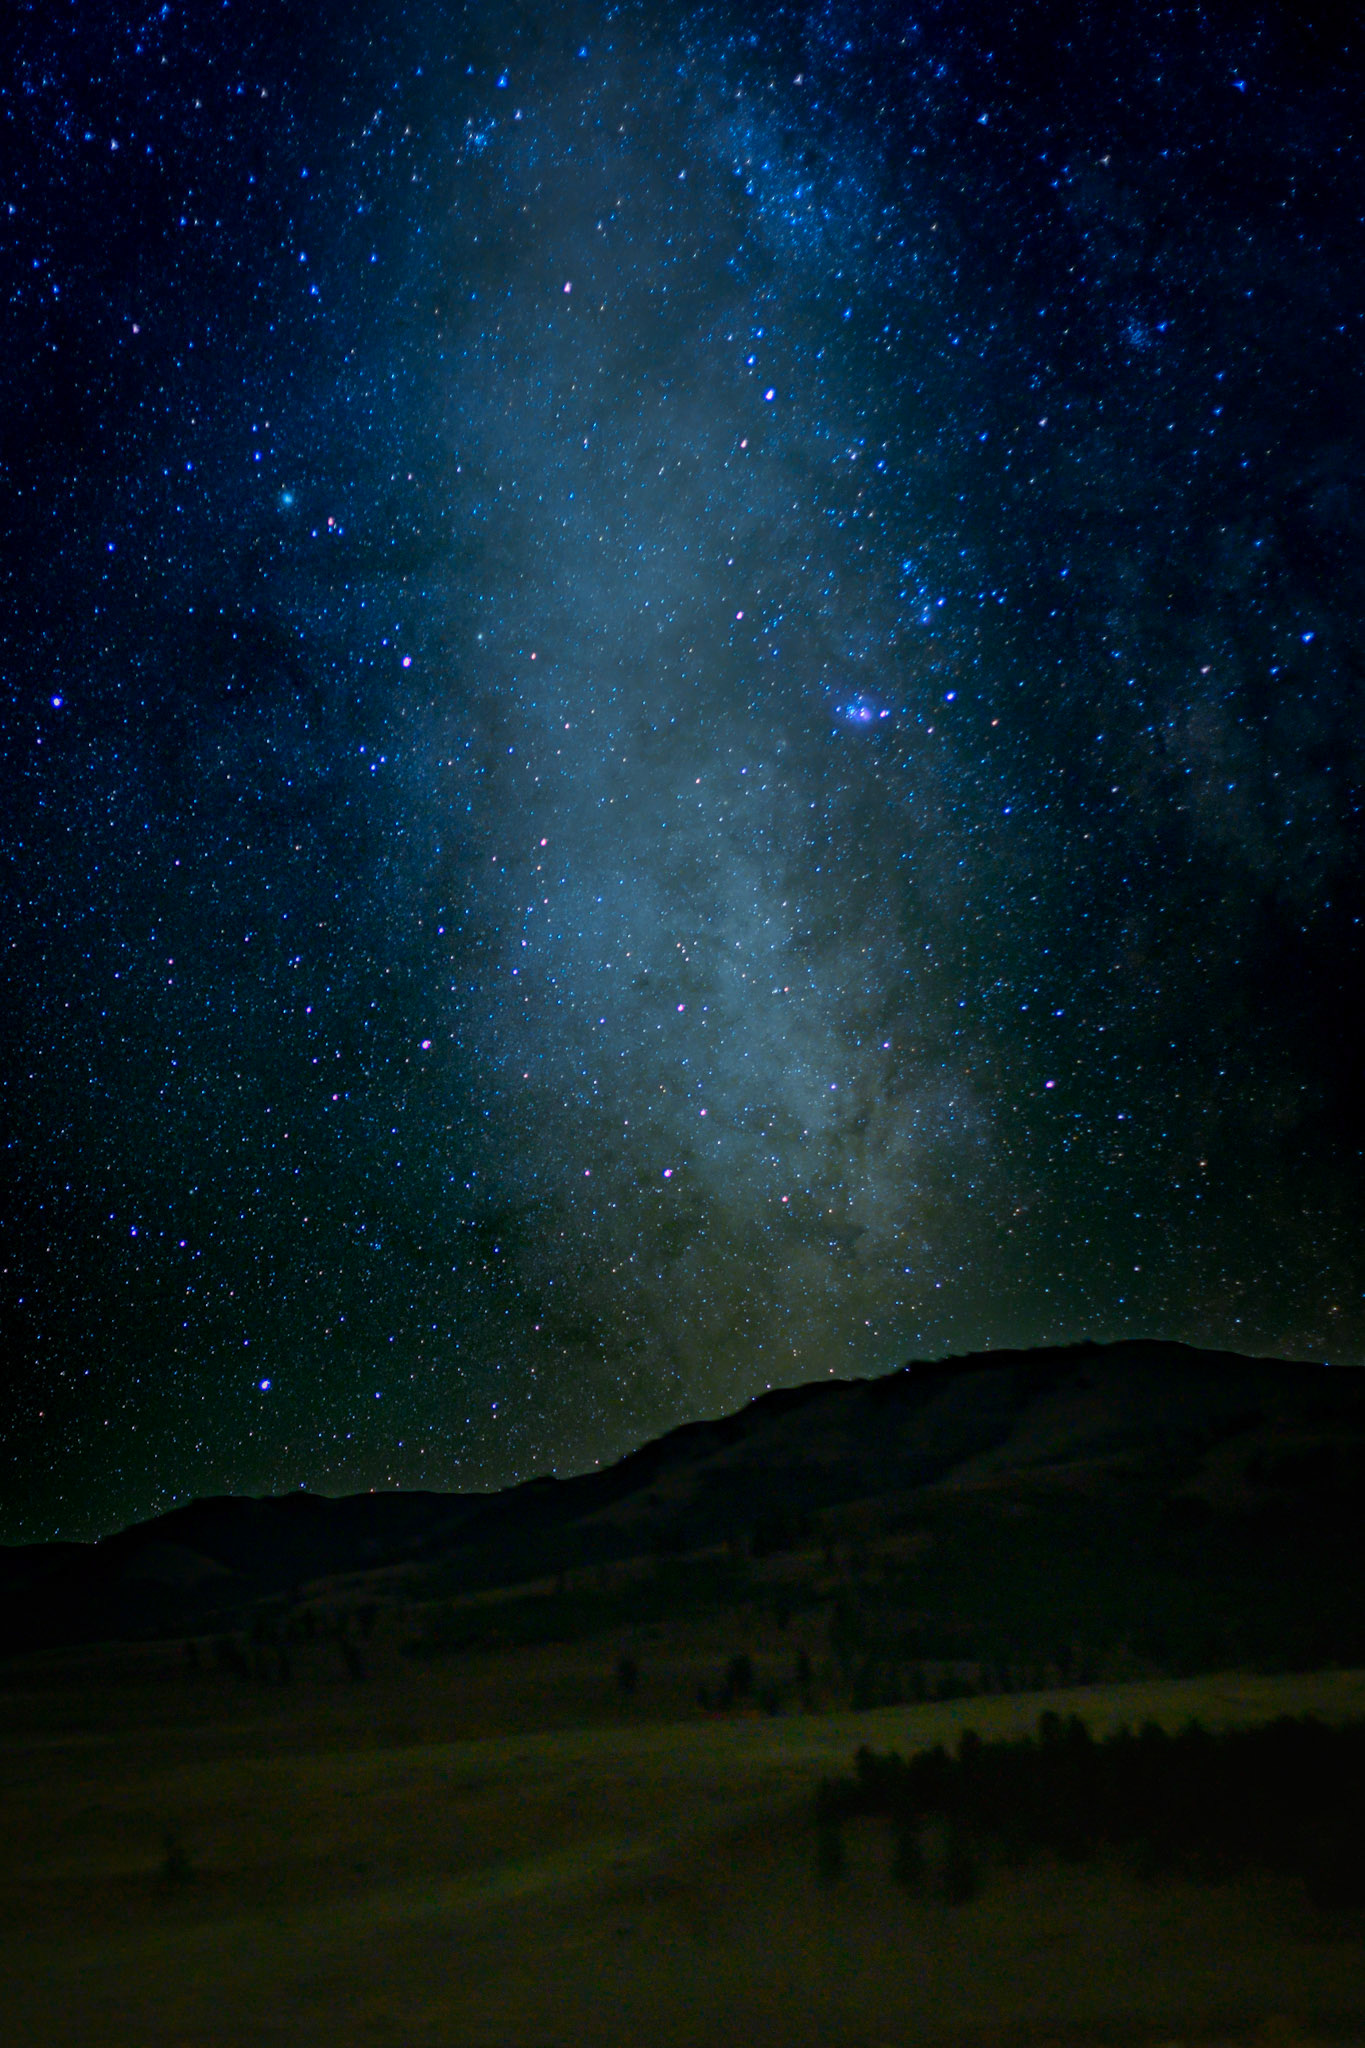
In the evening on the second day we went back to Swan Lake for a sunset and more astro photography. I did much better the second night but I was quizzed in fun by Rick before leaving the hotel as to whether I had all my gear and we both verified when I opened my pack. Once again there were no clouds for a sunset but that meant a clear sky for astro and it was amazing.
Because we were not far from the road we attracted the attention of people driving by and a number of them came up to see what we were doing. A young couple stopped and she so excited about what we were doing I offered a look at my pictures on the back of the camera. She seemed so genuinely interested, with her companion's permission, I gave her my phone number and told her to text me and I would send her a finished digital image. There are no cell towers in Yellowstone so it would have to wait until I was home. On the day was flying home I got a text message explaining that she was that person and asked if I would still be willing to send her an image she would love to have a copy.
I sent the image above which was taken while they were there. Who knows maybe it is hanging on a wall somewhere. I only wish it was better, I think the MSM may not have been pointing in exactly the right direction or the camera jiggled somehow. The lights in front of the lake are actually from folks in our group that went down there to try and get a reflection of the milky way in the foreground. They ended up making our foreground a little more interesting. But think about that for a minute, they were hoping to photo a reflection of something most of us can't normally see in the night sky, even on the clearest of nights where we live. On this night I was able to do the whole thing on my own and Rick got to spend more time helping others and maybe even get a photo of his own. Here are some of my images as experimented taking different shots and I had more time since I wasn't fighting with my gear. I still need to work more on these images in the computer to make them more like night I remember. Maybe an "astro" page will show up here in the future.
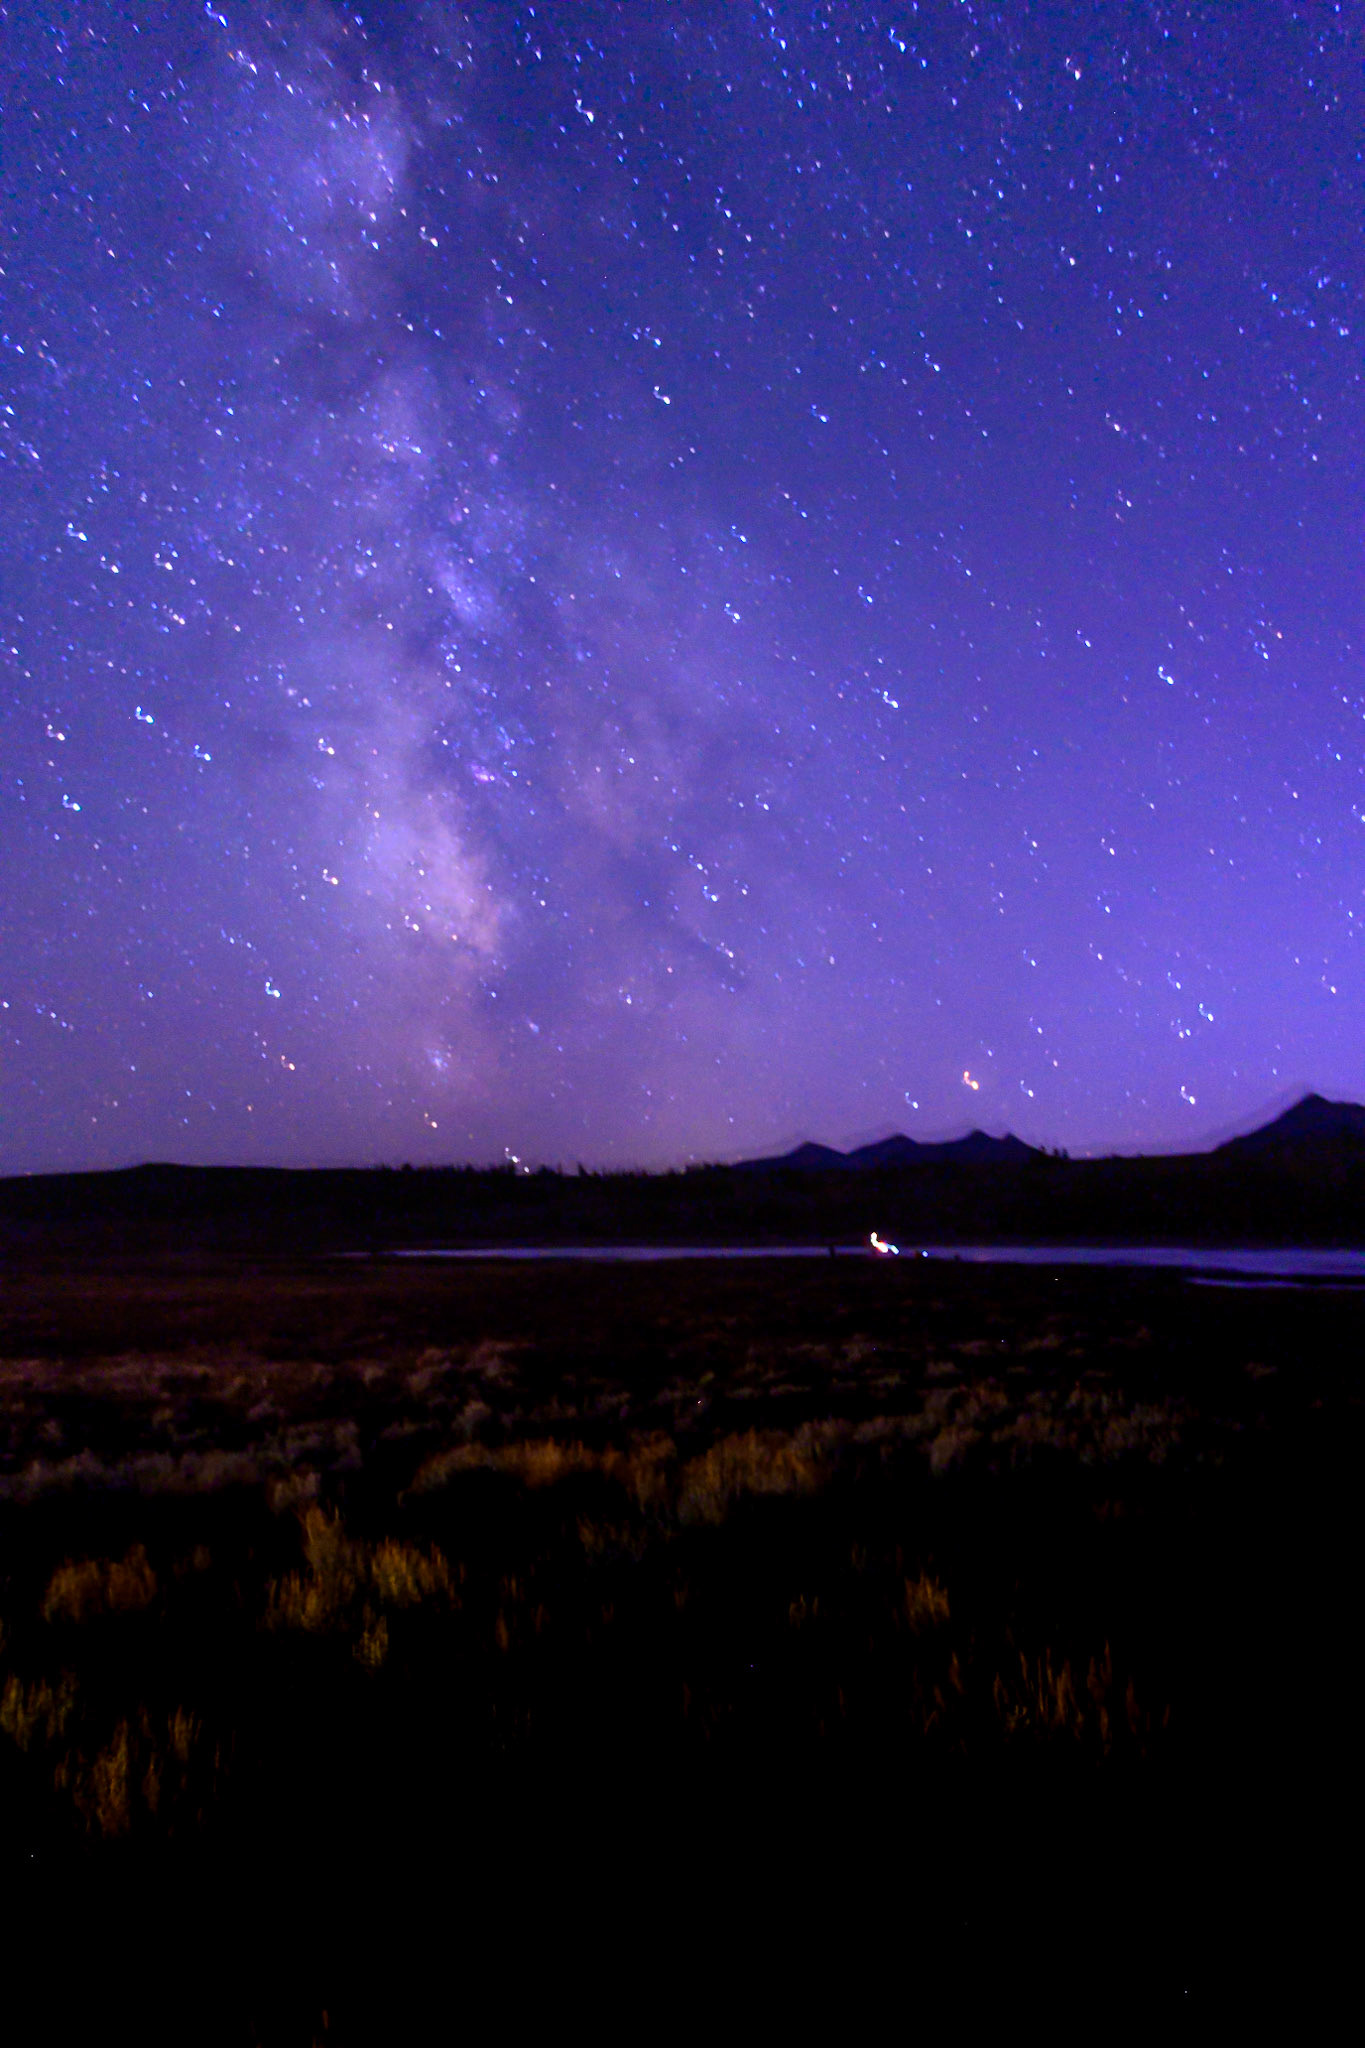
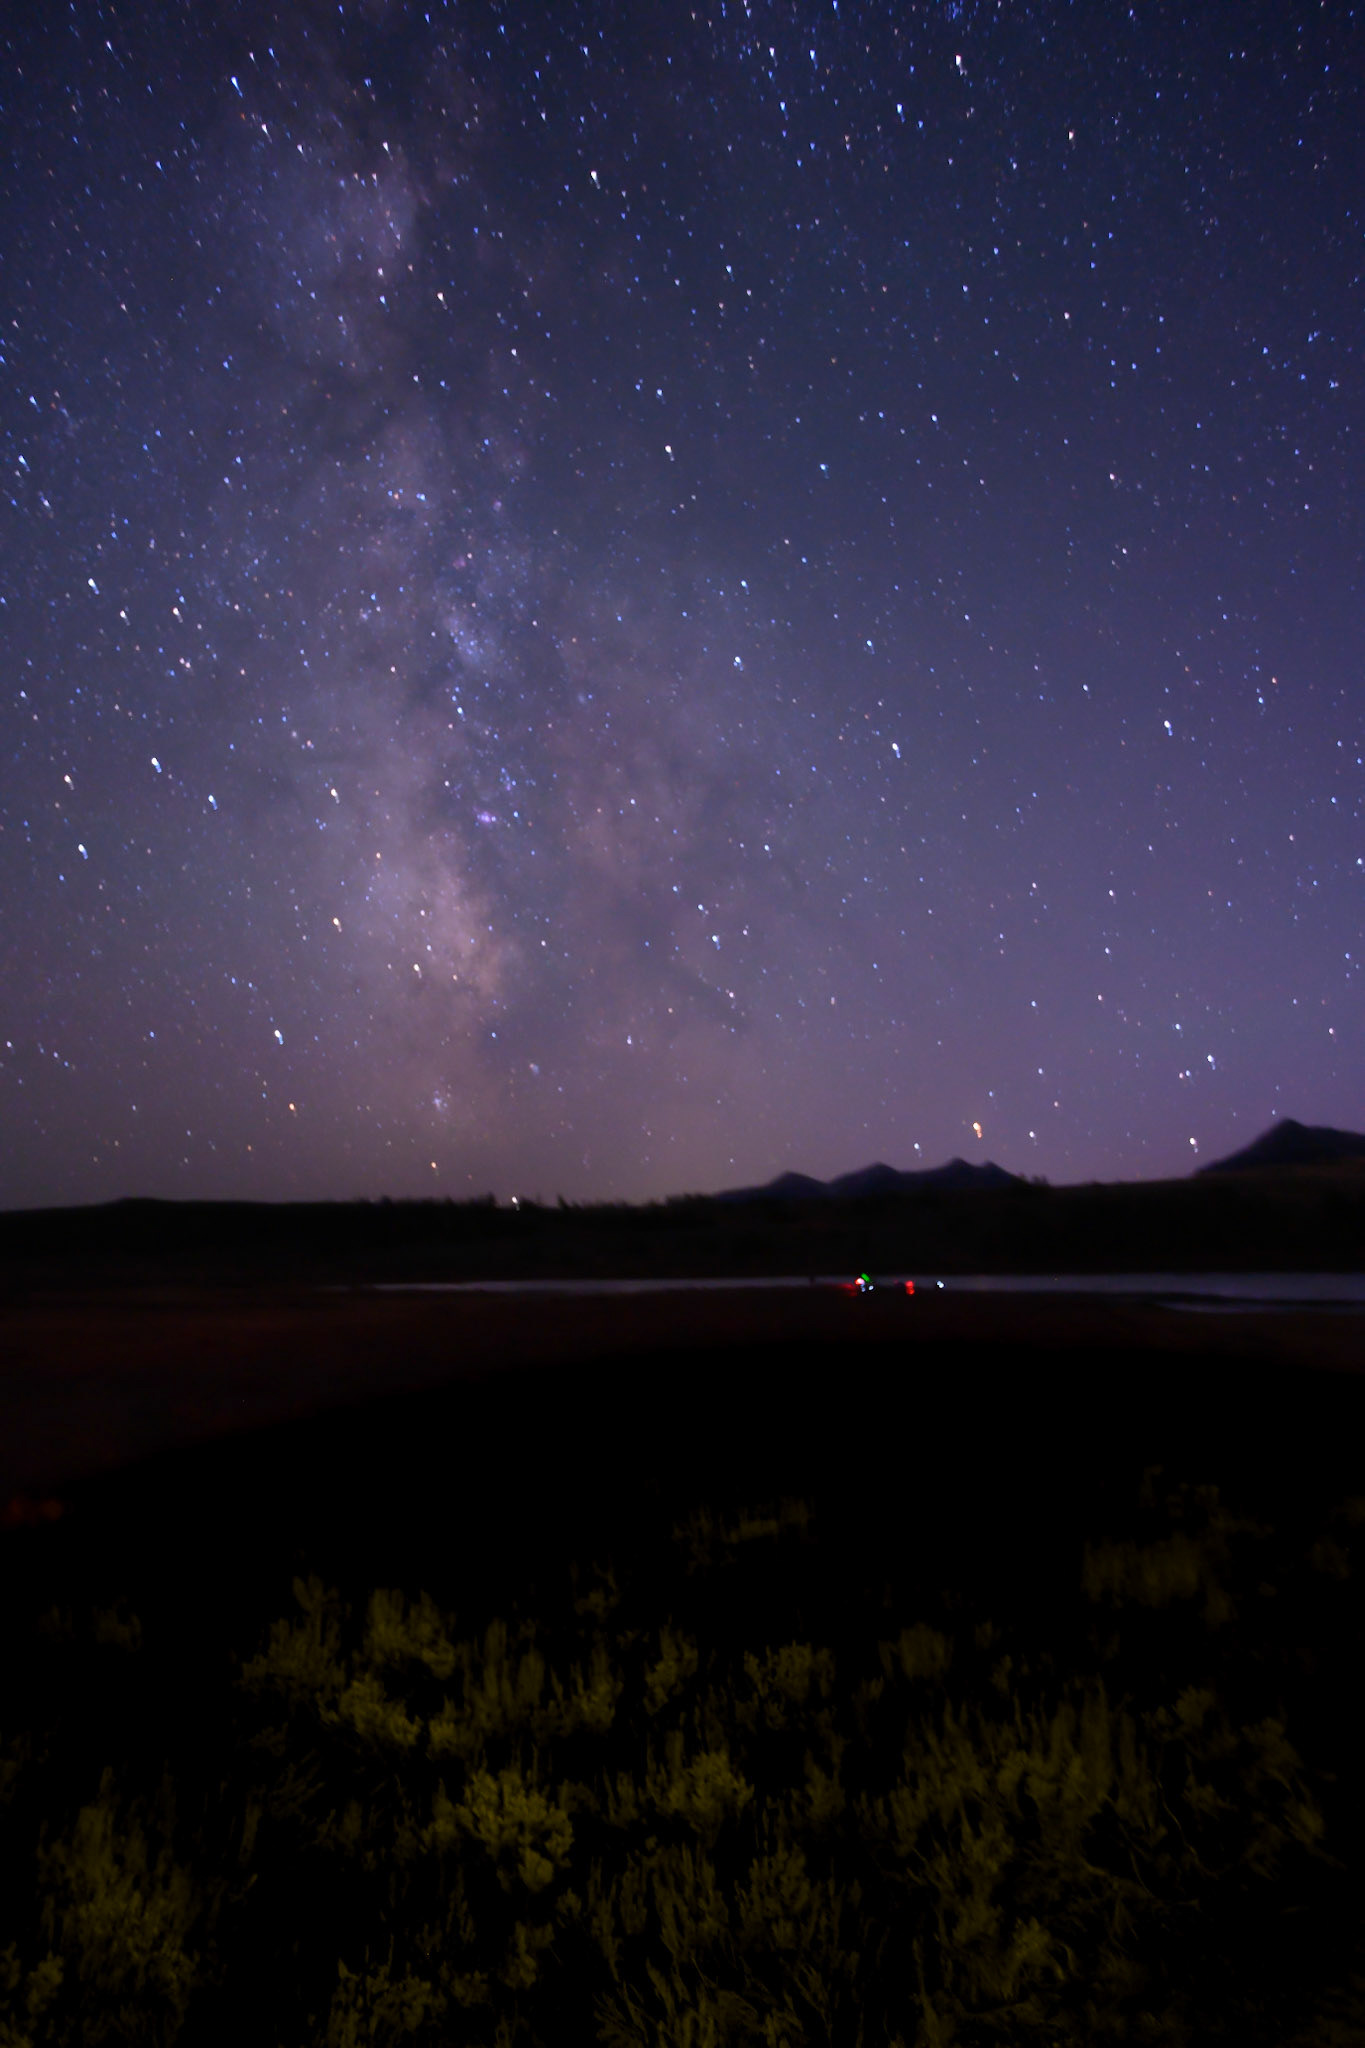
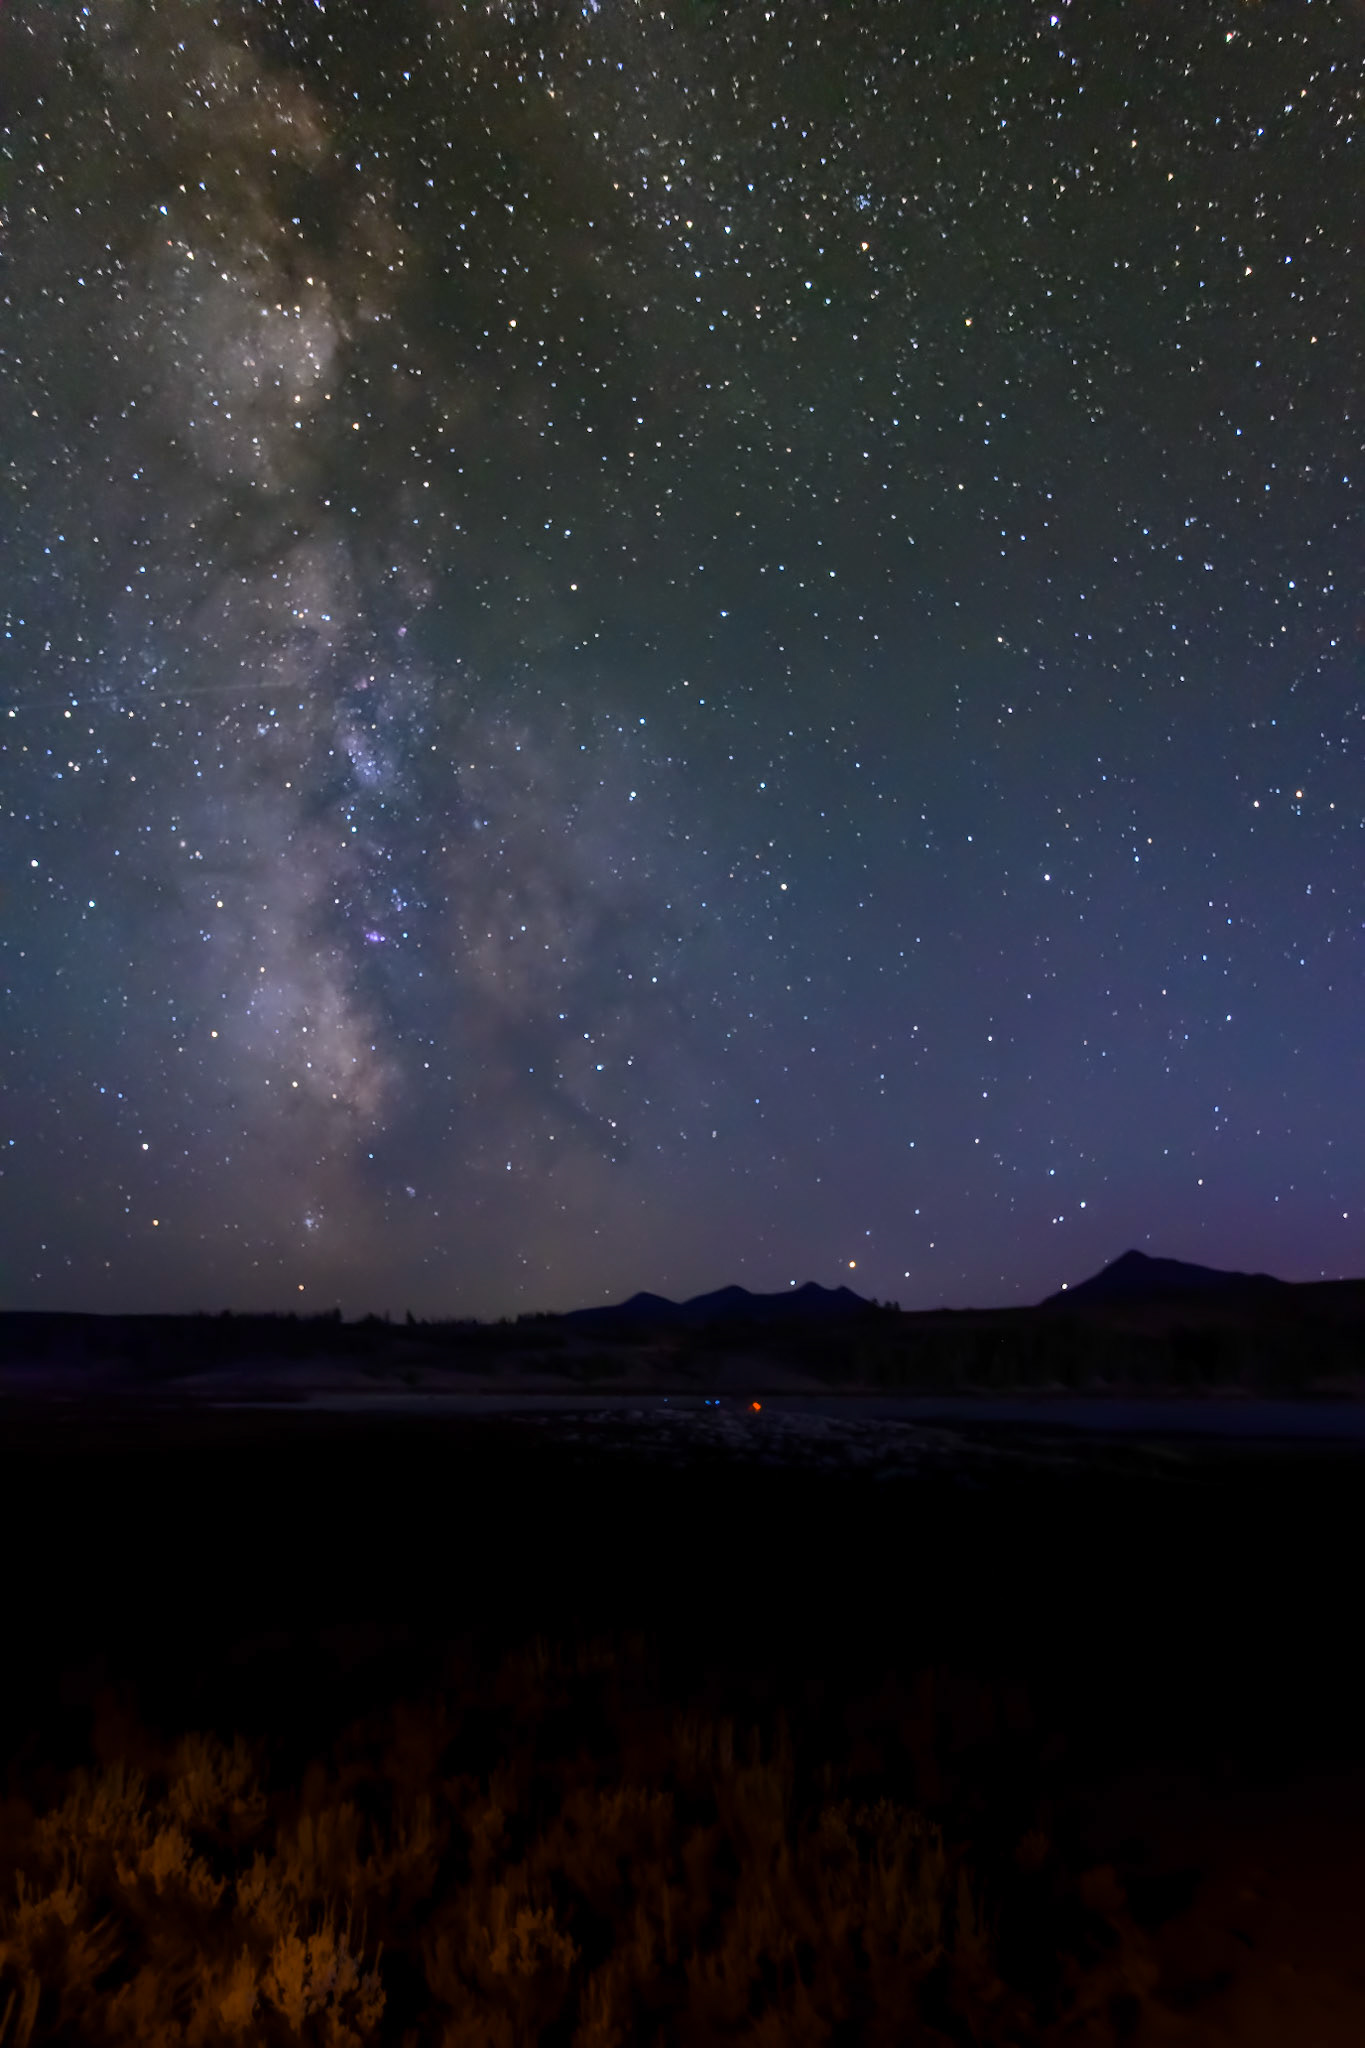


At the time I didn't know this would be our last night sky session, so I am glad I got these when I had the opportunity. The differences in color, especially in the foreground, I believe was caused by ground light from passing vehicles or head lamps on fellow photographers. I am going to have to practice this taking these kind of images more and learn more about processing them. Perhaps some images of constellations because there just isn't anywhere in PA where there is enough darkness to get Milky Way images with this kind of detail.
During the remainder of the week there were more opportunities for scenic Yellowstone landscape photos. Here are some of my favorites from the week.

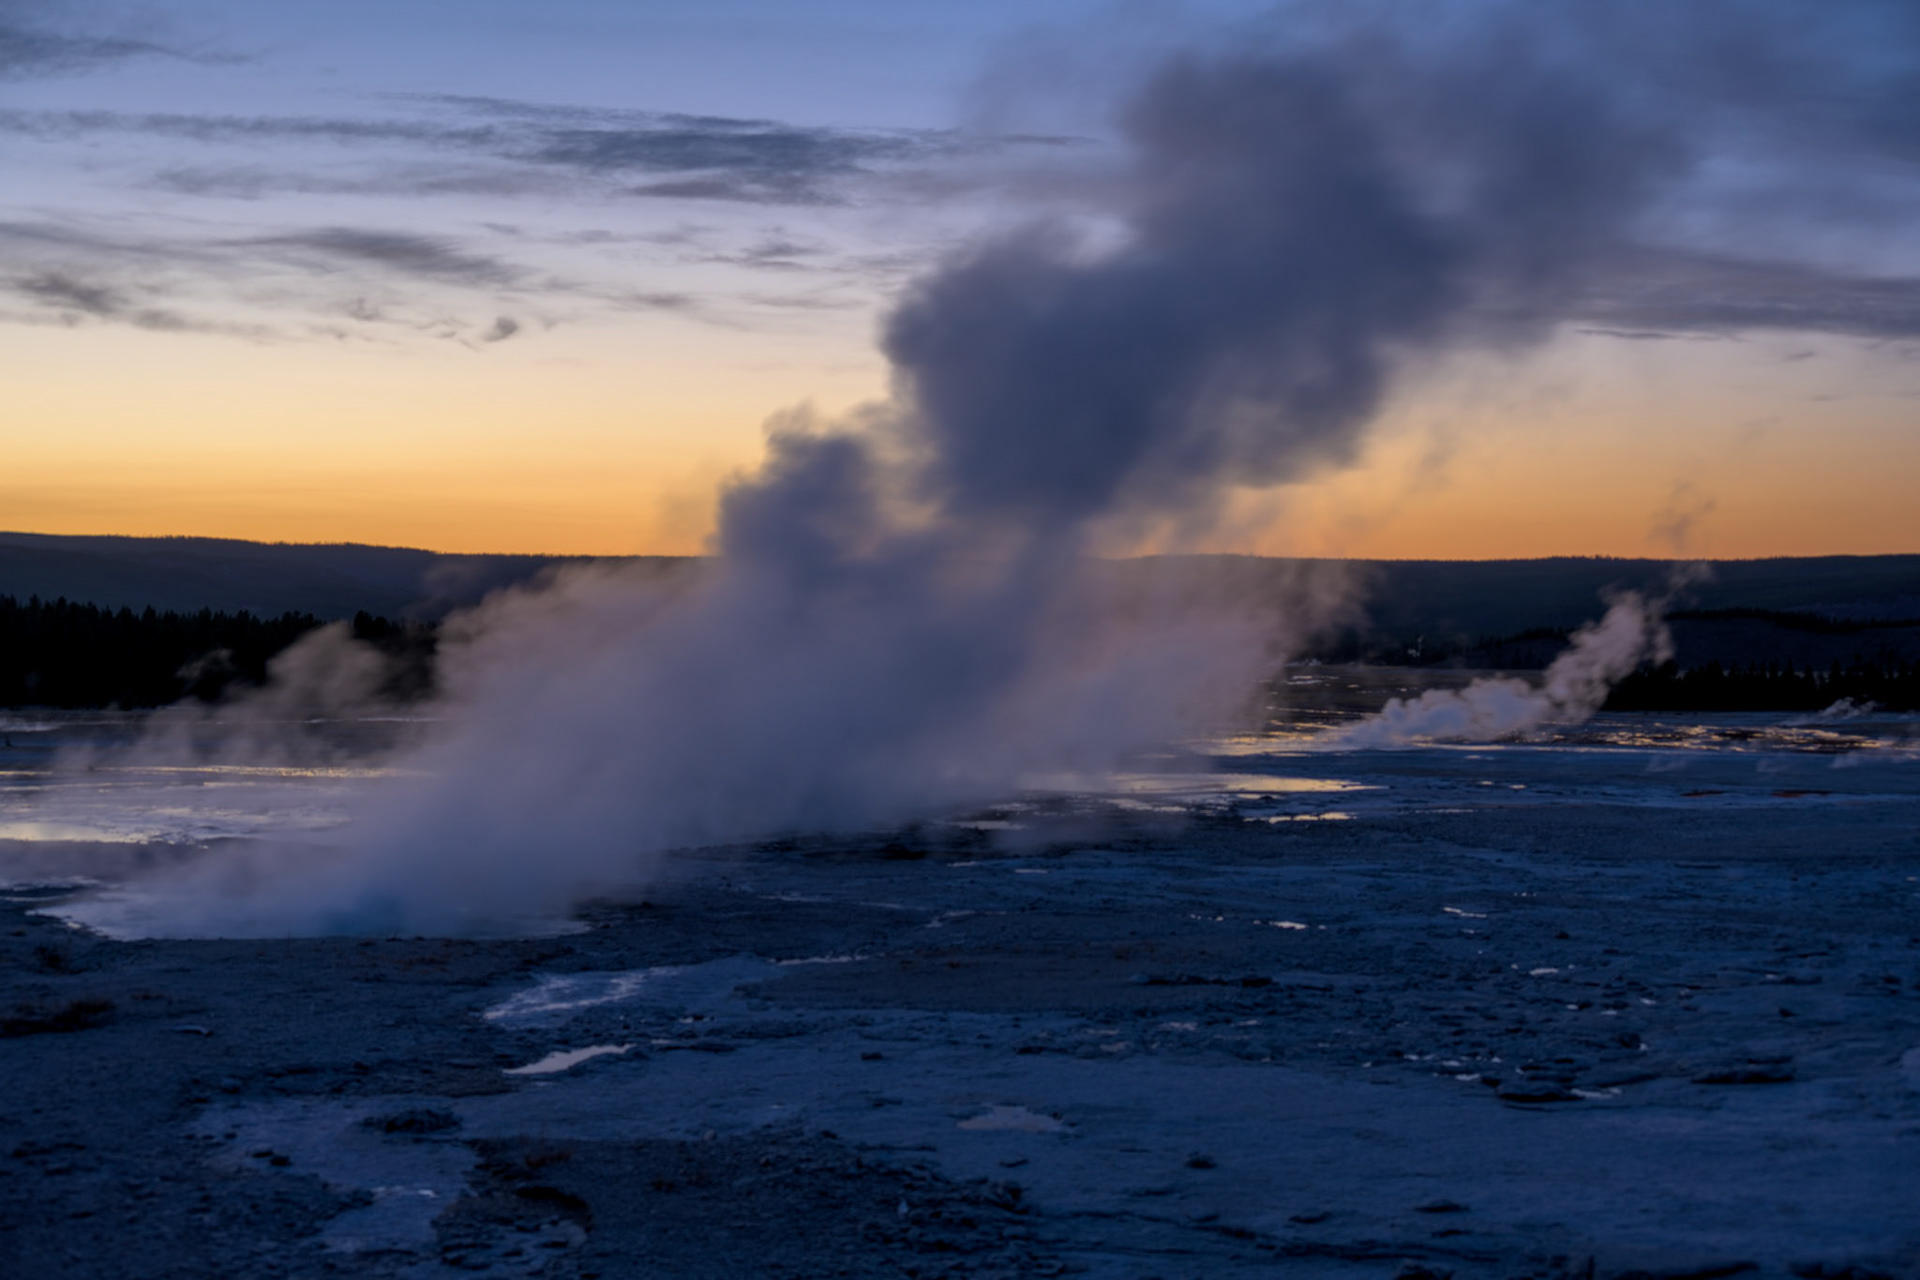
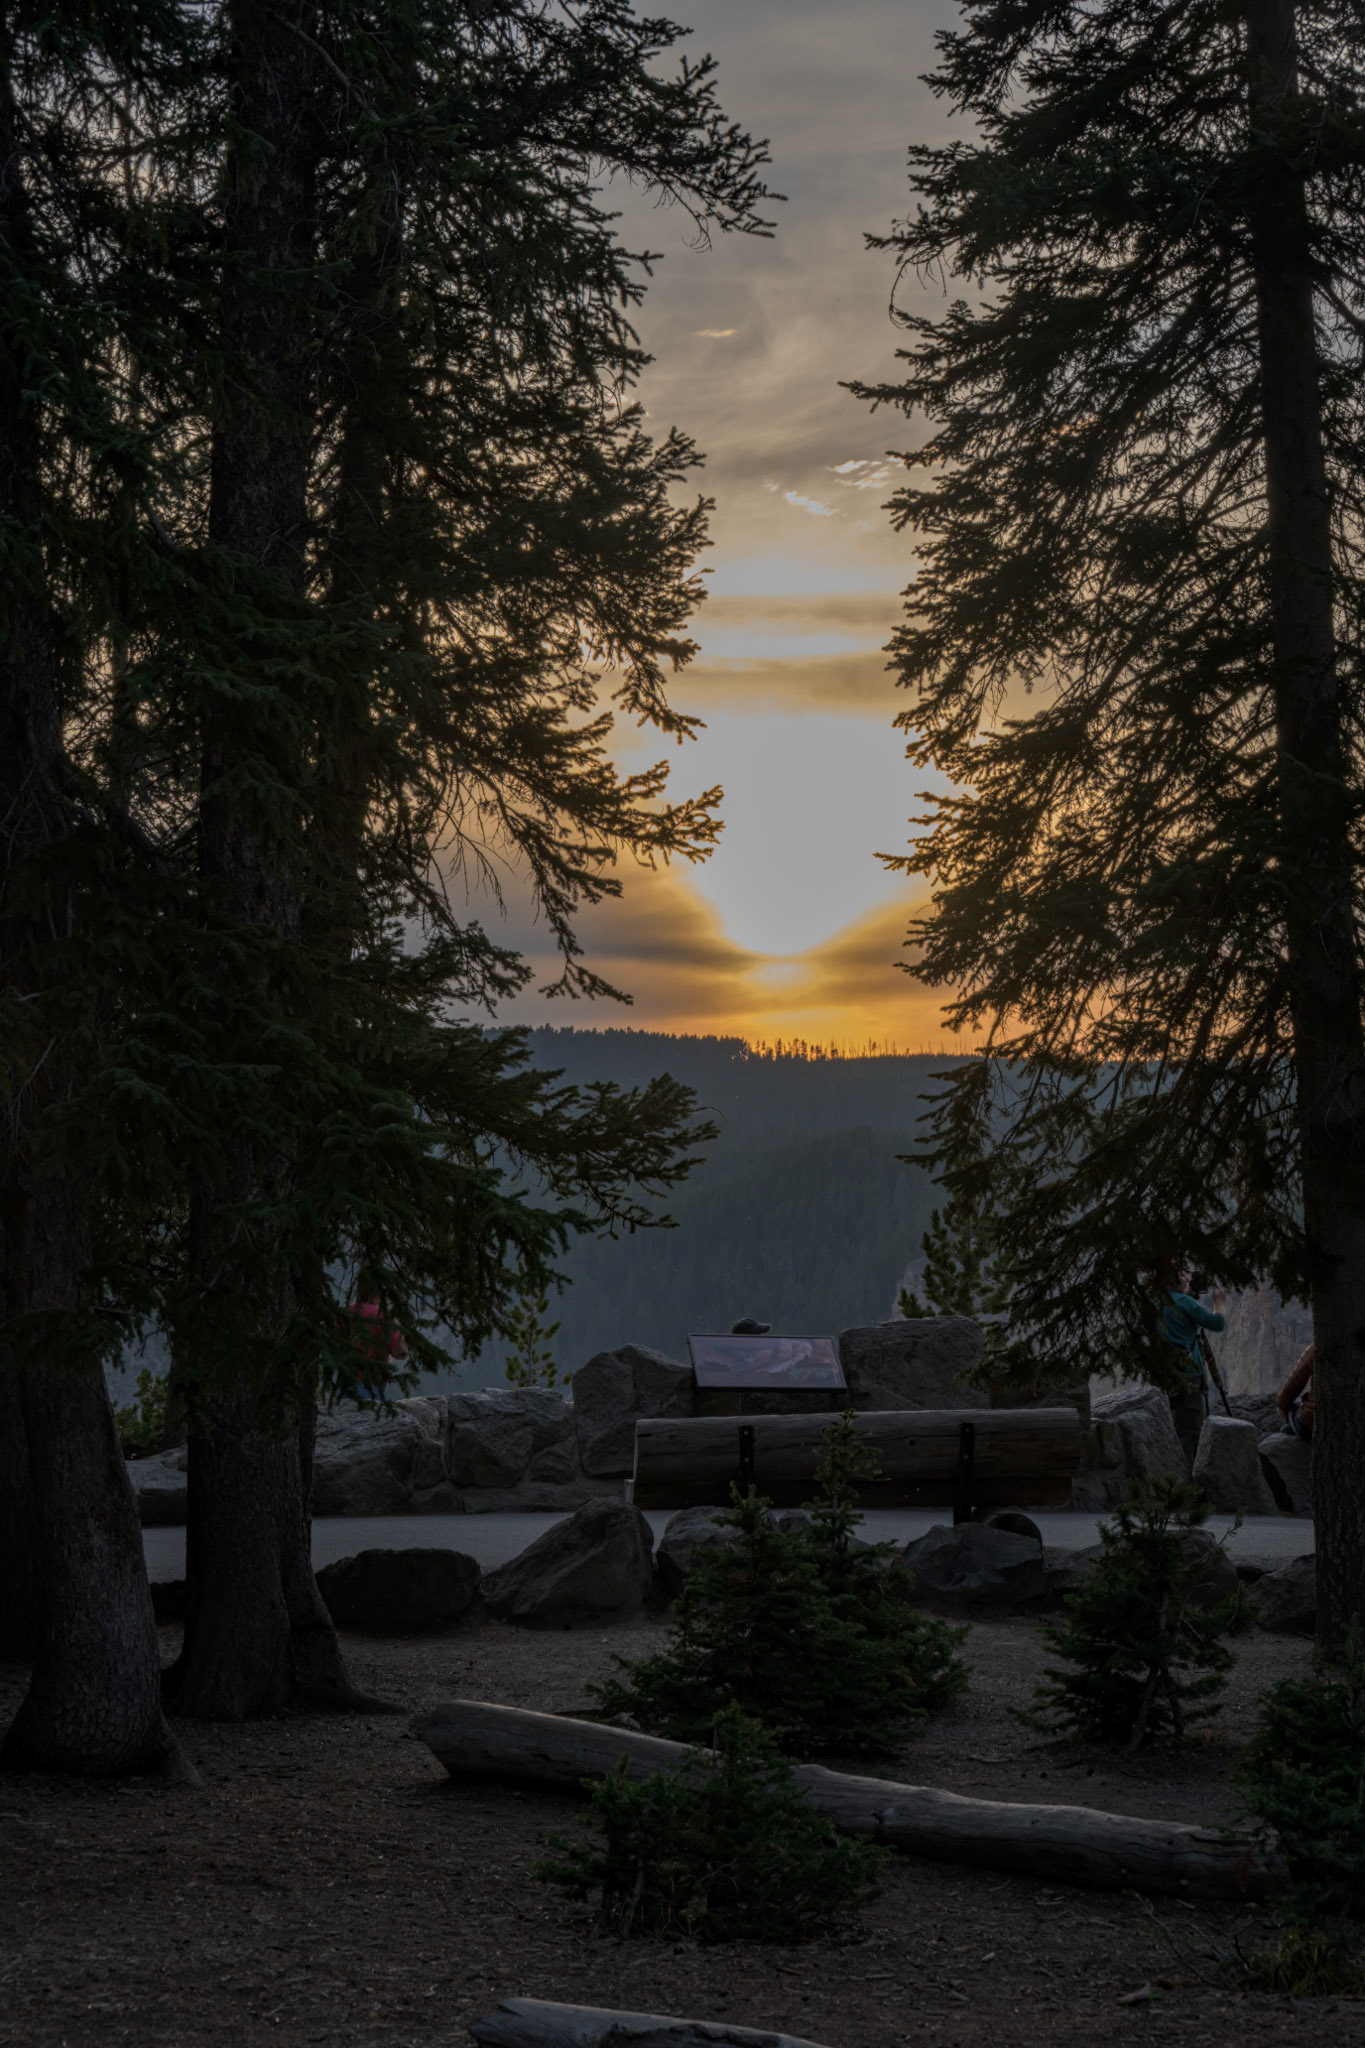
Finally sunsets…
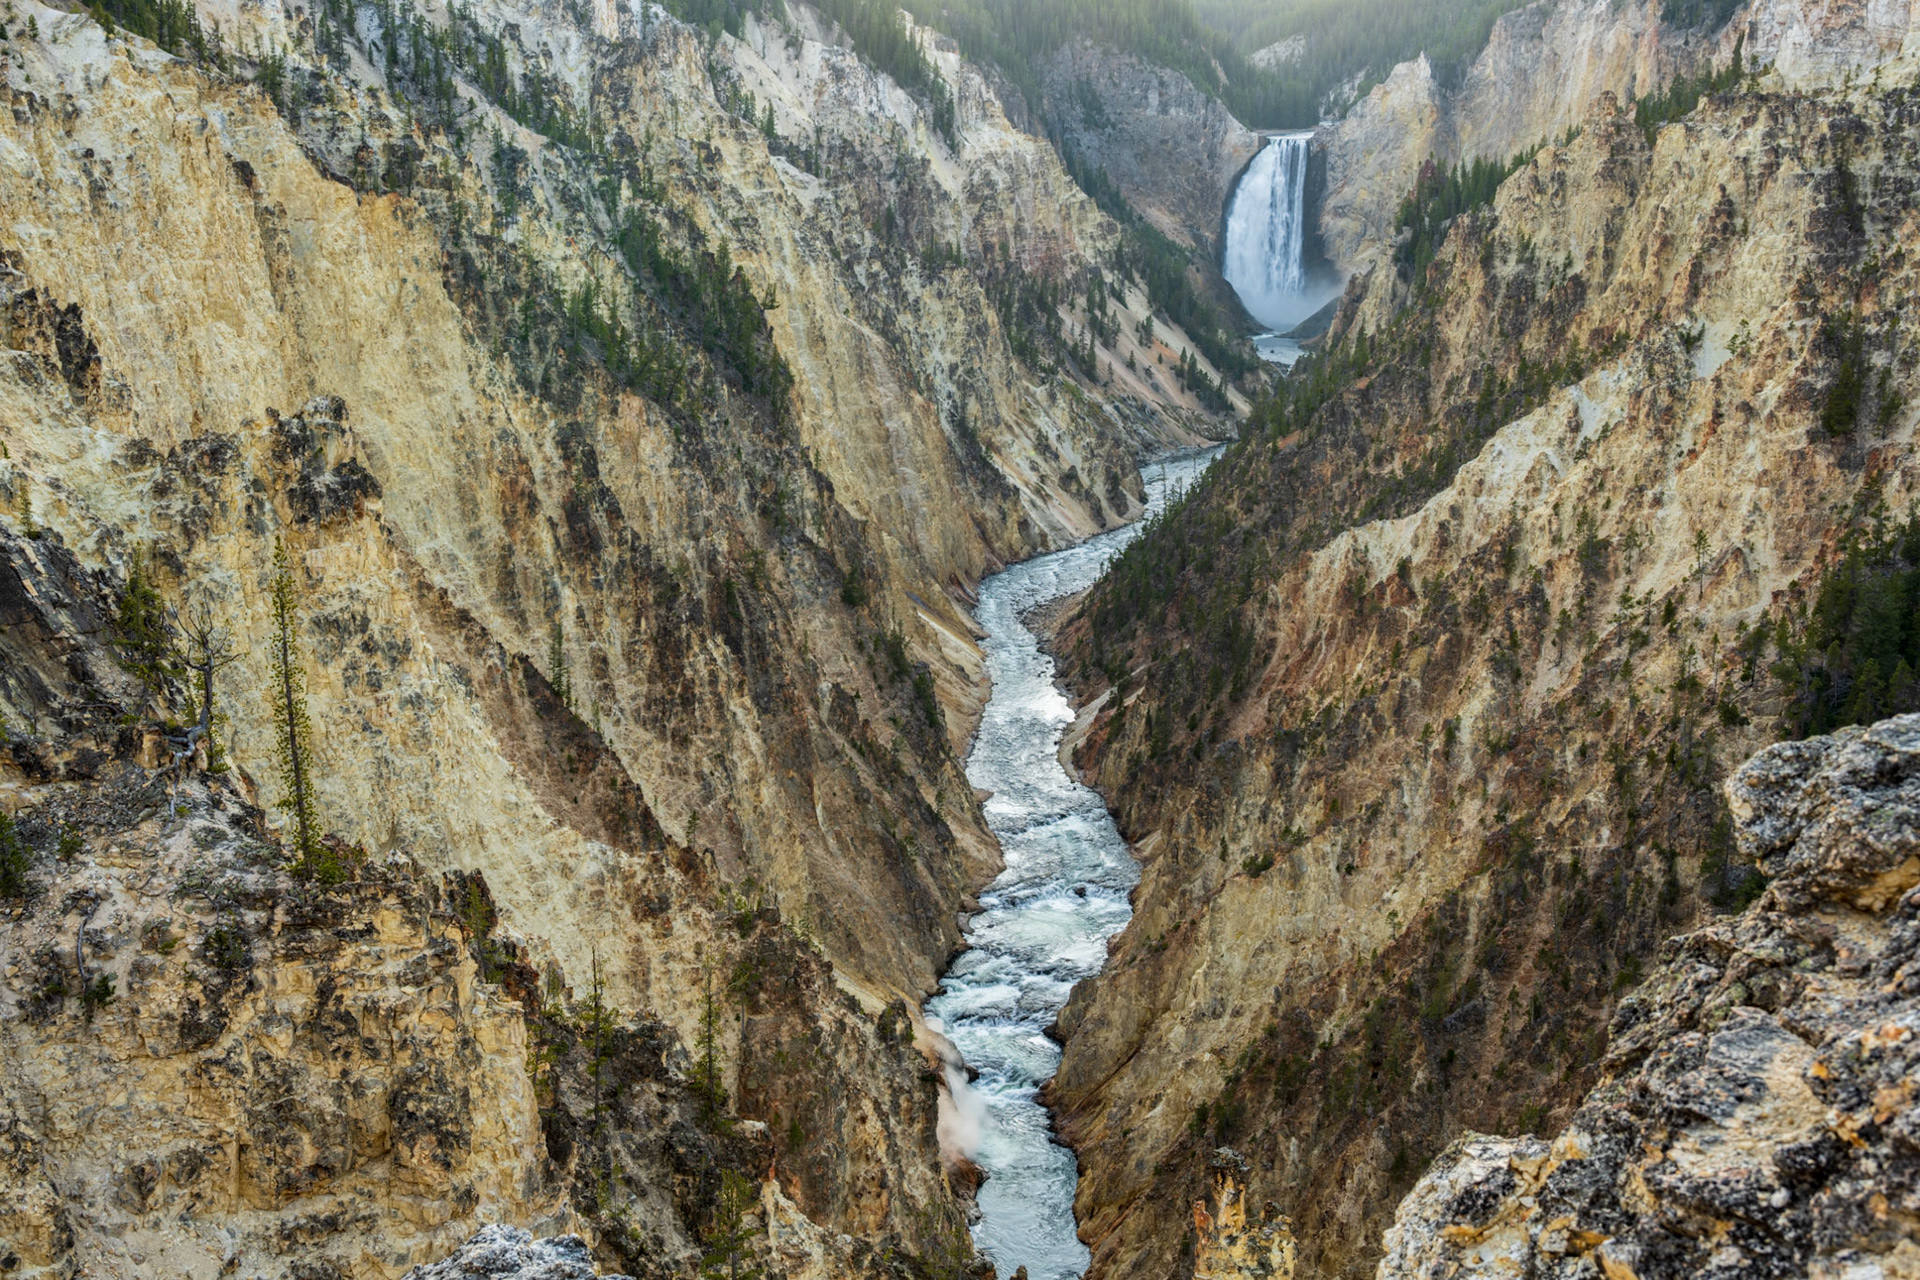
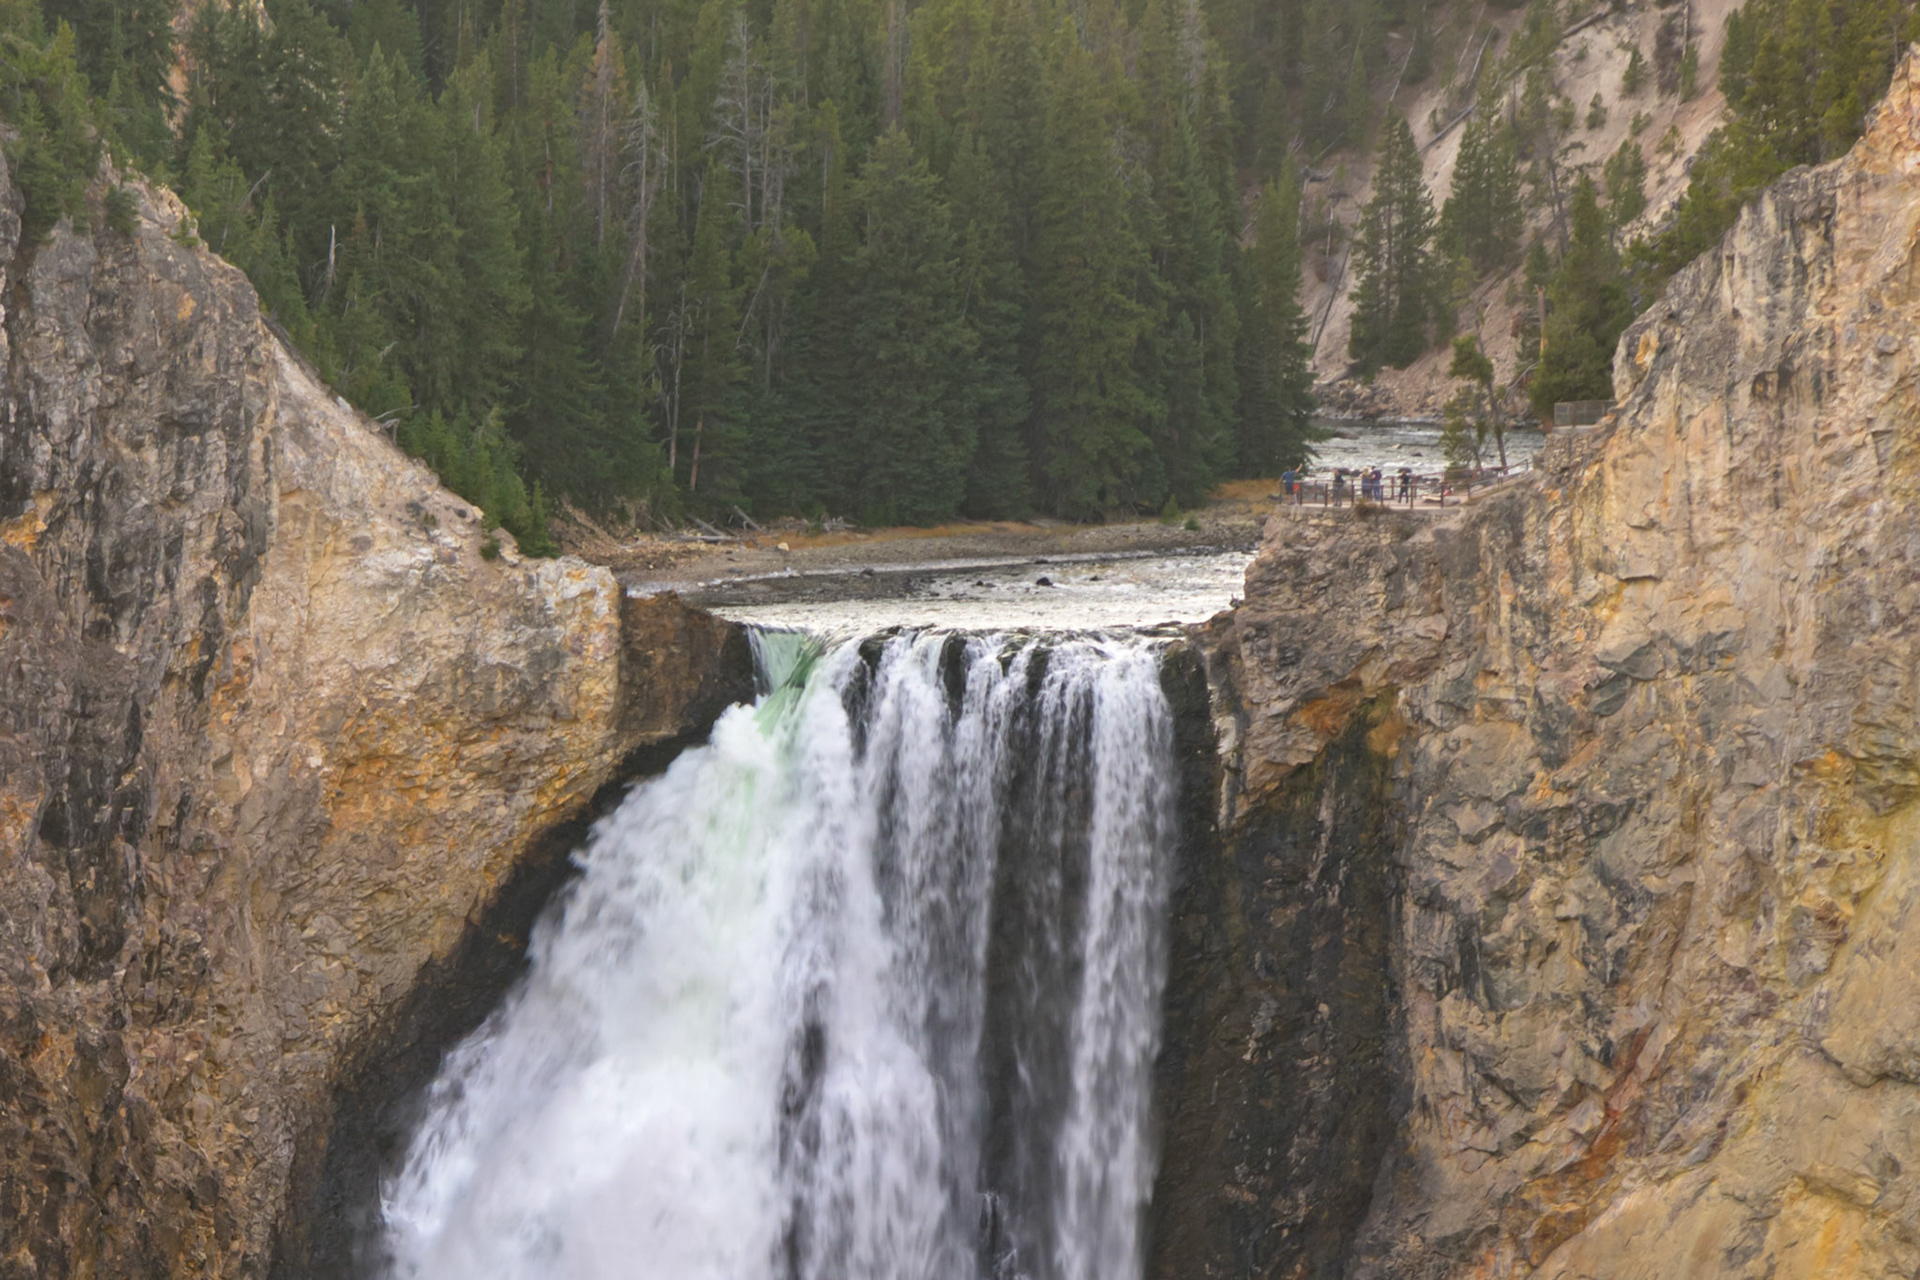
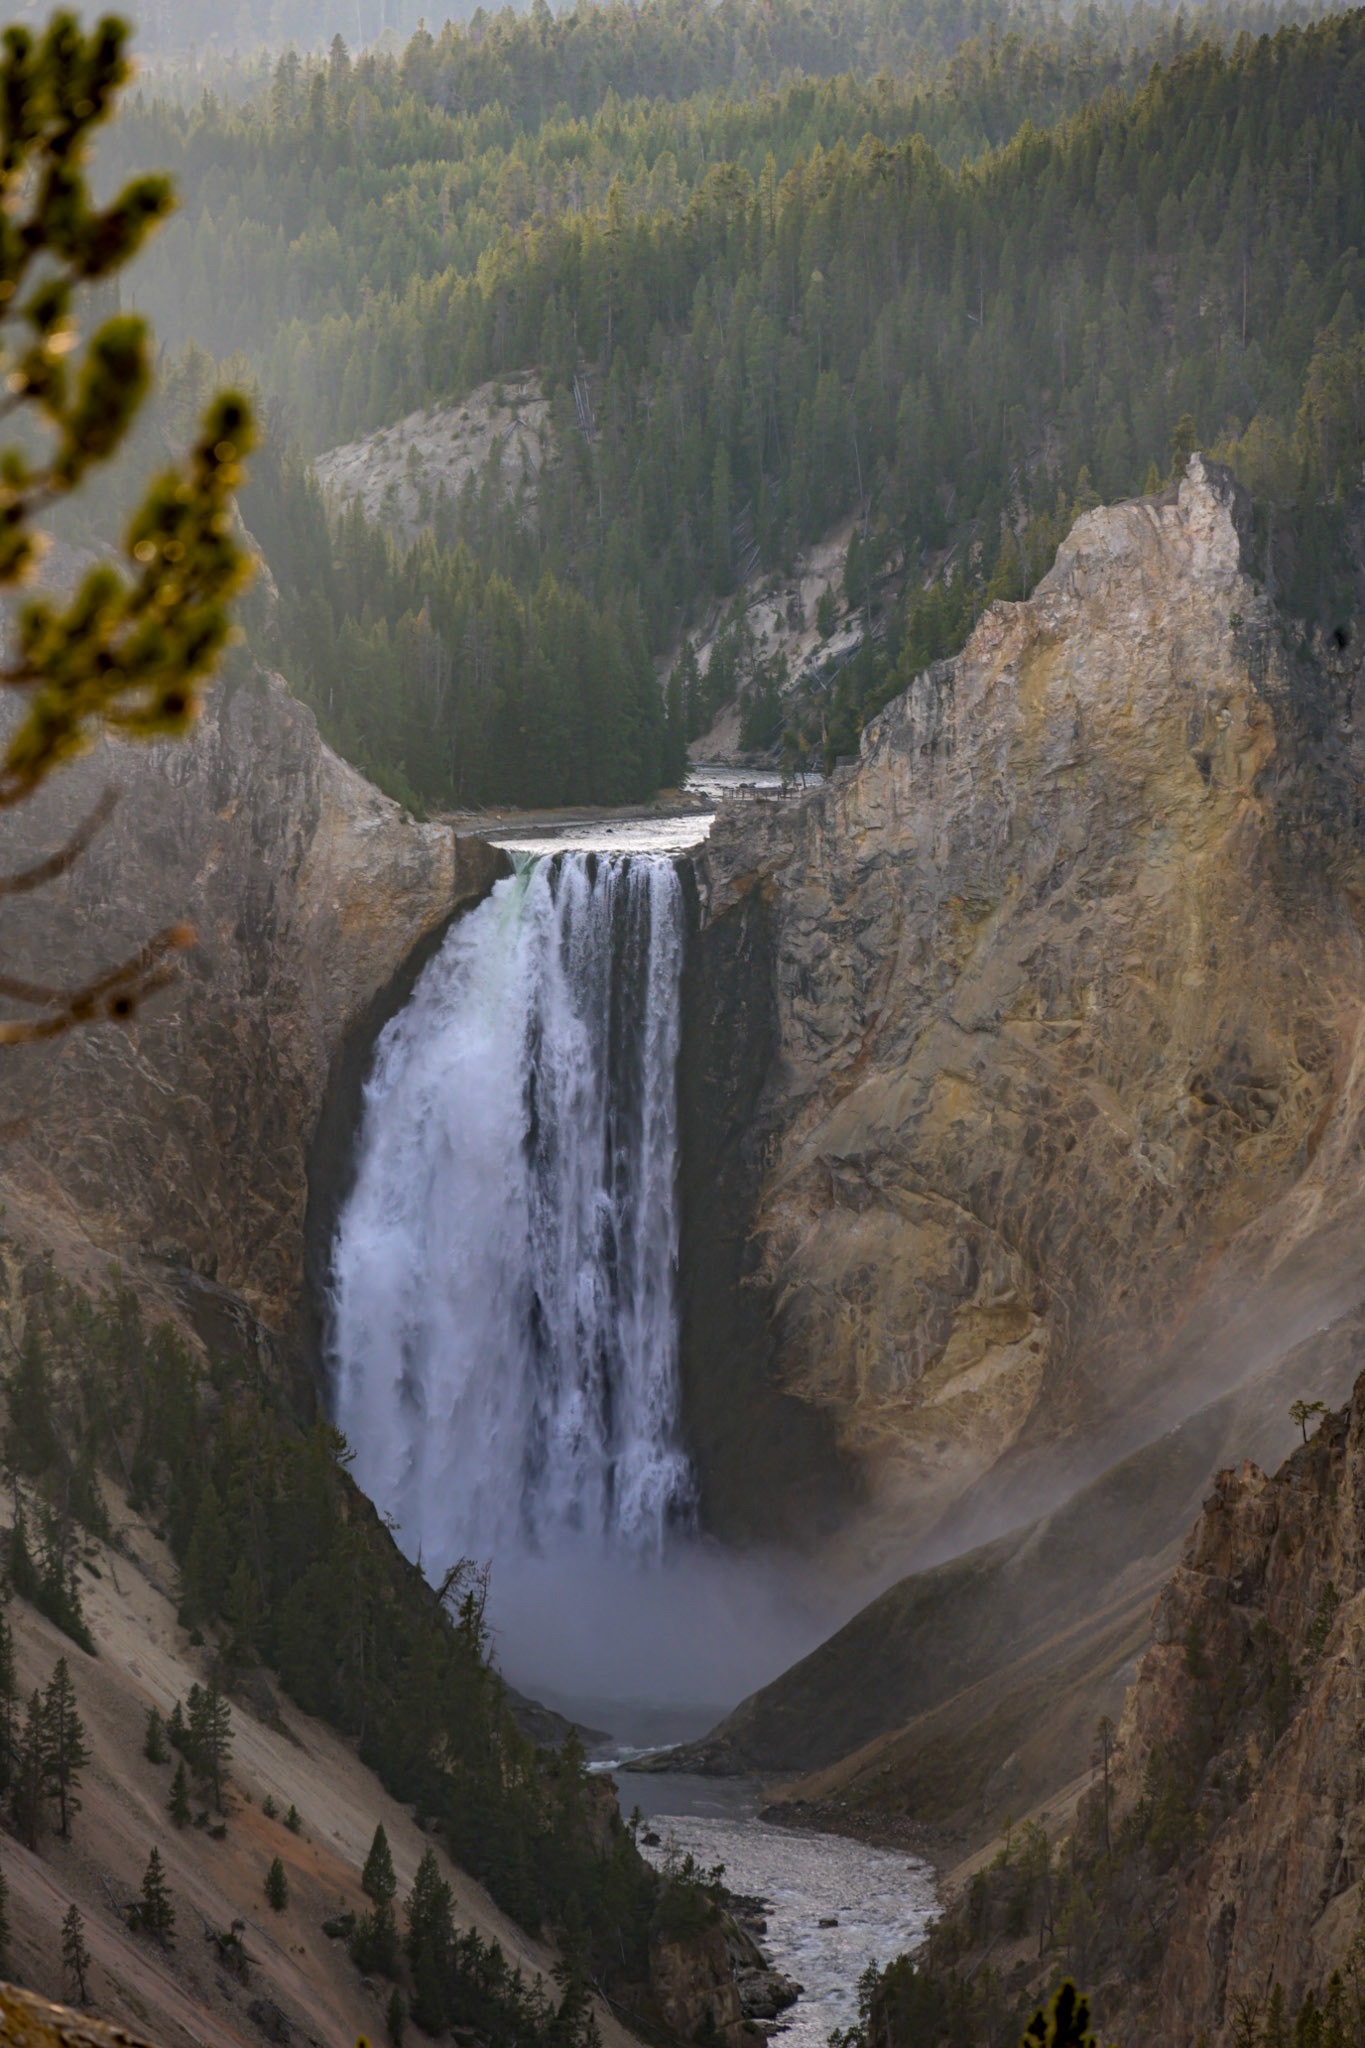
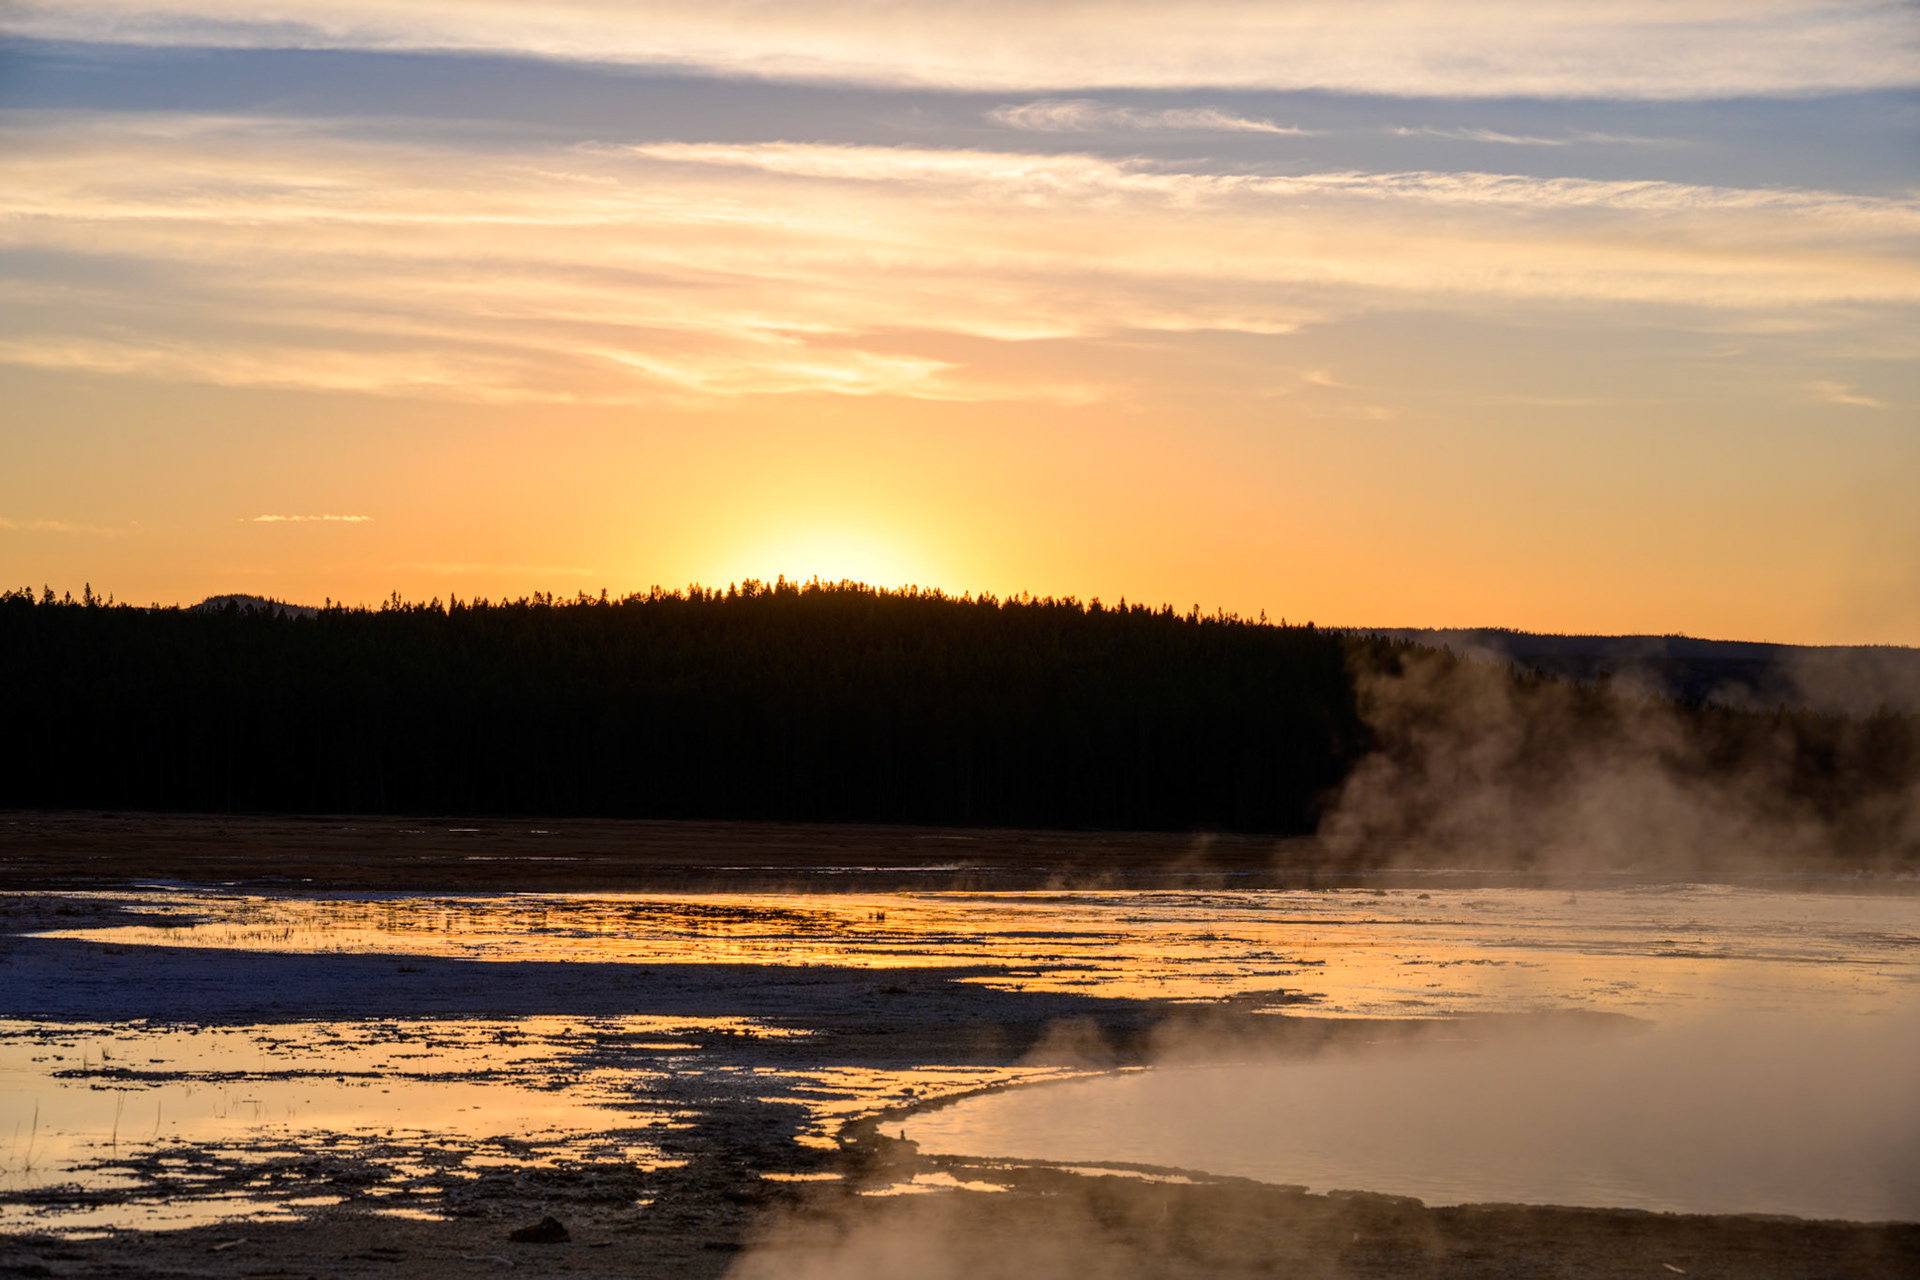
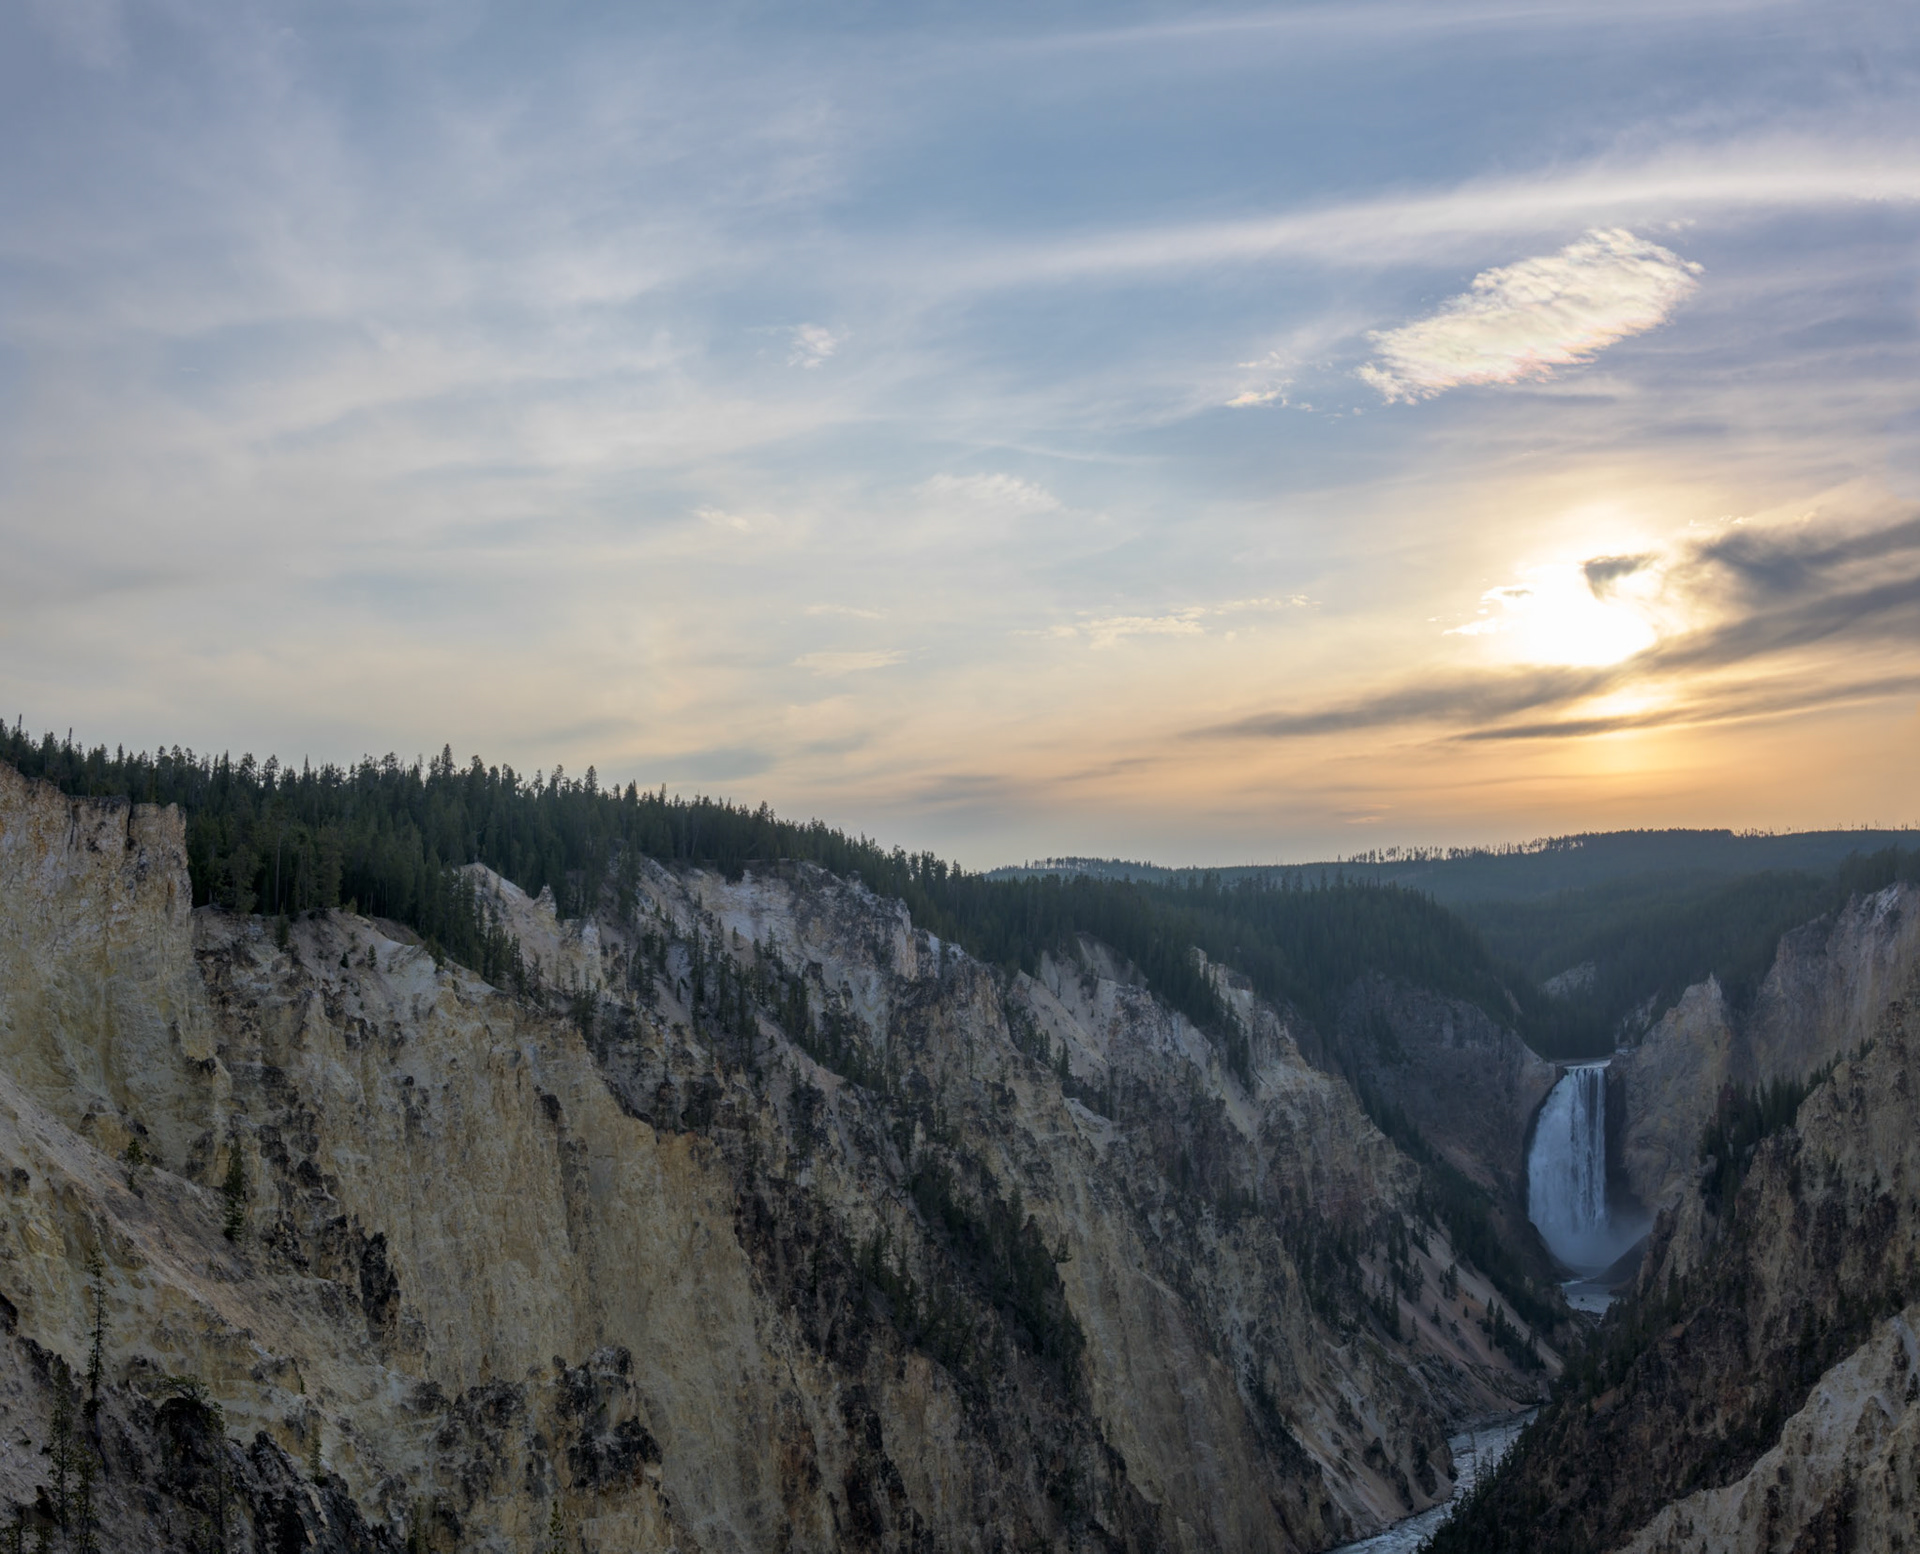
Sunsets were as problematic as sunrises due to the lack of clouds in the sky. Don't get me wrong. Most folks would pray for the weather we had in early October and we made the most of it, but the truth is even a few clouds make a photo like the one above more interesting. Here are some sunset images from the last two nights The first four were taken at the Paint Pot hot springs and the last few were taken on the last evening of our workshop while visiting the Upper Yellowstone Falls.


Other Yellowstone Workshop Photo Pages: