Shooting pictures of the night sky is a whole different process. For the stars to be at their photogenic best you need a dark night in a dark place. Yellowstone was as awesome as it can easily check both those boxes. Owens valley is better than most, situated between two very tall mountain ranges which block out most of the lights of the coastal west, but it is also inhabited so it has its own light pollution, along with whatever seeps over the mountains. You also need the moon to be absent from the sky. The main attraction in the night sky is either a constellation or the Milky Way. Because of the slant of the earth's axis, its rotation around the sun, and its location in the galaxy, photographing the Milky Way is optimum only a few times a year. I tell you all this because it creates complications for getting the great photographs of the Milky Way.
Almost everyone recognizes the moon traverses the sky when visible at night but most don't think about the stars doing the same thing. They rise and set just like the moon does and are in constant motion, albeit slow like the moon. One way to capture a good image of the Milky Way is via a long exposure during which your camera must move in sync with the stars. So, to keep the camera in sync with the motion of the stars I used a star tracker much like you would find on a very good telescope. These used to be quite expensive, but a company called MSM (for Move-Shoot-Move) has come up with an ingenious piece of gear that makes the task so much simpler. It is a motor that you mount on your tripod under the camera, and it turns at the same speed as the earth's rotation, thus keeping your camera pointed in the proper direction. The trick is getting it lined up in parallel with the earth's north-south axis. To do this they include a small laser that you attach to the star tracker and for a brief second use it to point at the North star.

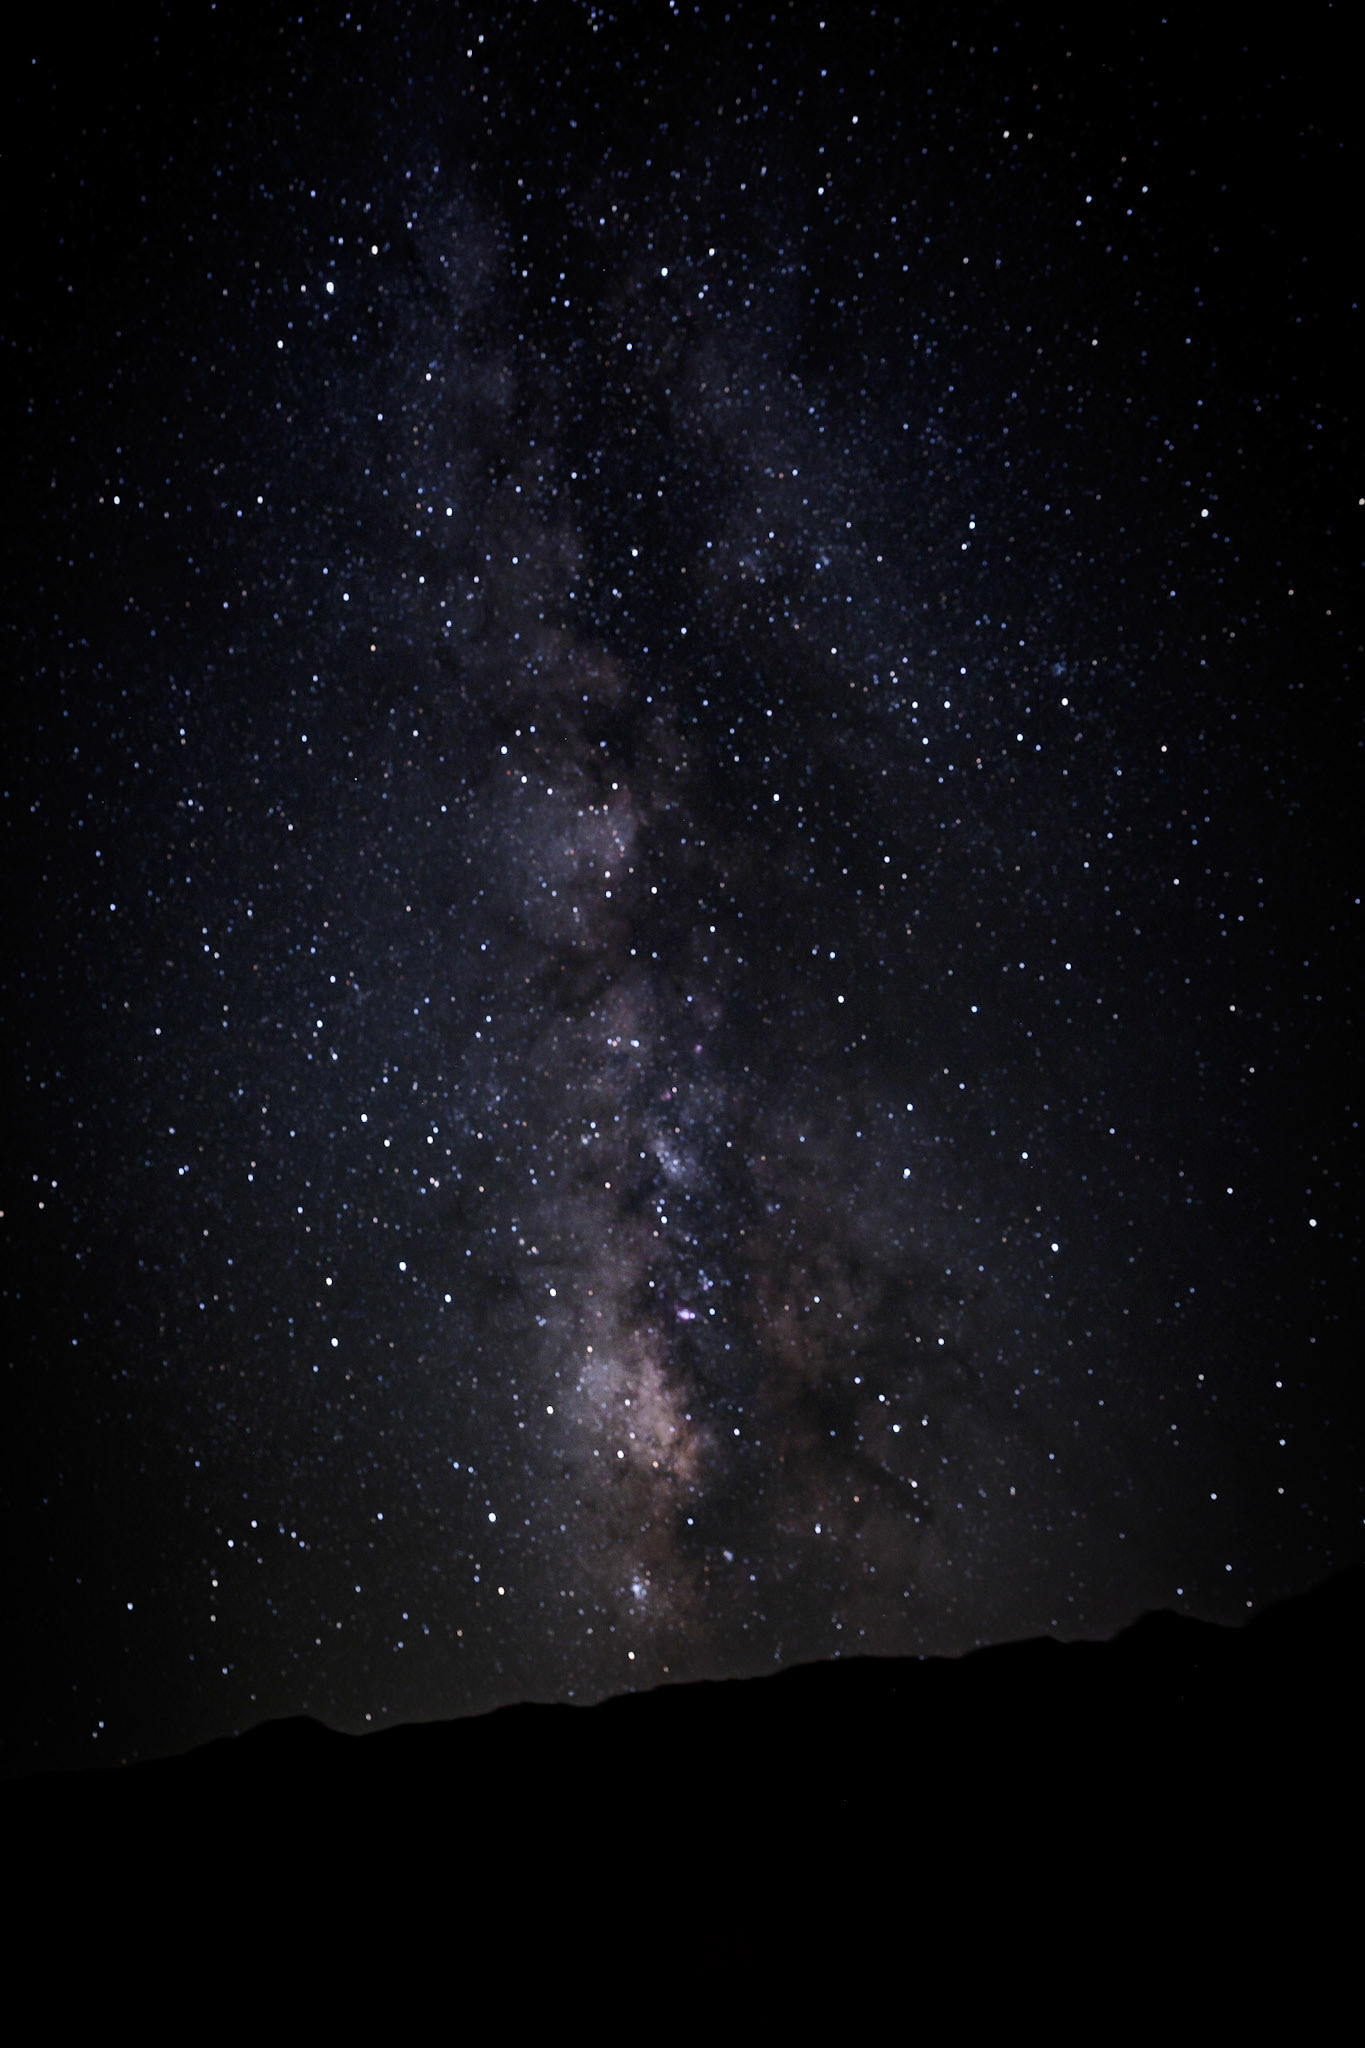
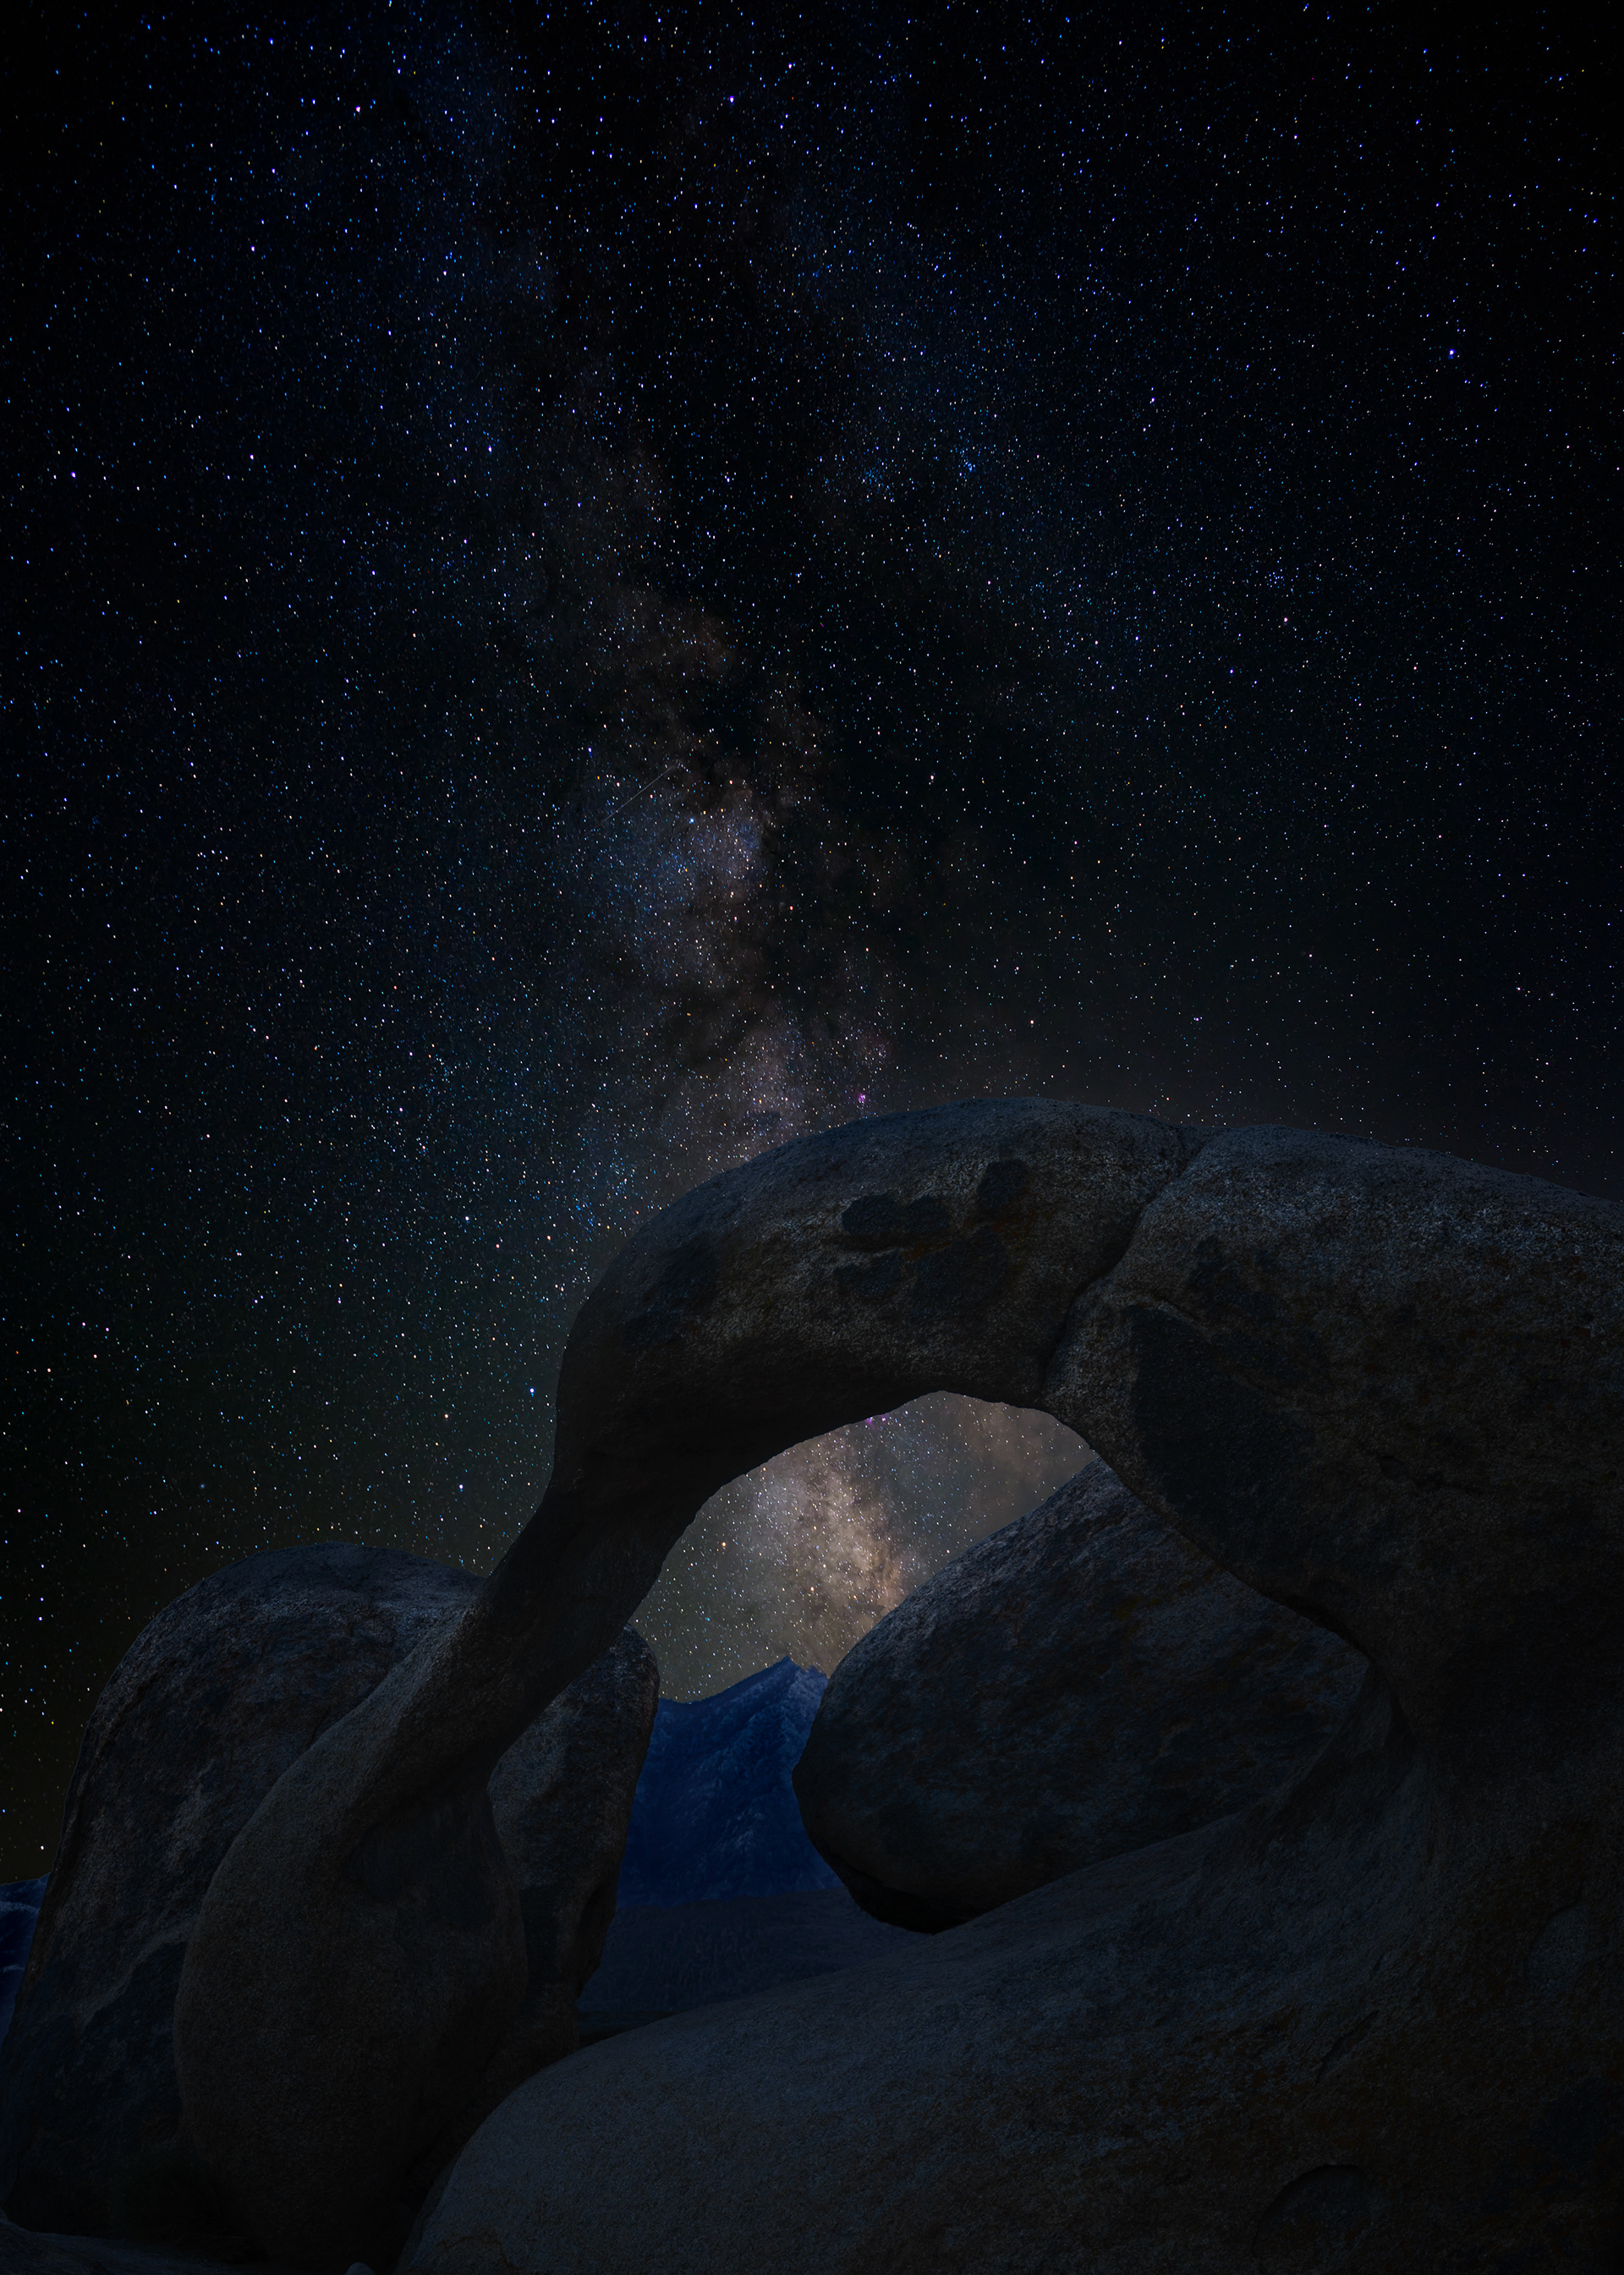
This picture, taken by Hudson Henry our workshop leader, shows the ten of us for a few brief seconds, lighting the lasers up at the same time, all pointed at the north star. Needless to say you need to be careful with these lasers, but they are essential to simplifying polar alignment, but that only solves the first problem. The second problem is trying to focus on something so tiny, so dim, and so far away. Hudson has shared a great technique for doing that with today's modern digital cameras but on the first night I hadn't mastered that as well as I would have liked, but that did not stop me from pushing the shutter button. Here are a couple images from that evening taken near Mobius Arch.


he next day during image review Hudson took one look at them and said I wasn't in focus good enough. Now my stars could be larger than most because of the lens I use, but focus was the real issue, so we worked on it. Our second night of Astro was to be 2 days later but it was cancelled due to smoke from the forest fires in California so we didn't get another chance until later in the week.
The goal was to create a composite image using a photo taken during the last light of the day and then combine it with a photo of the night sky taken later in the evening. Since the smoke still had not cleared in the sky we returned to the Alabama Hills area and worked on the blue hour foreground technique. This was one of my favorites from that night.
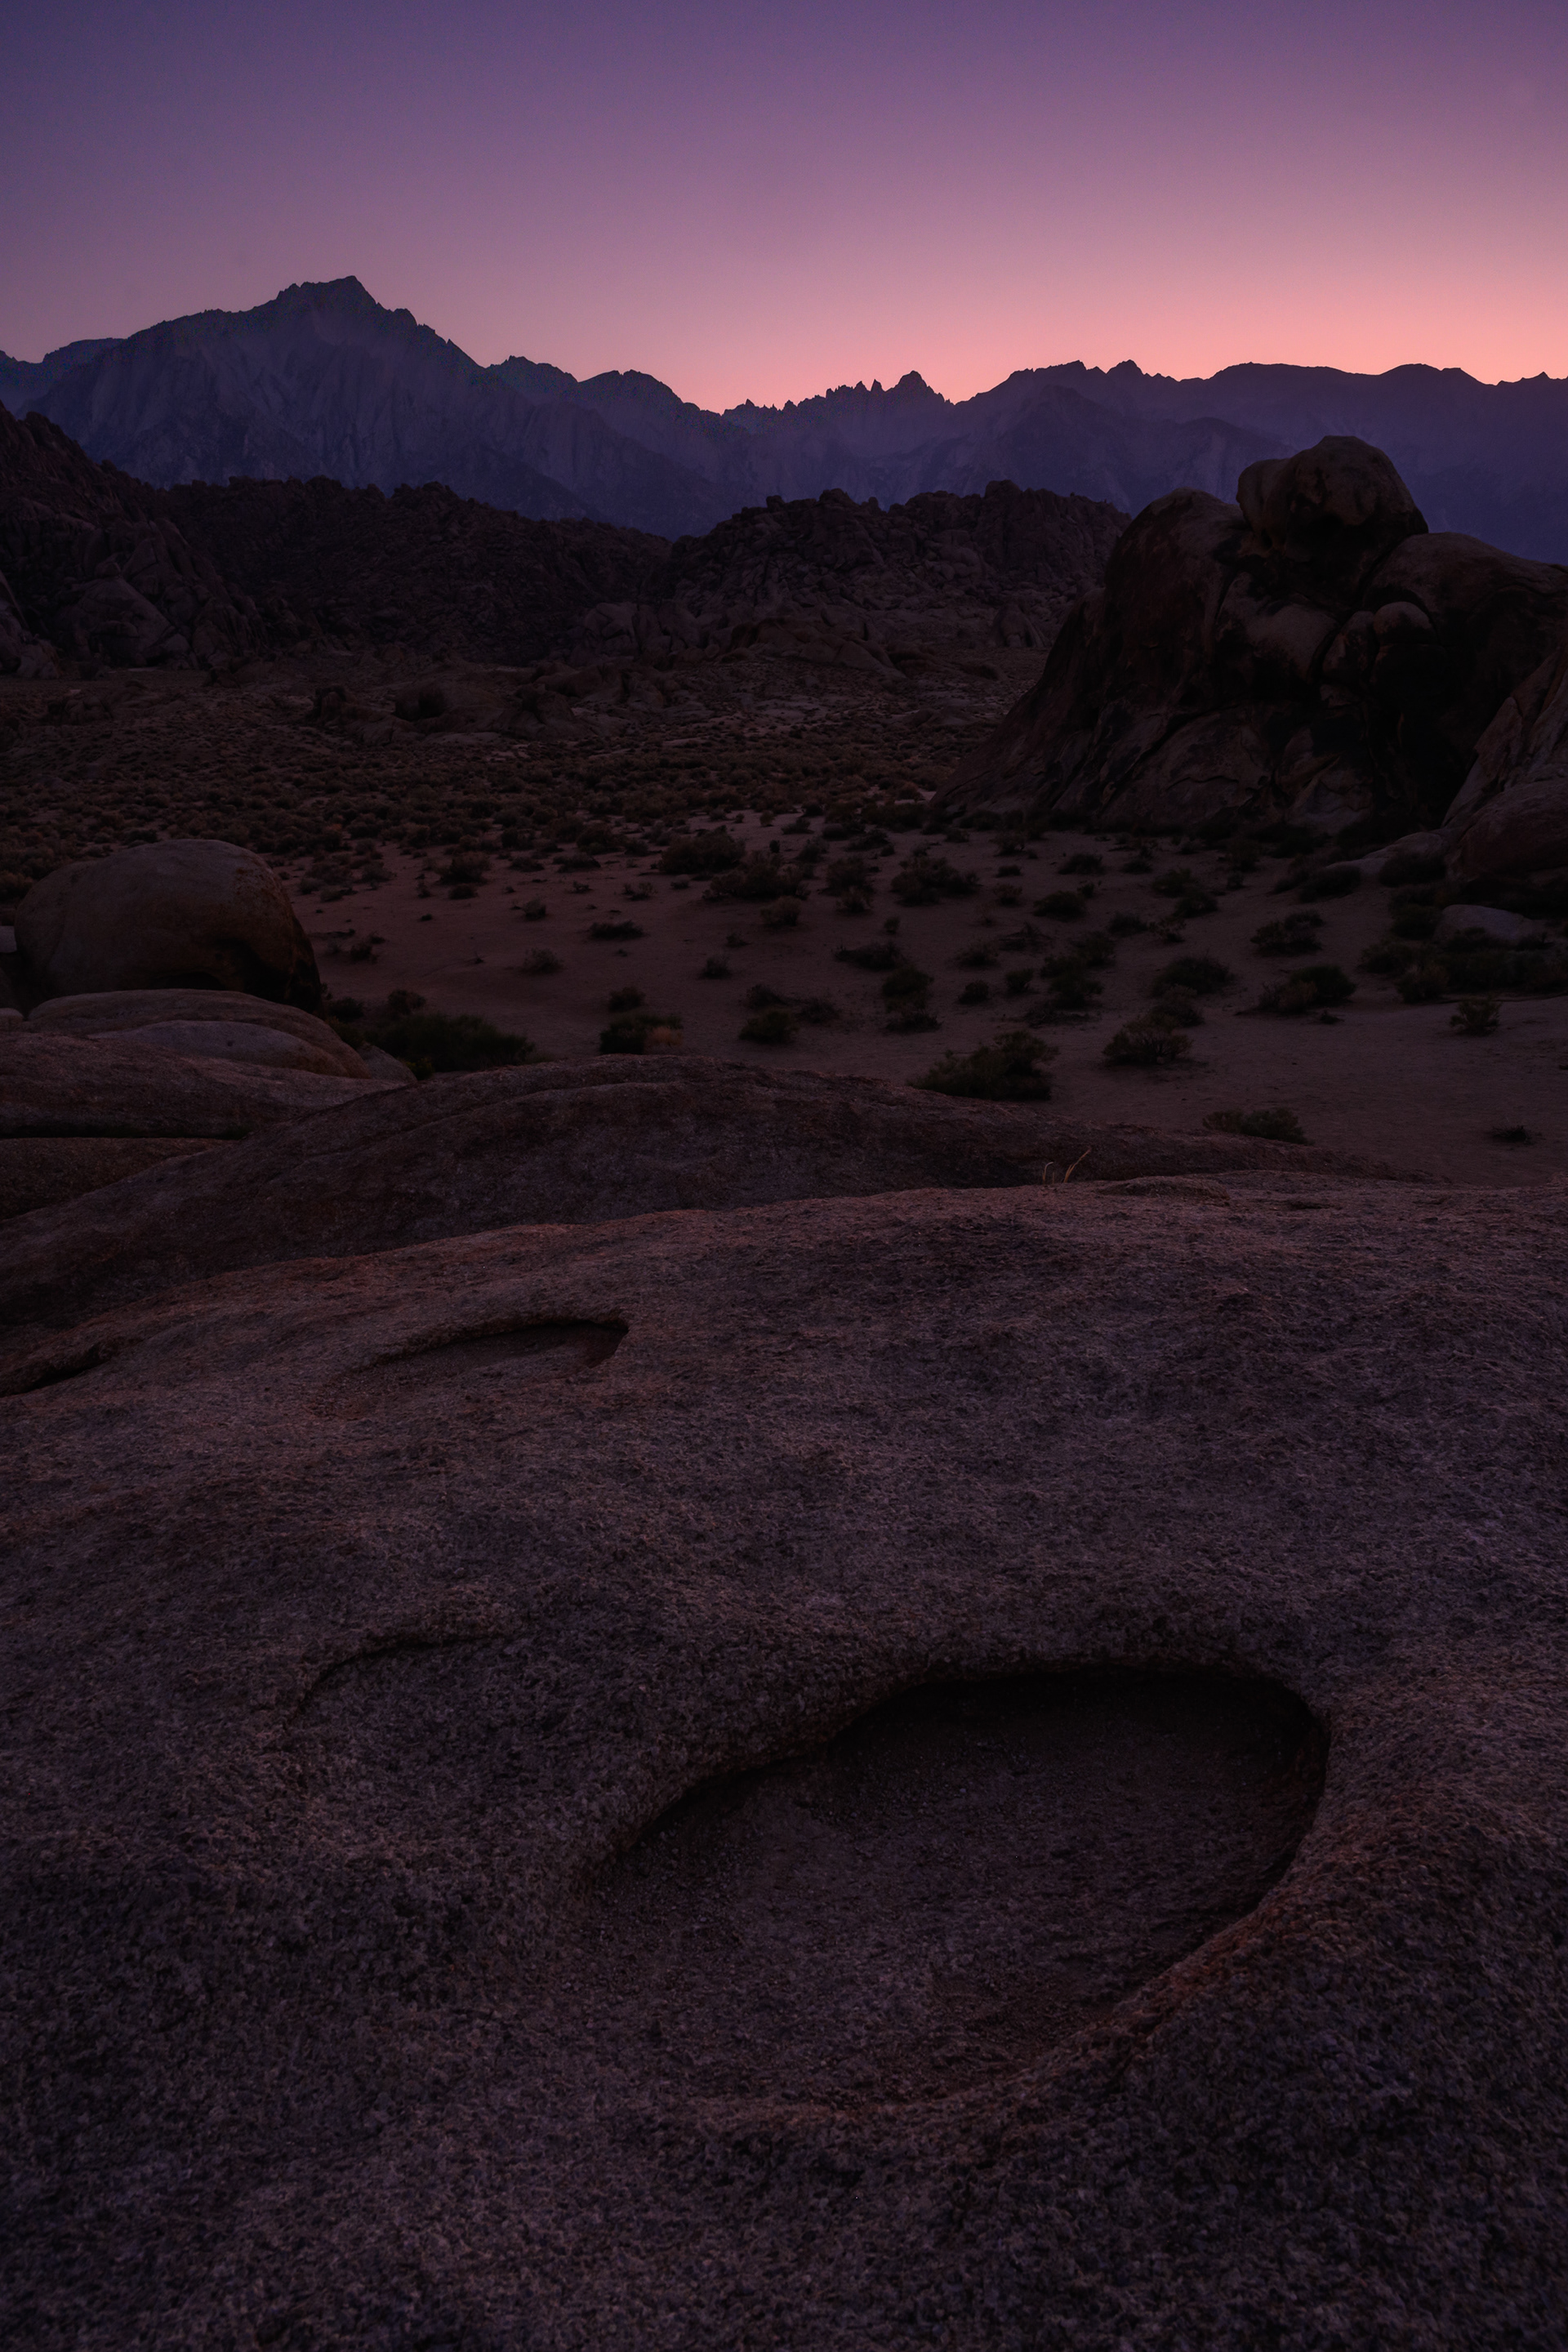
This image is not really suitable for a composite with a Milky Way image, but the sky and foreground rocks caught my eye. Creating a good blue hour photo is necessary because you can't use the foreground from the astro images taken with a star tracker because the camera is moving so the foreground is blurred.
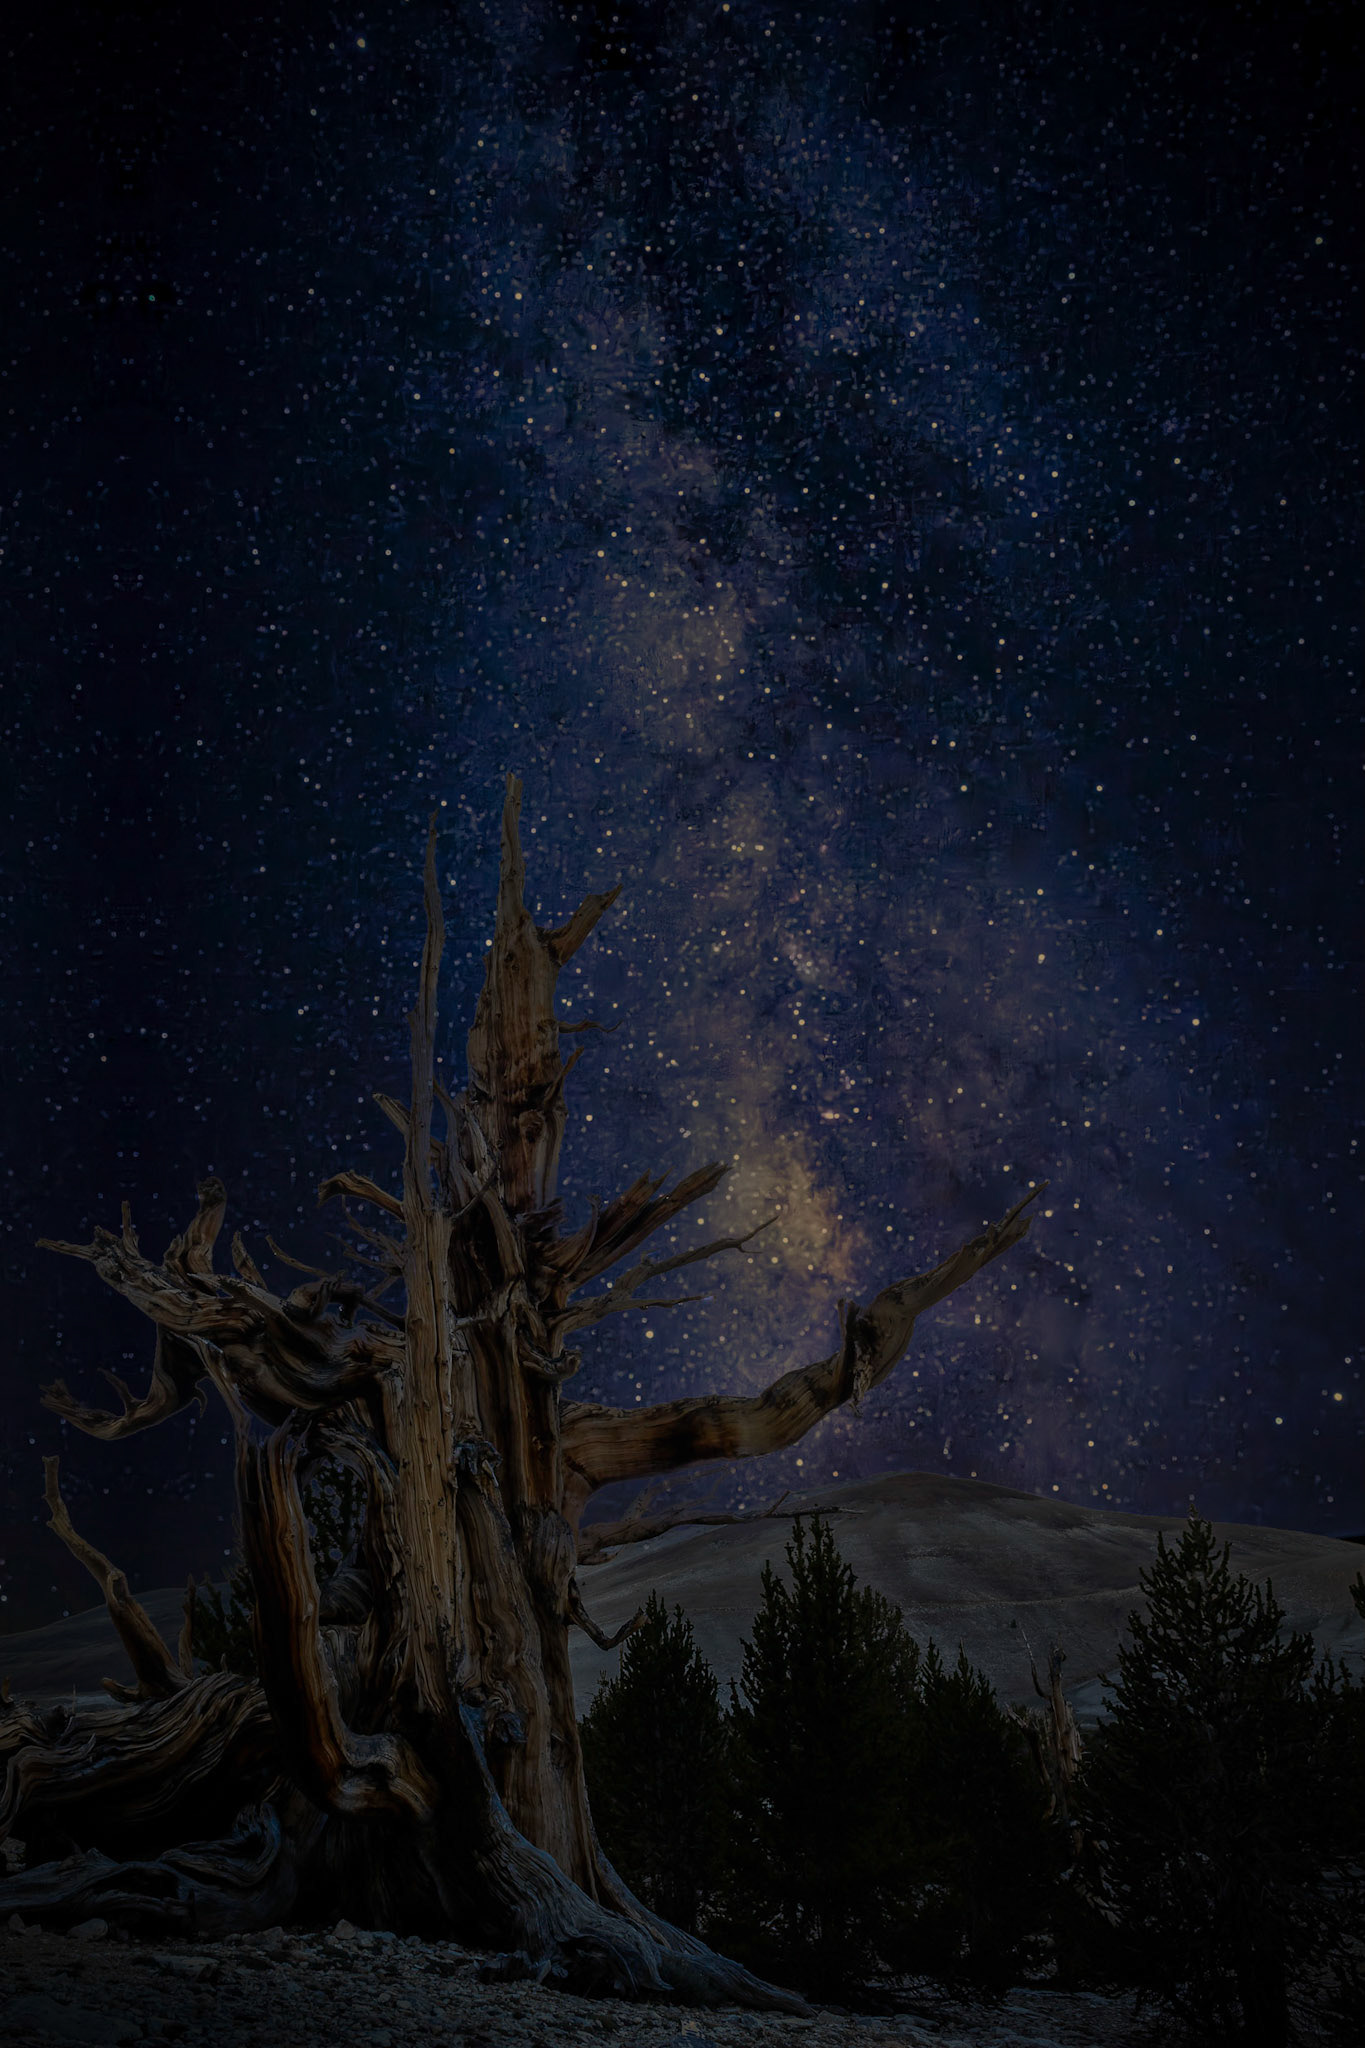
On the next night we attempted to get a night sky image to combine with the Bristlecone images I shared in another gallery, so we returned to the road leading to the forest and tried to get above the smoke and haze for another attempt at an astro image. It turns out that part of my problem on the first night with focusing was that the eye piece on my camera was not spot on for my eyes, so when I adjusted the focus for something as small as the stars while I was framing the picture, I was making it slightly out of focus but it looked good to me so I couldn't tell. Fixing that allowed me to capture better images that night, like the ones below. Notice the difference in the stars!

Here is another one taken earlier that night, but at this time look at the bottom of the image. Those are lights from the tiny town of Big Pine. Notice when zoomed in that any light that was static drew a straight line at about 40 degrees.
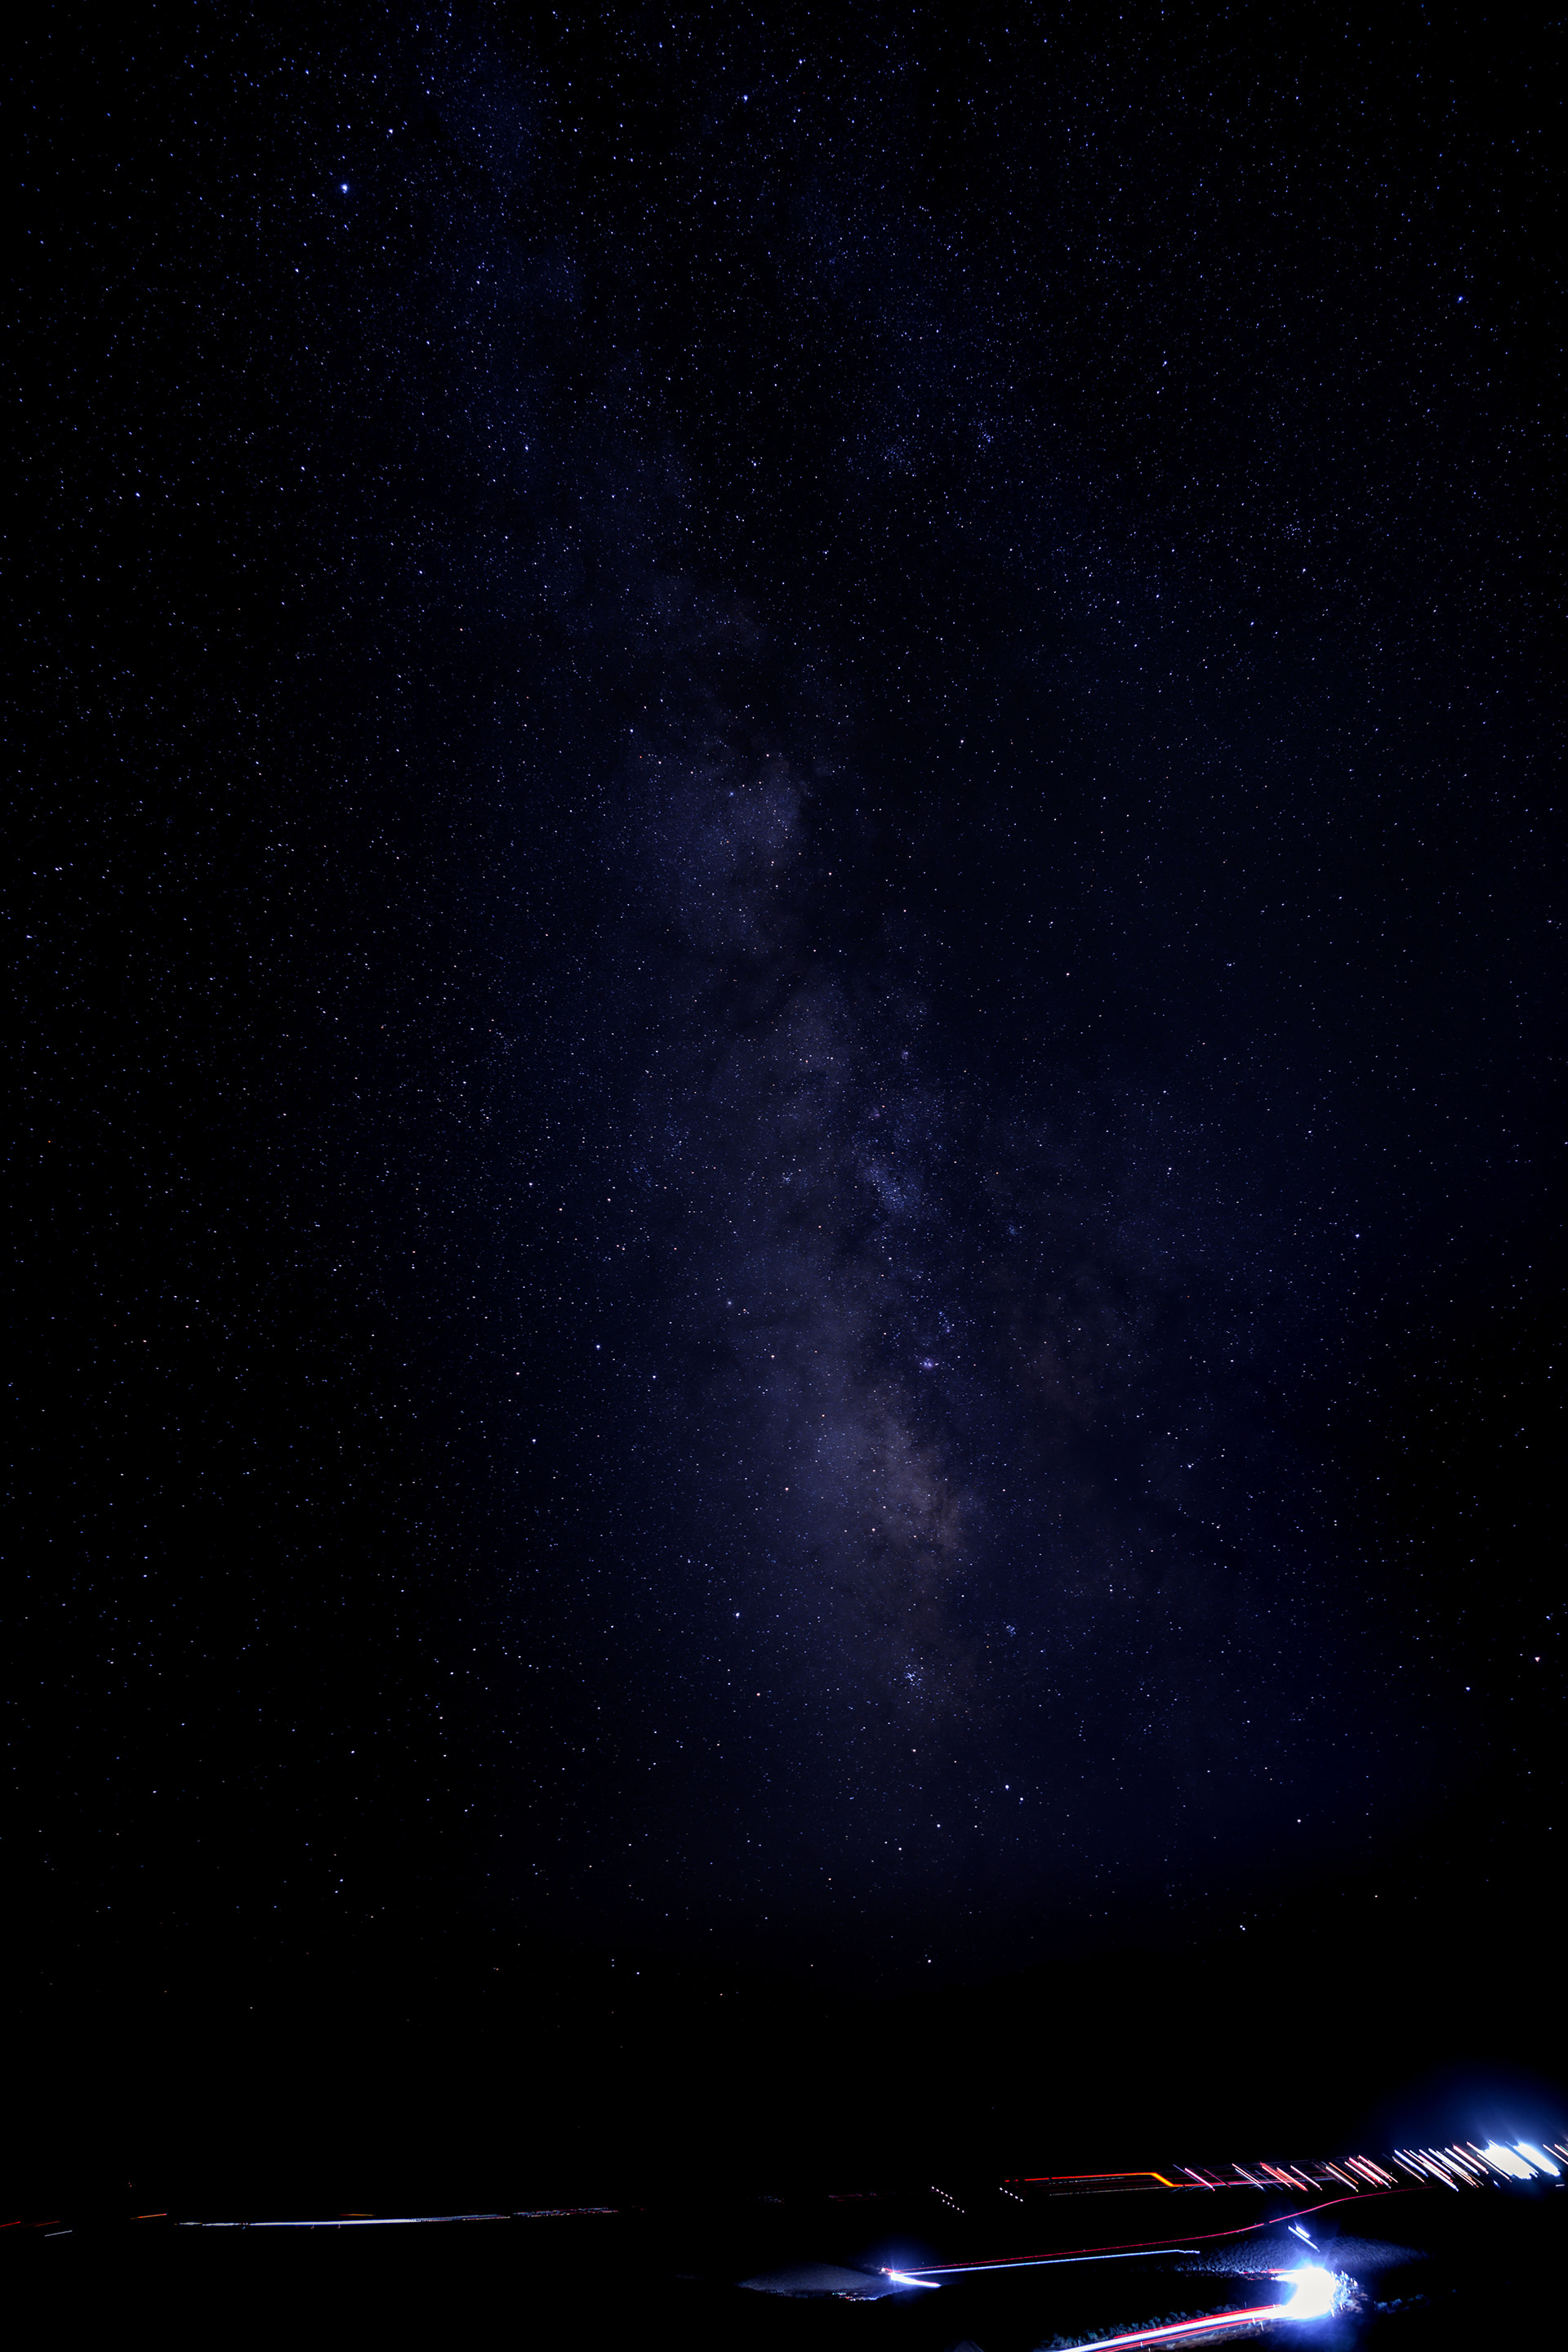

Those lines are caused by the star tracker moving the camera to make sure that the stars don't leave the same kind of trail. The long curvy line was from traffic on the road coming towards us and the lens was open the whole time, which was one minute in this case.
But without a star tracker the sky will look something like this and the lights in the town would be small dots instead of lines: (you may need to wait to see the lines because of the way the image renders on the www) which would not do at all.
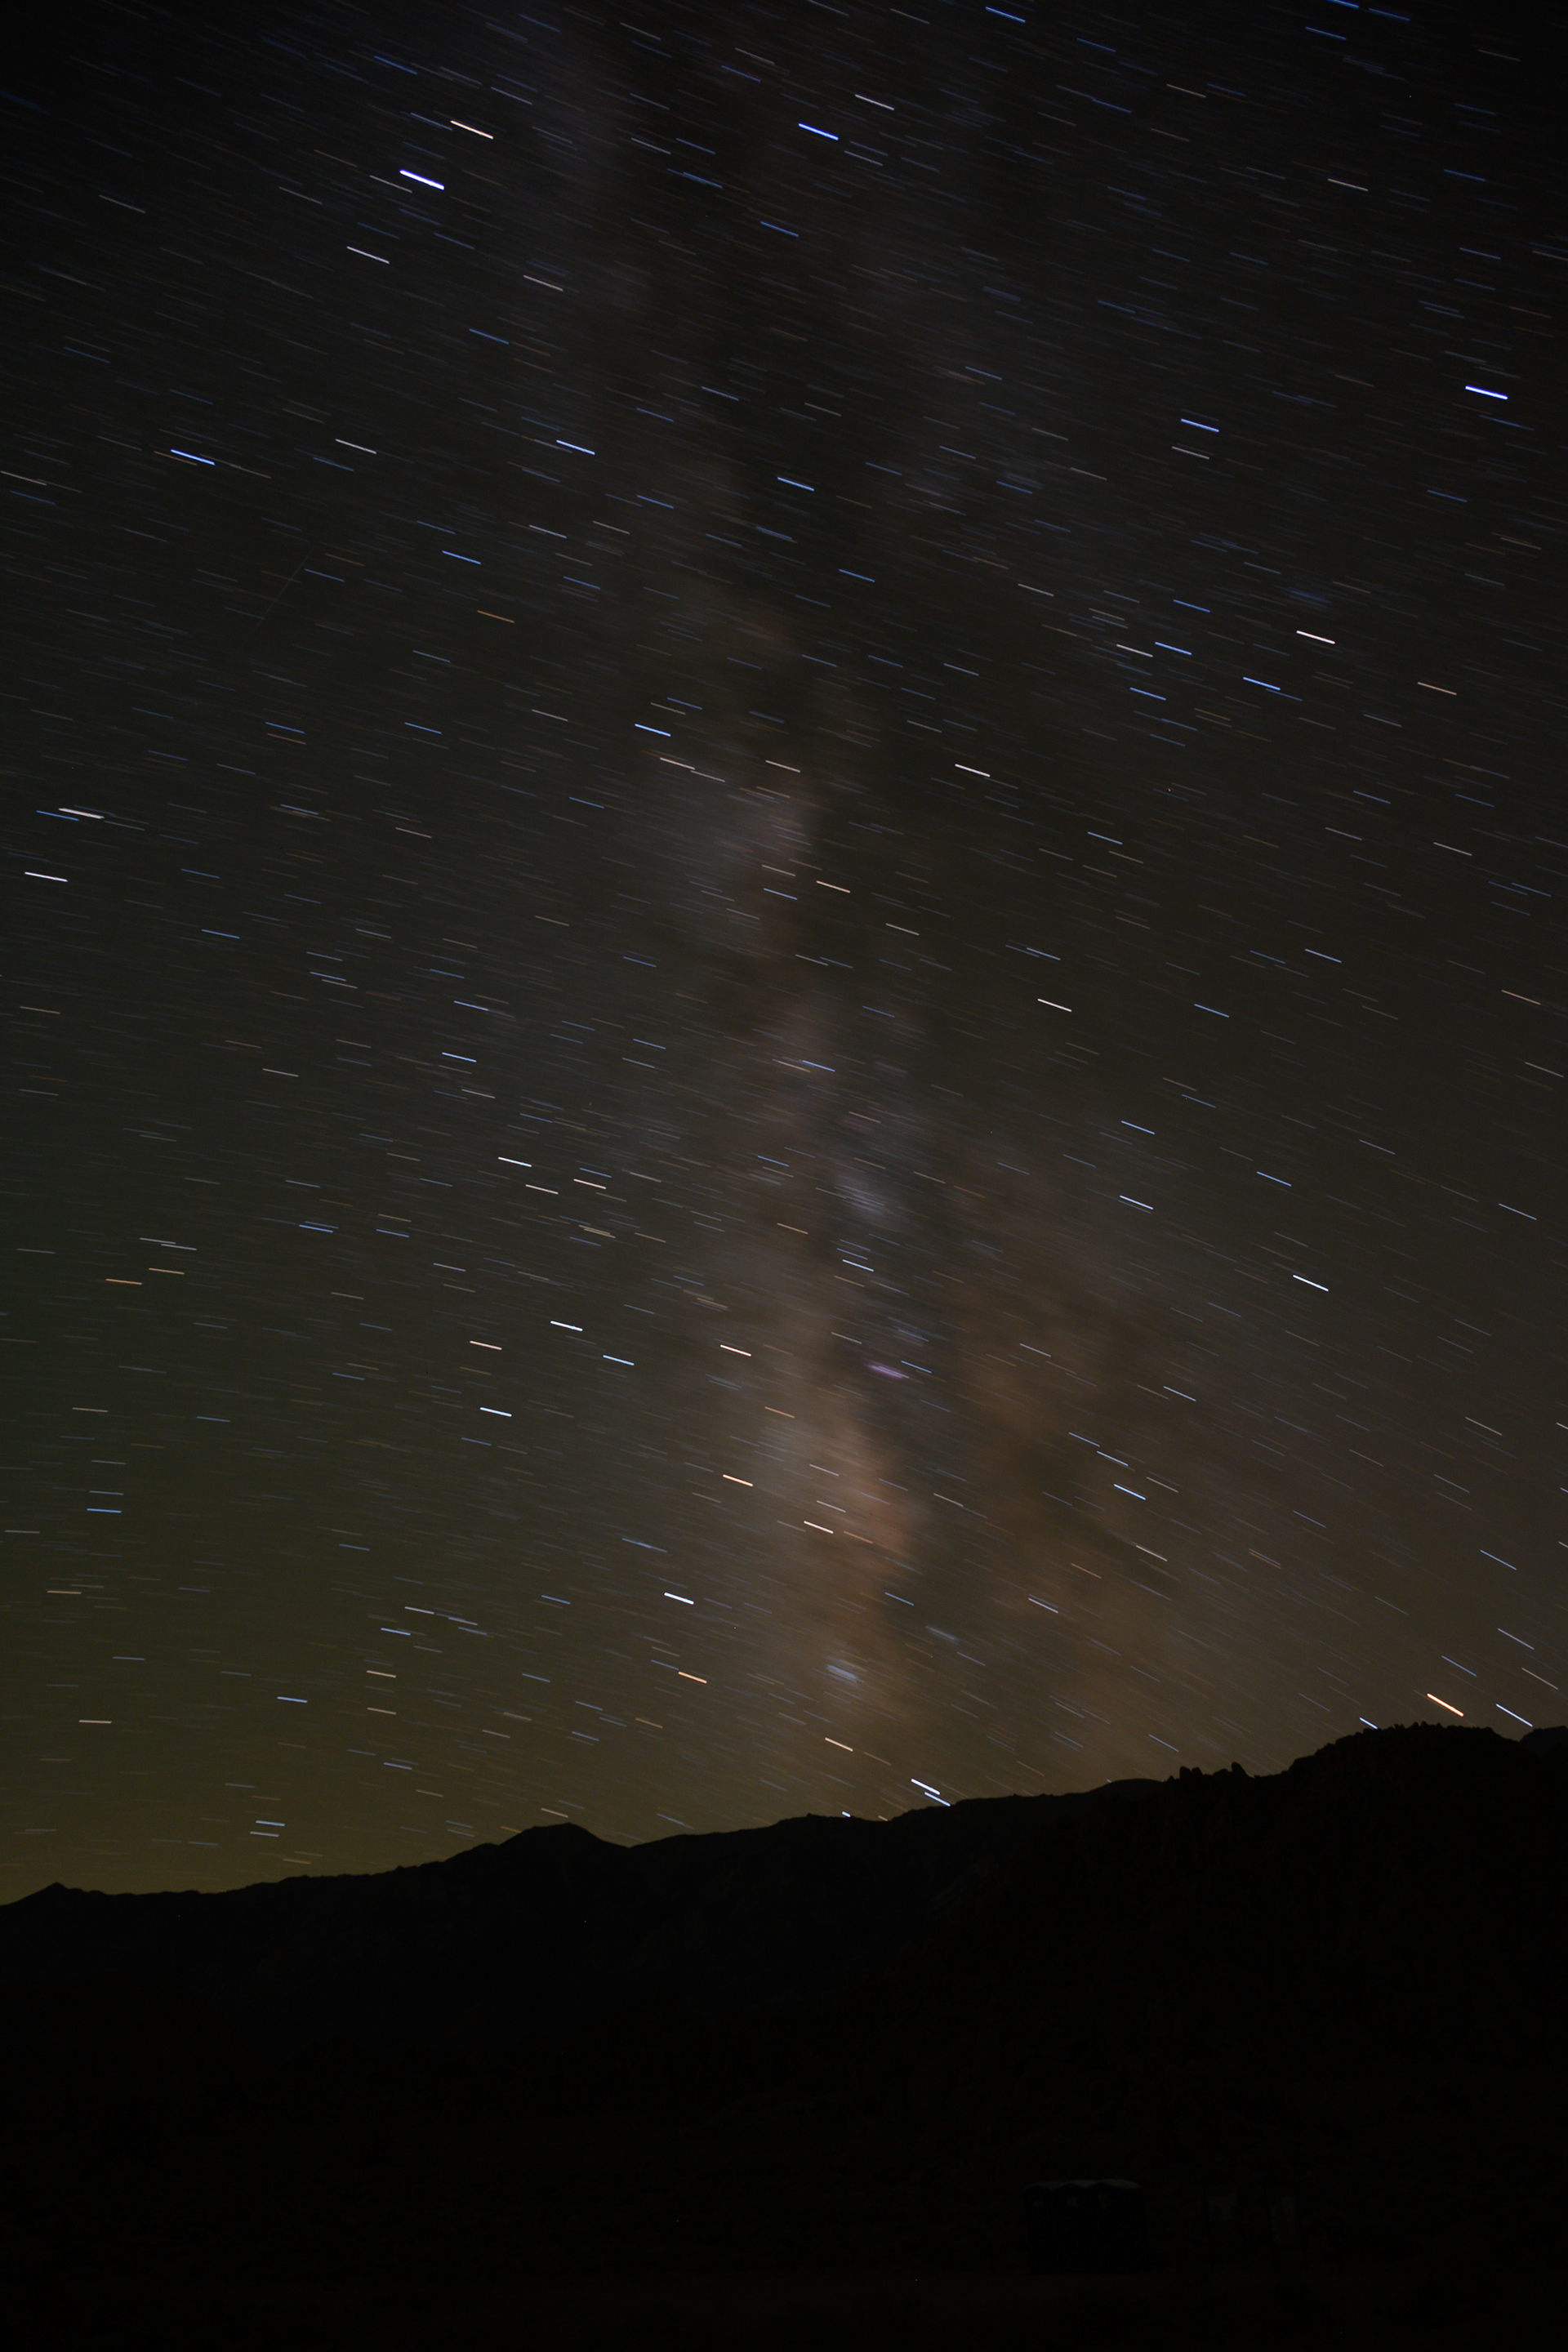
That’s right I forgot to turn the star tracker on for the first couple of photos on the night I was out on my own. The test shots were shorter exposures, so the error wasn't revealed until I took a longer one. The images combine to show why it is necessary to create a composite of two images to resulting in a new sharp image with all the glory of the night sky and the context of an interesting foreground.
So by now you are thinking when you get it all correct how does it come together?
Well, something like this….
This was only my second experience attempting to photograph the Milky Way in a place where you can get great results and my first attempt at merging two images together to recreate what could be seen through the lens of the camera. I can promise it won't be the last. Unfortunately, dark places and dark nights are rather rare on the east coast so I hope to make the most of them when I can.